
A washing machine is designed to clean clothes, but over time, it can become a breeding ground for mold, mildew, and bacteria—especially in high-humidity environments or when used frequently with cold water cycles. When your machine starts emitting a musty, damp odor, it’s not just unpleasant; it can transfer that smell to your laundry and reduce cleaning efficiency. The good news: a deep clean can restore freshness and performance. This guide provides a comprehensive, science-backed approach to eliminate moldy smells from both front-load and top-load washers using accessible tools and safe ingredients.
Why Washing Machines Develop Moldy Smells
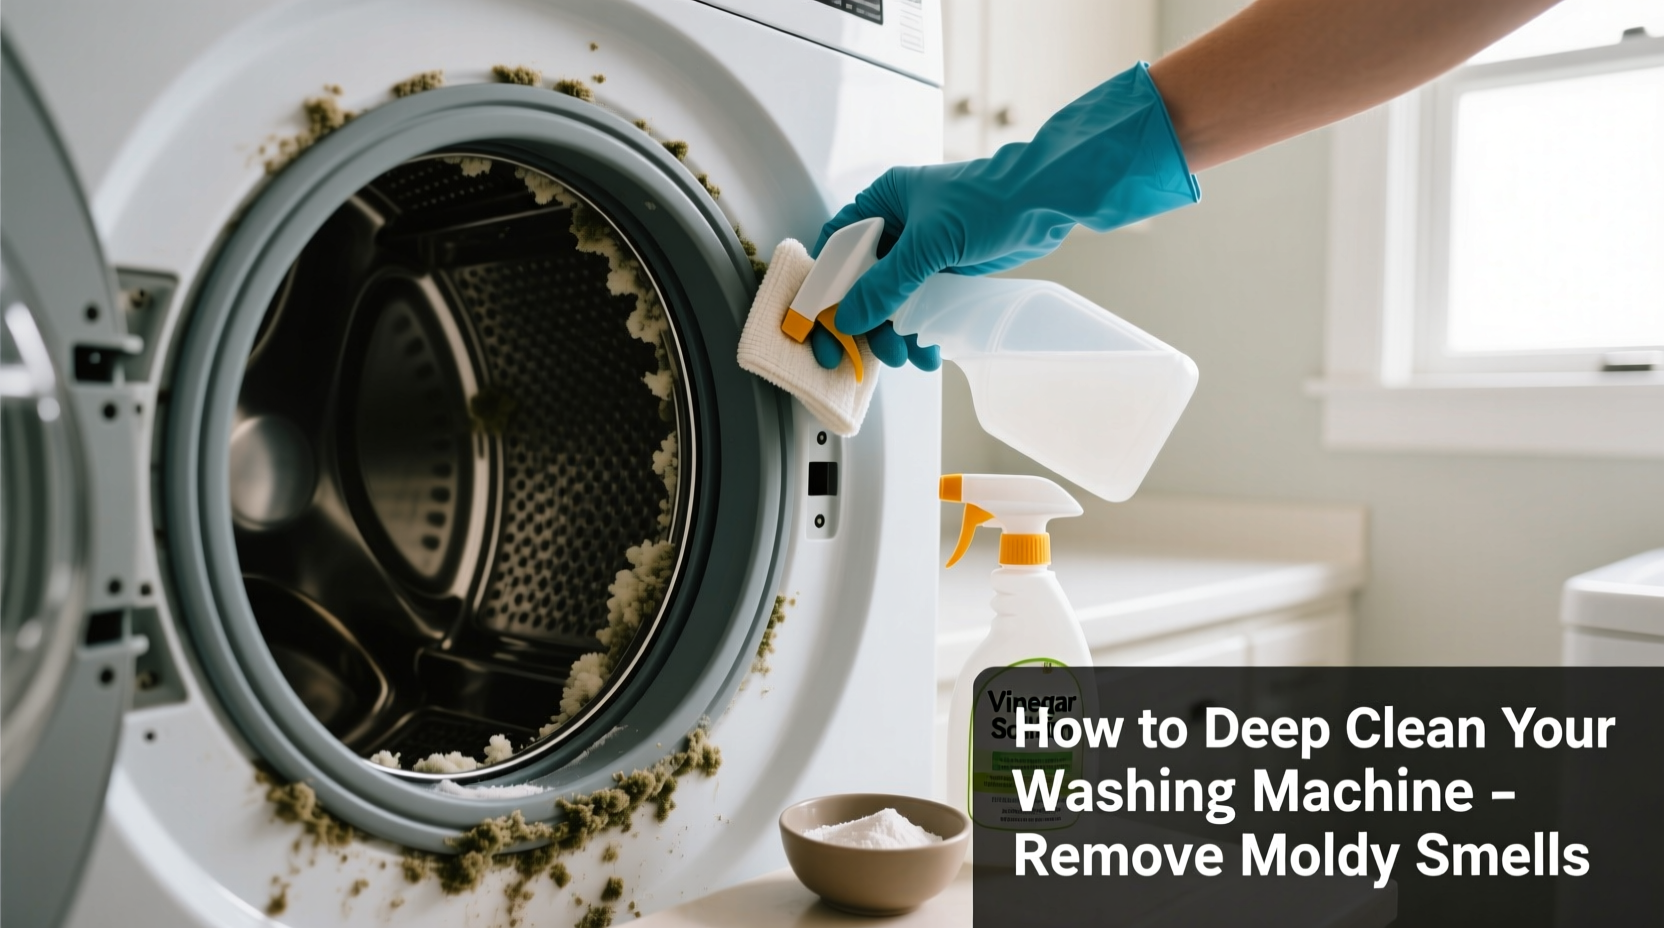
Mold and mildew thrive in dark, moist environments—exactly the conditions found inside many washing machines between cycles. Front-loading models are particularly prone due to their rubber door gaskets, which trap water and lint. However, even top-load machines with agitators can harbor biofilm and residue in hard-to-reach crevices.
Common causes include:
- Residual moisture: Water left in hoses, pumps, or seals after cycles evaporates slowly, encouraging microbial growth.
- Detergent buildup: Excess soap, especially in cold washes, doesn’t fully dissolve and mixes with organic matter like skin cells and oils.
- Infrequent cleaning: Many users never clean the machine itself, assuming it cleans itself.
- Poor ventilation: Closed doors after use prevent airflow, creating a damp chamber ideal for mold.
According to Dr. Lisa Martinez, a microbiologist at the National Home Hygiene Institute, “A washing machine that smells musty often contains colonies of Aspergillus or Penicillium—common indoor molds that break down organic residues. These aren’t just smelly; they can trigger allergies or respiratory irritation in sensitive individuals.”
“Mold in washing machines isn't just cosmetic—it's a health concern. Regular deep cleaning disrupts microbial colonies before they establish permanent biofilms.” — Dr. Lisa Martinez, Microbiologist
Step-by-Step Guide to Deep Cleaning Your Washing Machine
A thorough cleaning should be performed every 1–3 months, depending on usage. Follow this sequence for maximum effectiveness:
- Clear the area and unplug (optional): For safety, disconnect power if you’re working near electrical components. Most steps don’t require this, but it’s wise during extended maintenance.
- Wipe down the exterior and control panel: Use a microfiber cloth dampened with warm water and mild dish soap. Avoid abrasive cleaners that could damage touchscreens.
- Clean the door seal (front-load only): Pull back the rubber gasket carefully. Wipe all folds and crevices with a vinegar-soaked cloth or a paste of baking soda and water. Remove any visible black spots or slime—this is likely mold. Use an old toothbrush for tight areas.
- Remove and clean the detergent drawer: Slide out the tray (usually by pressing a release tab). Soak it in warm vinegar water for 15 minutes, then scrub with a brush. Rinse thoroughly before reinserting.
- Run a hot cleaning cycle: Set the machine to its hottest, longest cycle (e.g., “Clean Washer” or “Tub Clean”). Add one of the following cleaning agents (choose one method per session):
- 4 cups of white vinegar
- 1 cup of bleach (for disinfecting; do not mix with vinegar)
- 200g of oxygen-based bleach (e.g., OxiClean) for a gentler option
- Pause mid-cycle for soaking: After the tub fills, pause the machine and let the solution sit for 30–60 minutes. This allows deeper penetration into hoses and drums.
- Resume and complete the cycle: Let the machine finish draining and spinning.
- Wipe the drum and door: After the cycle, use a clean cloth to wipe down the interior drum and glass door. Check the bottom of the drum for debris.
- Clean the drain pump filter (if accessible): Locate the filter (usually behind a small access panel near the base). Place a towel underneath, unscrew the filter, and remove lint, coins, or sludge. Rinse and reinstall.
- Deodorize with baking soda (optional): Run a short cold cycle with 1 cup of baking soda to neutralize lingering odors.
Choosing the Right Cleaning Agent: Pros and Cons
Different cleaning agents work in different ways. Understanding their strengths helps you choose based on your machine type and sensitivity concerns.
| Cleaning Agent | Best For | Pros | Cons |
|---|---|---|---|
| White Vinegar | Removing mineral deposits, mild mold, and odors | Natural, non-toxic, dissolves lime scale | Strong smell during cycle; less effective on heavy biofilm |
| Bleach (Sodium Hypochlorite) | Killing mold, bacteria, and viruses | Powerful disinfectant; removes stains | Corrosive; harmful fumes; cannot mix with vinegar |
| Oxygen-Based Bleach | Routine maintenance and sensitive households | Gentle on parts; safe for septic systems; eco-friendly | Less effective on established mold colonies |
| Commercial Washer Cleaners | Convenience and targeted formulation | Designed for specific machine types; often include surfactants | Can be expensive; some contain harsh chemicals |
Note: Never mix vinegar and bleach. This creates chlorine gas, which is toxic and potentially dangerous.
Real Example: How Sarah Fixed Her Musty Washer
Sarah, a mother of three in Portland, Oregon, noticed her towels had a persistent swamp-like odor despite using premium detergents. Her front-load Samsung washer was only two years old, but she used cold cycles almost exclusively and rarely opened the door after washing.
After researching, she followed the deep-cleaning process outlined above. She removed the detergent drawer, cleaned the gasket with baking soda paste, and ran a 90°C cycle with 4 cups of vinegar. She paused the cycle for an hour and repeated with a second cycle using OxiClean.
The result? The smell vanished completely. More importantly, her next load of laundry came out smelling fresh without fabric softener—a first in months. She now cleans her machine every six weeks and keeps the door ajar overnight after heavy use.
Prevention Checklist: Keep Your Washer Fresh Between Cleanings
Deep cleaning is essential, but daily habits make the biggest difference. Use this checklist to prevent future odor buildup:
- ✅ Leave the door and detergent drawer open after each use.
- ✅ Wipe the rubber seal weekly with a dry or vinegar-dampened cloth.
- ✅ Use high-efficiency (HE) detergent in correct amounts—avoid overuse.
- ✅ Wash towels and bedding on hot cycles monthly to prevent biofilm accumulation.
- ✅ Remove wet clothes immediately after the cycle ends.
- ✅ Clean the lint filter and drain hose annually.
- ✅ Avoid using fabric softener sheets excessively—they leave waxy residues.
Frequently Asked Questions
How often should I deep clean my washing machine?
At minimum, perform a deep clean every three months. High-use households or those in humid climates should do it monthly. Signs like musty smells, visible mold, or dingy clothes indicate it’s time for immediate cleaning.
Can I use lemon juice instead of vinegar?
Lemon juice contains citric acid and can help deodorize, but it’s less effective than vinegar due to lower acidity and higher cost. It may also leave sugary residues if not rinsed well. White vinegar remains the most effective natural option.
Is it safe to use bleach in a stainless steel drum?
Yes, bleach is generally safe for stainless steel drums when used as directed (typically 1 cup per large cycle). However, rinse thoroughly afterward and avoid prolonged exposure. Do not use bleach in machines with aluminum components, as it can cause corrosion.
Final Steps for Long-Term Freshness
Eliminating a moldy smell isn’t a one-time fix—it’s part of ongoing appliance care. A clean washing machine not only protects your clothes but also extends the life of the machine itself. Components like pumps, hoses, and sensors last longer when free of biological sludge and mineral deposits.
Consider setting a calendar reminder to clean your washer quarterly. Pair this with regular inspection of the door seal and drain filter, and you’ll maintain peak performance. If odors return quickly despite proper cleaning, check your home’s drainage system—sometimes sewer gases backflow through standpipes, mimicking mold smells.
For front-load owners, investing in a magnetic door seal dryer or moisture-absorbing pack placed inside the drum when idle can further reduce humidity.
Take Action Today for a Fresher, Healthier Home
Your washing machine works hard for you—return the favor with consistent, thoughtful maintenance. By dedicating just 60 minutes to a deep clean, you can eliminate stubborn odors, improve hygiene, and ensure your clothes come out truly clean. Don’t wait until the smell becomes overwhelming. Start today: gather your vinegar or cleaner, pull out that detergent drawer, and give your machine the refresh it deserves.


 浙公网安备
33010002000092号
浙公网安备
33010002000092号 浙B2-20120091-4
Comments
No comments yet. Why don't you start the discussion?