
A malfunctioning air conditioning system can quickly turn a comfortable environment into an unbearable one—especially during peak summer months. At the heart of most cooling failures lies the AC compressor, a critical component responsible for circulating refrigerant and maintaining optimal pressure levels. When it fails, cooling stops. However, not every cooling issue stems from a bad compressor. Misdiagnosis is common and can lead to unnecessary replacements costing hundreds or even thousands of dollars. Understanding how to accurately assess the condition of your AC compressor saves time, money, and prevents further system damage.
Understanding the Role of the AC Compressor
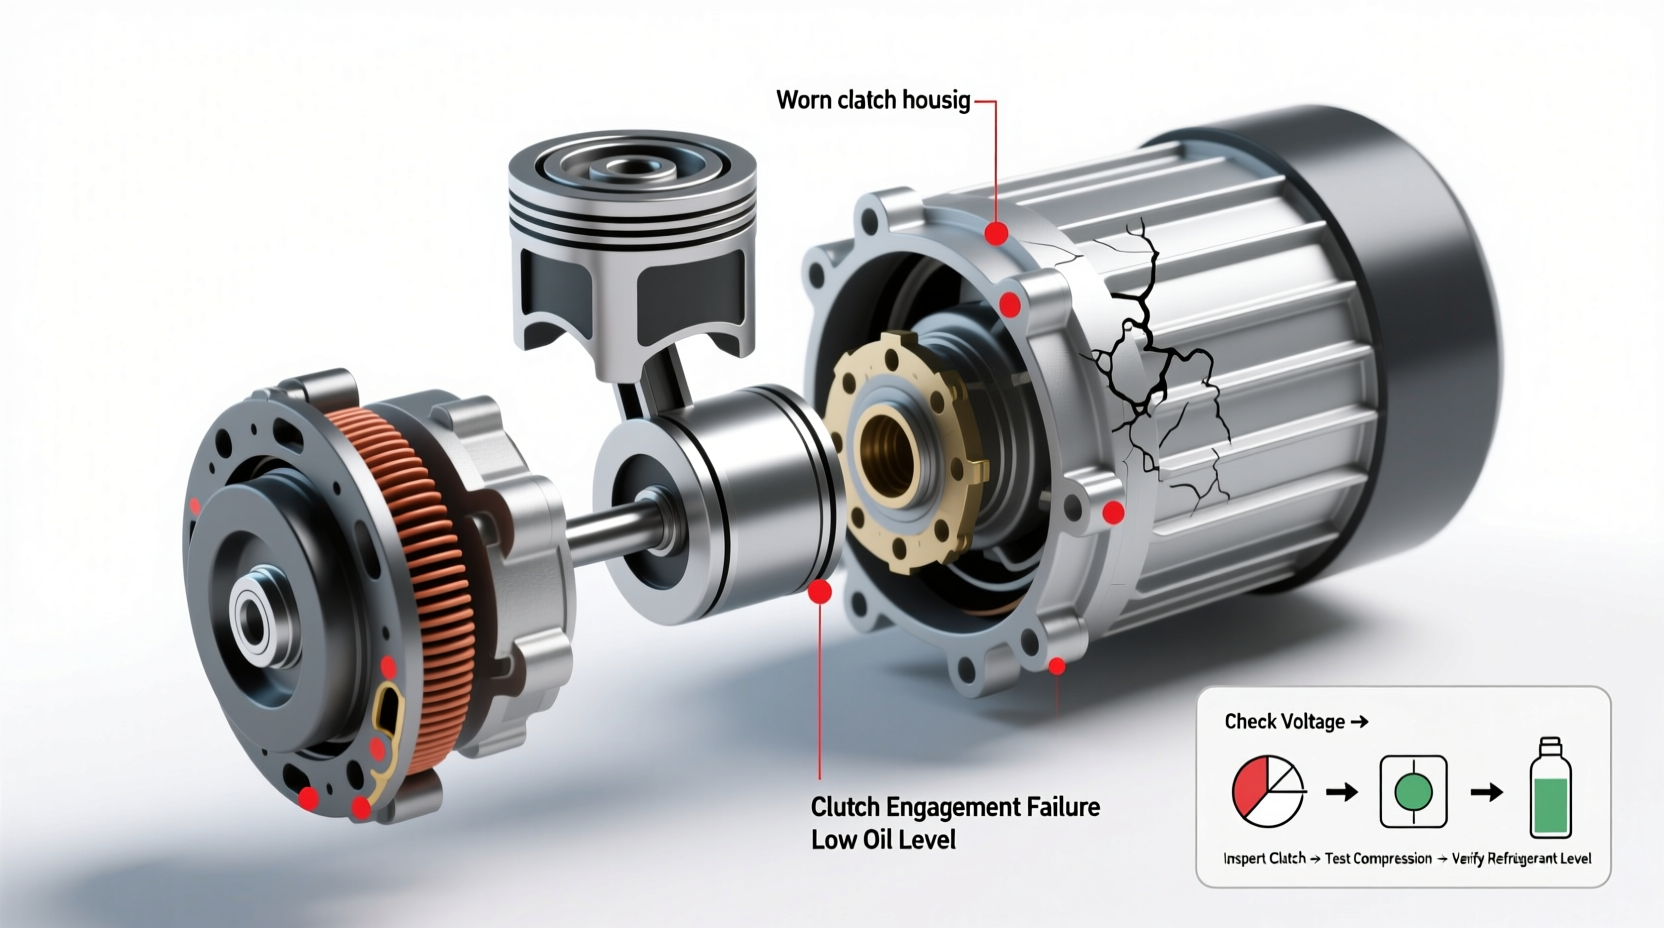
The AC compressor acts as the \"heart\" of the refrigeration cycle. It pressurizes low-pressure refrigerant gas from the evaporator coil and sends it to the condenser coil, where heat is released. This continuous cycle enables effective cooling. A properly functioning compressor maintains stable suction and discharge pressures, operates smoothly without excessive noise, and draws current within manufacturer specifications.
When performance degrades, symptoms may include weak airflow, warm air output, unusual noises, or complete system shutdown. These signs don’t automatically mean the compressor has failed—they could point to issues in other components like capacitors, thermostats, refrigerant leaks, or electrical controls.
“Over 30% of premature compressor replacements are due to misdiagnosis. Always verify root cause before condemning the unit.” — James Rutherford, HVAC Systems Engineer with 25+ years in field diagnostics
Step-by-Step Guide to Diagnosing a Faulty AC Compressor
Accurate diagnosis requires both observational skills and technical measurements. Follow this systematic approach to isolate whether the compressor is truly at fault:
- Observe System Behavior: Note any strange sounds (grinding, clicking), visible oil leaks around the outdoor unit, or tripped breakers when the AC starts. <
- Check Thermostat and Power Supply: Confirm the thermostat calls for cooling and voltage reaches the outdoor unit. Use a multimeter to test for proper line voltage at the disconnect switch and contactor.
- Inspect the Contactor and Capacitor: A stuck or pitted contactor can prevent power delivery. Test the start/run capacitor with a capacitance meter; swollen or leaking capacitors often mimic compressor failure.
- Measure Suction and Discharge Pressures: Attach gauges to the service ports. Compare readings to ambient temperature charts. Low suction pressure may indicate undercharge; high suction suggests overcharge or internal wear.
- Test Amperage Draw: Clamp an ammeter around the compressor’s common wire. Compare running amps to the Rated Load Amps (RLA) on the unit’s data plate. Significantly higher amps suggest mechanical binding; zero draw indicates open windings.
- Perform Electrical Tests: Disconnect power and test compressor terminals (Hermetic Sealed Units): Check resistance between Run-Start, Run-Common, and Start-Common. Values should match manufacturer specs. Infinite resistance means an open circuit; zero ohms indicates a short.
- Verify Superheat and Subcooling: These advanced metrics help determine refrigerant charge and flow efficiency. Abnormal values may signal metering device problems rather than compressor faults.
Common Symptoms vs. True Failure Indicators
Many homeowners and even technicians jump to conclusions based on surface-level symptoms. The table below distinguishes common warning signs from definitive evidence of compressor failure.
| Symptom | Possible Cause | True Compressor Failure? |
|---|---|---|
| AC blows warm air | Low refrigerant, dirty coils, thermostat error | No – not conclusive |
| Loud humming but no start | Failed start capacitor, seized motor, low voltage | Possibly – test capacitor first |
| Unit trips breaker immediately | Shorted compressor, wiring fault, grounded motor | Yes – if electrical tests confirm short |
| No continuity across terminals | Open windings inside compressor | Yes – confirmed failure |
| Oily residue near outdoor unit | Refrigerant leak or past compressor burnout | Potential – inspect for acid contamination |
Real-World Case Study: The Misdiagnosed “Dead” Compressor
In Phoenix, Arizona, a technician was called to a residential split-system AC that wouldn’t cool. The homeowner reported loud buzzing and frequent breaker trips. The initial service company diagnosed a “locked compressor” and quoted $2,800 for replacement. A second opinion revealed something different.
Upon inspection, the new technician found the contactor contacts were fused shut, indicating repeated arcing. The run capacitor showed only 40% of rated capacitance. After replacing the capacitor and contactor, the system started normally, drawing 7.8 amps—within 5% of RLA. Pressure readings stabilized within 90 seconds. The original compressor was fully functional.
This case highlights how auxiliary components can simulate catastrophic failure. Replacing the compressor would have been a costly mistake.
Essential Diagnostic Checklist
Before concluding the compressor is faulty, complete the following checklist:
- ✅ Verify thermostat is calling for cooling
- ✅ Confirm 24V control signal reaches the contactor
- ✅ Inspect and test start/run capacitor(s)
- ✅ Examine contactor for pitting, welding, or corrosion
- ✅ Measure line voltage at the outdoor unit
- ✅ Attach manifold gauges and record suction/discharge pressures
- ✅ Check refrigerant charge level via superheat/subcooling
- ✅ Measure compressor amp draw against RLA
- ✅ Perform ohmmeter test on compressor windings
- ✅ Look for oil stains or burnt odor near compressor
Frequently Asked Questions
Can a compressor fail without tripping the breaker?
Yes. Gradual internal wear, valve leakage, or reduced pumping efficiency may not cause immediate overload. The system will cool poorly, but the breaker remains intact. Performance testing is required to identify such soft failures.
Is it possible for a compressor to start but still be bad?
Absolutely. A compressor may run but suffer from internal valve leaks, worn pistons, or slugging (liquid refrigerant entering the cylinder). These conditions reduce efficiency and cooling capacity while masking themselves as minor performance drops.
What causes a compressor to burn out?
Common causes include voltage fluctuations, inadequate lubrication, overheating due to poor airflow, refrigerant contamination (moisture or acid), and prolonged operation under extreme loads. Burnouts often leave acidic residues in the system, requiring thorough flushing before replacement.
Final Thoughts and Preventive Measures
Diagnosing a faulty AC compressor isn't about reacting to symptoms—it's about methodically ruling out alternatives. Rushing to replace the compressor without verifying supporting components leads to wasted resources and unresolved issues. Technicians and informed homeowners alike must adopt a diagnostic mindset focused on data, not assumptions.
Regular maintenance plays a crucial role in early detection. Clean coils, proper refrigerant levels, secure electrical connections, and timely capacitor inspections extend compressor life significantly. Installing a hard-start kit on older units can reduce startup stress and prevent premature failure.
“The best way to avoid compressor failure is consistent monitoring. Catch small issues early—before they become system killers.” — Maria Lin, Senior HVAC Consultant at ClimatePro Services
Take Action Today
If your AC isn’t cooling efficiently, don’t assume the worst. Use the steps outlined here to investigate thoroughly. Whether you're a DIY enthusiast or hiring a professional, knowing what questions to ask—and what tests should be performed—gives you control over the repair process. Share this guide with others facing cooling issues, and help promote smarter, more accurate HVAC troubleshooting across communities.


 浙公网安备
33010002000092号
浙公网安备
33010002000092号 浙B2-20120091-4
Comments
No comments yet. Why don't you start the discussion?