
In homes, hotels, waiting rooms, and rental properties, TV remotes are among the most frequently touched—and least cleaned—devices. Studies have shown that remotes can harbor more bacteria than a toilet seat, making regular disinfection essential for hygiene. However, many people hesitate to clean them, fearing damage to sensitive buttons or internal electronics. The good news: with the right approach, you can thoroughly disinfect a remote without compromising its function or lifespan. This guide provides proven, safe techniques backed by cleaning experts and electronic care standards.
Why Shared Remotes Need Regular Disinfection
Remote controls sit within arm’s reach of everyone in a room, often handled after eating, before washing hands, or during illness. Fingerprints, skin oils, food residue, and airborne particles accumulate over time, creating an ideal breeding ground for germs like E. coli, staphylococcus, and even cold and flu viruses. A 2020 study published in the American Journal of Infection Control found that hospital TV remotes were frequently contaminated with multidrug-resistant organisms—proof that high-touch electronics are silent vectors of disease transmission.
Shared environments—such as guest rooms, vacation rentals, nursing homes, or office lounges—multiply this risk. Children, elderly individuals, and those with compromised immune systems are especially vulnerable. Regular disinfection isn’t just about cleanliness; it’s a public health measure.
The Risks of Improper Cleaning Methods
Many well-intentioned attempts to clean remotes end in damage. Pouring liquids directly onto the device, submerging it, or using abrasive cloths can lead to button failure, sticky keypads, or short-circuited circuitry. Common mistakes include:
- Using excessive water or liquid cleaners that seep under buttons
- Applying alcohol-based solutions at full strength (above 70%)
- Scrubbing with rough sponges or paper towels that wear down labels
- Ignoring manufacturer guidelines for electronic care
Plastic casings can become brittle, rubberized coatings may peel, and screen displays on smart remotes can fog or crack when exposed to harsh chemicals. The goal is microbial reduction—not equipment destruction.
“Electronics require a balance between sanitation and material compatibility. You want to kill pathogens, not your remote.” — Dr. Linda Park, Environmental Hygiene Researcher, Johns Hopkins School of Public Health
Step-by-Step Guide to Safe Remote Disinfection
Follow this detailed process to disinfect any shared remote—whether infrared, Bluetooth, or voice-enabled—without causing harm.
- Power off and remove batteries: Always begin by turning off the remote and removing the batteries. This prevents accidental activation and protects internal components from potential moisture exposure.
- Dust the surface: Use a dry microfiber cloth or soft-bristled brush to remove loose debris, crumbs, and dust from crevices around buttons. Avoid compressed air cans unless held upright, as propellants can leave residue.
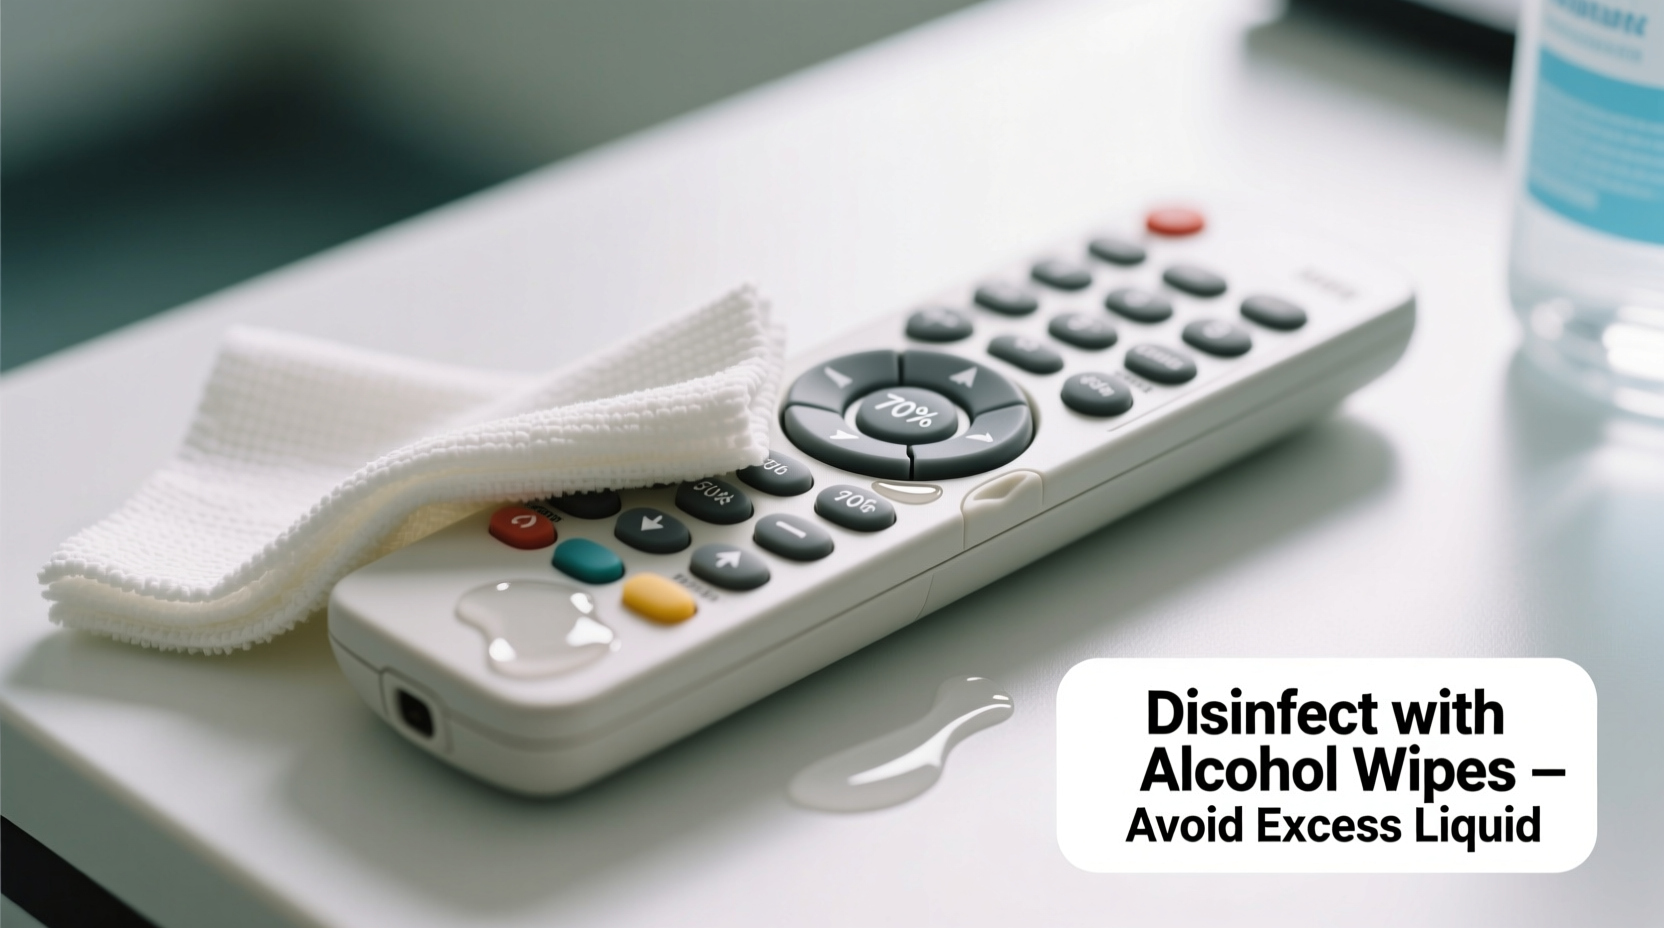
- Prepare a safe disinfectant solution: Mix 70% isopropyl alcohol with distilled water in a 1:1 ratio. Alternatively, use pre-moistened wipes labeled as “safe for electronics” (e.g., Clorox Electronics Wipes). Never use bleach, ammonia, or window cleaners.
- Mist, don’t soak: Lightly dampen a lint-free cloth with the solution—never spray directly onto the remote. Excess moisture can pool under buttons and damage contact points.
- Clean methodically: Wipe each button individually, applying gentle pressure. Pay attention to edges and gaps where grime accumulates. For tight spaces, wrap the cloth around a cotton swab dipped lightly in solution.
- Disinfect the back and sides: Don’t neglect the rear casing, battery compartment, and any ports. These areas also collect oils and microbes.
- Air dry completely: Place the remote on a clean towel in a well-ventilated area for at least 15–20 minutes. Ensure no moisture remains before reinserting batteries.
- Reassemble and test: Once dry, replace the batteries and test all functions. If responsiveness is delayed, allow more drying time before use.
Do’s and Don’ts: Quick Reference Table
| Do | Don’t |
|---|---|
| Use 70% isopropyl alcohol diluted with water | Use pure alcohol (90%+) or undiluted bleach |
| Dampen a cloth, never spray directly | Submerge the remote in liquid |
| Clean weekly in high-traffic settings | Wait until the remote looks dirty |
| Use microfiber or lint-free cloths | Scrub with paper towels or steel wool |
| Allow full air drying before reuse | Reinstall batteries while still damp |
Alternative Cleaning Methods for Sensitive Devices
Some remotes—especially premium models with touchscreens, motion sensors, or fabric finishes—are more delicate. For these, consider gentler alternatives:
- UV-C sanitizing boxes: Small portable devices that use ultraviolet light to kill germs without chemicals. Place the remote inside for 5–10 minutes per cycle. Effective against 99.9% of surface pathogens when used correctly.
- Dry microfiber with baking soda: For light cleaning between deep disinfections, sprinkle a pinch of baking soda on a dry microfiber cloth and gently buff the surface. Removes odors and light grime without moisture.
- Steam cleaning (with caution): Handheld garment steamers can sanitize surfaces if held at least 6 inches away and used in quick bursts. Not recommended for older or unsealed remotes.
Note: Apple’s Siri Remote, Samsung Smart Remotes, and Logitech Harmony models often have specific care instructions. Always consult the manufacturer’s website before using liquids or UV devices.
Real Example: Hotel Chain Implements Remote Sanitization Protocol
When a mid-sized hotel chain in Chicago began receiving guest complaints about “dirty remotes,” management launched a pilot cleaning program across 12 locations. Housekeeping staff were trained to disinfect remotes using a 70% alcohol wipe followed by a 10-minute drying period. Each remote was placed in a labeled tray to prevent early replacement into drawers.
Within three months, guest satisfaction scores related to room cleanliness rose by 27%. More importantly, internal audits found a 92% reduction in detectable surface bacteria on remotes. The success led to a company-wide rollout, including quarterly refresher training and inclusion of remote cleaning in quality checklists.
“It’s a small step with a big impact,” said Maria Tran, Director of Housekeeping Operations. “Guests notice when details are cared for. A clean remote signals that we pay attention to hygiene everywhere.”
Checklist: Weekly Remote Disinfection Routine
Use this checklist to ensure consistent, thorough cleaning:
- ☐ Remove batteries from the remote
- ☐ Dust surface and crevices with a dry microfiber cloth
- ☐ Prepare disinfectant: 70% isopropyl alcohol + distilled water (1:1)
- ☐ Dampen a lint-free cloth—do not saturate
- ☐ Wipe each button and surface gently
- ☐ Use cotton swabs for tight spaces (dipped lightly)
- ☐ Clean battery compartment and back panel
- ☐ Air dry for 15–20 minutes
- ☐ Reinstall batteries and test functionality
- ☐ Record cleaning date (optional, useful in shared settings)
Frequently Asked Questions
Can I use hand sanitizer to clean a remote?
No. While hand sanitizer contains alcohol, it also includes gelling agents, fragrances, and moisturizers that can leave sticky residues and degrade plastic over time. Stick to pure isopropyl alcohol solutions or approved electronic wipes.
How often should I disinfect a remote in a home with kids?
In households with young children who frequently handle remotes—especially during snack time or illness—disinfect every 2–3 days. Daily dusting with a dry cloth helps reduce buildup between deep cleanings.
Are UV sanitizers better than wiping?
UV-C light effectively kills surface germs without chemicals, but it only works on exposed areas. Shadows, crevices, and undersides of buttons may remain untreated. For best results, combine UV treatment with occasional wiping for physical debris removal.
Protecting Your Devices, Protecting Your Health
Disinfecting shared remotes is a simple act with outsized benefits. It reduces germ transmission, extends the life of electronic devices, and fosters a culture of hygiene in shared spaces. By following careful, evidence-based methods, you eliminate risks without sacrificing functionality. Whether you manage a household, rental property, or commercial facility, integrating remote cleaning into your routine is both practical and responsible.
Start today: pick up one remote, gather your supplies, and apply the steps outlined here. Once you see how quick and effective safe disinfection can be, it will become second nature. Clean technology isn’t just about performance—it’s about peace of mind.


 浙公网安备
33010002000092号
浙公网安备
33010002000092号 浙B2-20120091-4
Comments
No comments yet. Why don't you start the discussion?