
Enamel pins have evolved from niche collectibles into a vibrant form of self-expression. Whether you're showcasing band memorabilia, supporting causes, or celebrating hobbies, these small works of art deserve thoughtful presentation. But what if you love changing your decor frequently, rent your home, or simply want to preserve your walls? Drilling holes for traditional frames or shadow boxes isn’t always ideal—or even allowed. The good news is that there are numerous stylish, secure, and completely non-invasive methods to display your pin collection.
This guide explores practical, innovative, and aesthetically pleasing alternatives that protect both your walls and your pins. From magnetic boards to modular displays, each method balances function with flair, ensuring your personality shines through—without a single nail in sight.
Why Avoid Wall Damage When Displaying Pins?
While hanging framed pin displays may seem straightforward, many people face restrictions or personal preferences against altering walls. Renters often avoid any modifications to prevent deposit deductions. Others live in historic homes where drilling could compromise structural integrity or violate preservation rules. Even homeowners might prefer flexible decor that changes with seasons, moods, or new additions to their collection.
Additionally, over time, repeated nailing in the same area can weaken drywall, lead to unsightly patch marks, or complicate future redecorating. A hole-free approach offers reversibility, portability, and peace of mind—especially valuable when your pin collection grows faster than anticipated.
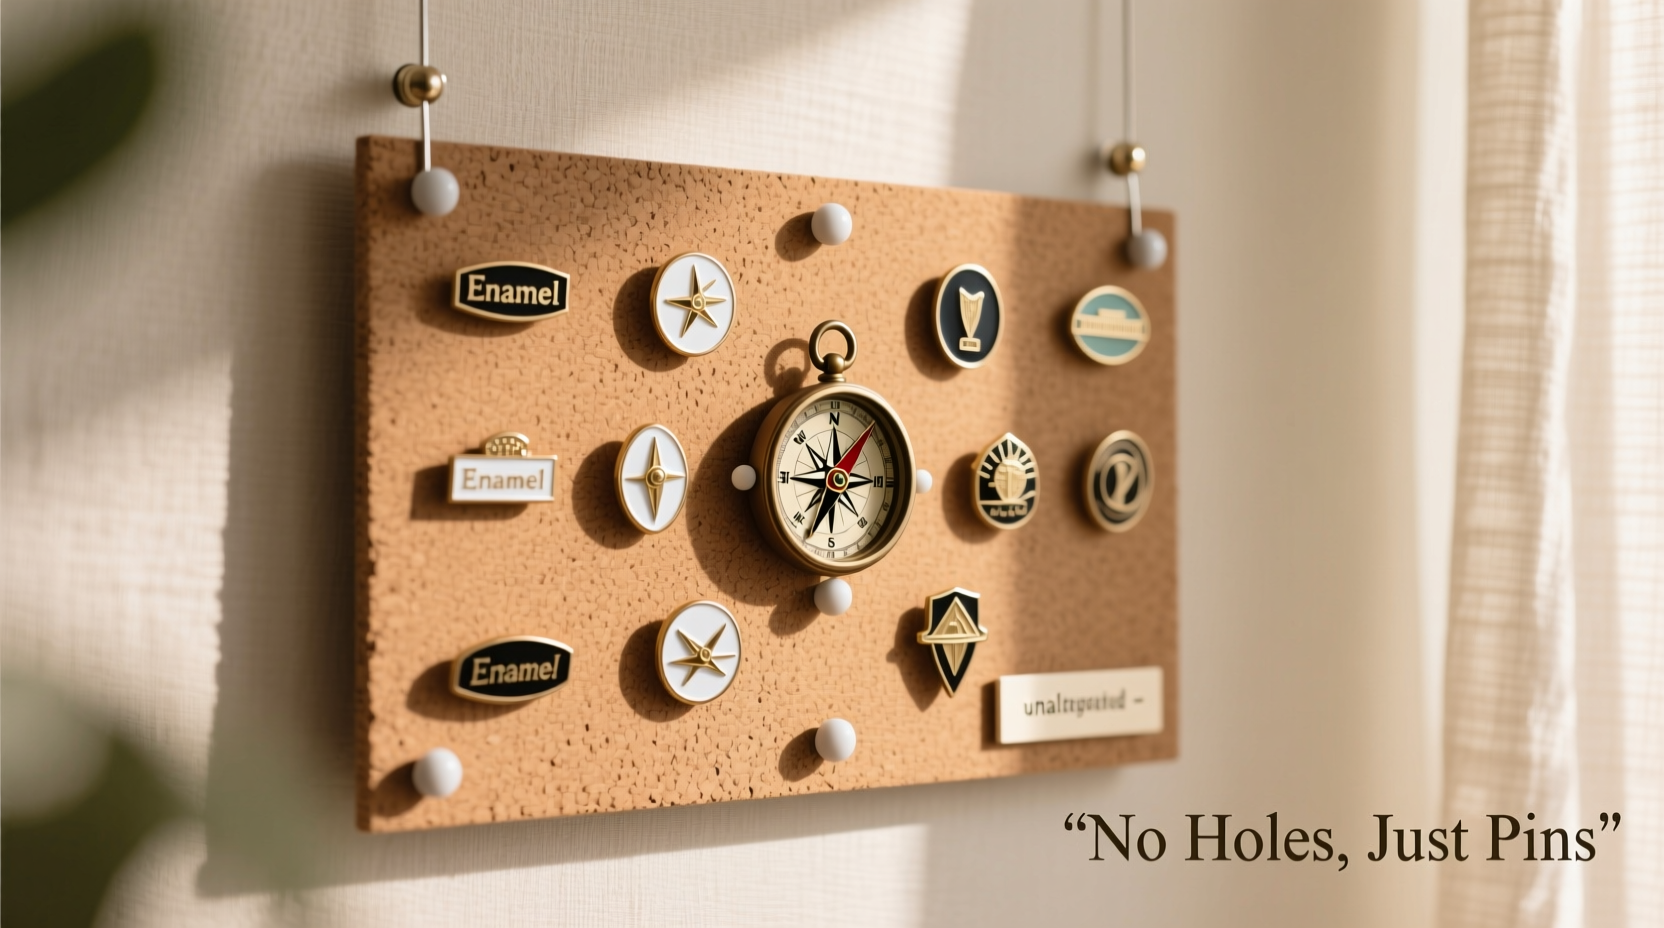
Magnetic Boards: A Sleek, Reusable Solution
One of the most effective ways to display enamel pins without damaging walls is by using magnetic boards. These rigid panels attract pins through their metal backings, allowing for easy repositioning and frequent layout updates.
Magnetic boards come in various sizes and finishes—black steel, white porcelain, or even decorative laminates that resemble chalkboards or photo grids. Some are designed specifically for offices or kitchens, but their functionality translates perfectly to pin curation.
To install one without nails, use heavy-duty adhesive mounting strips rated for the board’s weight. Brands like 3M offer removable options capable of holding up to 15 pounds per set. Attach the strips to the back corners of the board, press firmly onto a clean, flat wall surface, and allow 24 hours for full adhesion before loading it with pins.
For extra stability, consider placing the board on a floating shelf or leaning it against the wall on a credenza. This method eliminates all adhesives and creates a dynamic, gallery-style arrangement that doubles as furniture accent.
“Magnetic surfaces give collectors the freedom to rotate designs daily without wear on walls or frames.” — Jordan Lee, Curator at Urban Pin Archive
Fabric Panels and Cork Rolls: Soft & Stylish Options
Fabric-covered foam boards or cork rolls mounted in frames provide a soft yet structured backdrop ideal for pinning. Unlike traditional corkboards that require tacks, these modern versions are designed for lightweight items like enamel pins and can be secured without screws.
To create this setup:
- Select a rigid backing such as foam core board or thin wood panel (available at craft stores).
- Cover it with tightly stretched fabric—velvet, linen, or cotton duck work well.
- Secure the fabric edges neatly on the back with glue or staples.
- Use adhesive velcro strips or museum putty to mount the finished panel flush against the wall.
The fabric provides gentle resistance, keeping pins securely in place while adding texture and color contrast. Choose bold hues or patterned textiles to enhance visual interest around your pins.
Cork rolls offer similar benefits. Cut to size and inserted into an unframed shadow box or held within a clip frame, they allow pins to be pushed in lightly. Since no drilling is involved in mounting the outer frame (use adhesive hooks instead), this remains a zero-damage solution.
DIY Fabric Panel Checklist
- ✔ Foam core or MDF board (12”x16” recommended)
- ✔ 1 yard of medium-weight fabric (pre-washed)
- ✔ Spray adhesive or hot glue gun
- ✔ Scissors and ruler
- ✔ Adhesive velcro or mounting squares (rated for 5+ lbs)
- ✔ Optional: decorative trim or ribbon border
Hanging Solutions That Skip the Nails
When you want vertical display space but can’t drill, leverage alternative hanging systems that rely on tension, adhesion, or gravity.
Over-the-Door Hooks and Racks
Utilize the back of closet doors, bedroom doors, or entryway panels with over-the-door organizers. Look for models with clear vinyl pockets or mesh panels—perfect for slipping in small acrylic pin holders or felt strips where pins can be attached. These remain hidden when not in view but offer instant access.
Tension Rods + Fabric Grids
Install a tension rod inside a shallow shelf, between window jambs, or across a blank corner. Clip lightweight fabric grids, embroidery hoops, or woven tapestries to the rod using mini clothespins. Pins can then be arranged directly on the fabric. This system is fully adjustable and easily removed during moves.
Clip Frames and Gallery Rails
Gallery rails—often used for photo exhibitions—are mounted with adhesive strips and support hanging wires from which lightweight clips suspend artwork. Adapt this for pins by attaching small fabric swatches or leather patches to the clips. Enamel pins fasten cleanly to the material, and entire sections can be swapped out effortlessly.
| Solution | Wall Contact | Weight Capacity | Best For |
|---|---|---|---|
| Magnetic Board + Adhesive Strips | Full back adhesion | Up to 15 lbs | Bold, industrial look; frequent rearrangement |
| Fabric Panel on Velcro | Corner mounts | 3–5 lbs | Soft aesthetic; bedroom or office |
| Tension Rod + Fabric | No contact | 2–4 lbs | Temporary or seasonal displays |
| Gallery Rail System | Top rail adhesion | 5–8 lbs | Modular, rotating collections |
| Furniture-Leaned Board | None | Limited by stability | Renters; minimalist spaces |
Portable Displays: Showcase Anywhere, Anytime
If wall independence is a priority, shift focus from permanent installations to portable display tools. These double as travel cases and rotating exhibits, perfect for conventions, gift-giving, or room-to-room styling.
Felt Pin Books and Roll-Up Carriers
Available commercially or handmade, these consist of padded felt layers sewn into book format. Open the cover to reveal rows of pins embedded safely in the fabric. Secure with ties or zippers when closed. To \"display,\" simply lay the open book on a coffee table, desk, or shelf.
Shadow Boxes on Stands
Instead of wall-mounting shadow boxes, choose freestanding versions with built-in easel backs. Fill them with custom-cut foam inserts covered in velvet or suede. Arrange your pins in themed clusters—music, travel, pets—and rotate the box based on mood or season.
Mini Easels and Floating Shelves
Small tabletop easels, typically used for photos, can hold lightweight magnetic sheets or fabric panels adorned with pins. Pair multiple easels for a curated vignette. Alternatively, place a floating shelf (secured to furniture, not walls) and position upright pin displays on it, angled for visibility.
Real Example: Maya’s Rental-Friendly Pin Wall
Maya, a graphic designer living in a leased apartment in Portland, wanted to showcase her 70+ enamel pin collection in her home office. Her lease prohibited wall alterations, and she planned to move within two years. Instead of risking penalties, she created a hybrid display.
She purchased a slim magnetic whiteboard (18\"x24\") and mounted it using 3M Command™ strips. She painted a thin wooden frame in matte black to elevate its appearance and attached it around the board for a finished look. Behind her desk, she installed a tension rod just below eye level and hung a macramé wall hanging with a central fabric panel. Pins with larger backs were placed here for texture contrast.
For rotation pieces, she made a felt pin book featuring sections by theme: “Concert Memories,” “Queer Pride,” and “Cat Obsessions.” On weekends, she’d place it open on her sideboard as a conversation starter during gatherings.
The result was a layered, dynamic display that respected her rental agreement while expressing her identity. When she moved, disassembly took under ten minutes—no spackle needed.
Frequently Asked Questions
Can I use tape to hang pin displays?
Yes, but only high-adhesion, damage-free tapes like painter’s tape with reinforced fibers or specialty mounting tapes designed for heavier objects. Regular Scotch tape will fail quickly and may leave sticky residue. Always check weight limits and avoid glossy or freshly painted walls.
Will magnets harm my enamel pins?
No. Standard neodymium magnets used in magnetic boards do not affect the enamel coating or metal plating. However, prolonged exposure to moisture near magnetic surfaces (like in humid bathrooms) could accelerate tarnishing. Keep displays in dry areas.
How do I clean a fabric-based pin display?
Gently vacuum with a brush attachment to remove dust. For stains, spot-clean with a damp microfiber cloth and mild soap. Allow full drying before reinserting pins. Consider removable covers for easier washing.
Final Thoughts: Express Yourself Without Compromise
Displaying enamel pins shouldn’t come at the cost of your walls or your flexibility. With thoughtful materials and clever mounting techniques, you can create a personalized exhibit that evolves with your collection. Whether you opt for magnetic innovation, fabric elegance, or portable charm, the key is choosing methods that align with your lifestyle and space constraints.
These solutions aren’t just temporary fixes—they’re intentional design choices that reflect adaptability and care. You maintain control over your environment while celebrating the stories behind each pin.


 浙公网安备
33010002000092号
浙公网安备
33010002000092号 浙B2-20120091-4
Comments
No comments yet. Why don't you start the discussion?