
In the competitive world of YouTube, capturing and holding viewer attention is essential. While compelling audio and dynamic visuals are key, many creators overlook a simple yet powerful tool: still images. When used strategically, images can reinforce your message, break up monotony, and boost engagement. Whether you're illustrating a point, showcasing data, or adding visual variety, integrating images into your videos doesn’t require advanced skills or expensive software. This guide walks through practical methods, best practices, and tools that make adding images to your YouTube videos both easy and effective.
Why Images Matter in Video Content
Despite being a video platform, YouTube rewards content that keeps viewers engaged from start to finish. One way to maintain interest is by varying visual stimuli. Static footage of a single speaker or gameplay without variation can lead to early drop-offs. Inserting relevant images—such as infographics, product shots, quotes, or behind-the-scenes photos—can re-engage viewers at natural lulls.
Images also serve functional purposes. They can highlight key statistics, display step-by-step instructions, or provide context when words alone aren’t enough. According to a study by the Social Science Research Network, 65% of people are visual learners, meaning they retain information better when it’s presented with imagery. Incorporating visuals aligns with how audiences naturally process information.
“Visual cues improve comprehension, memory, and emotional connection. A well-placed image can be more memorable than a minute of narration.” — Dr. Lisa Tran, Media Psychologist
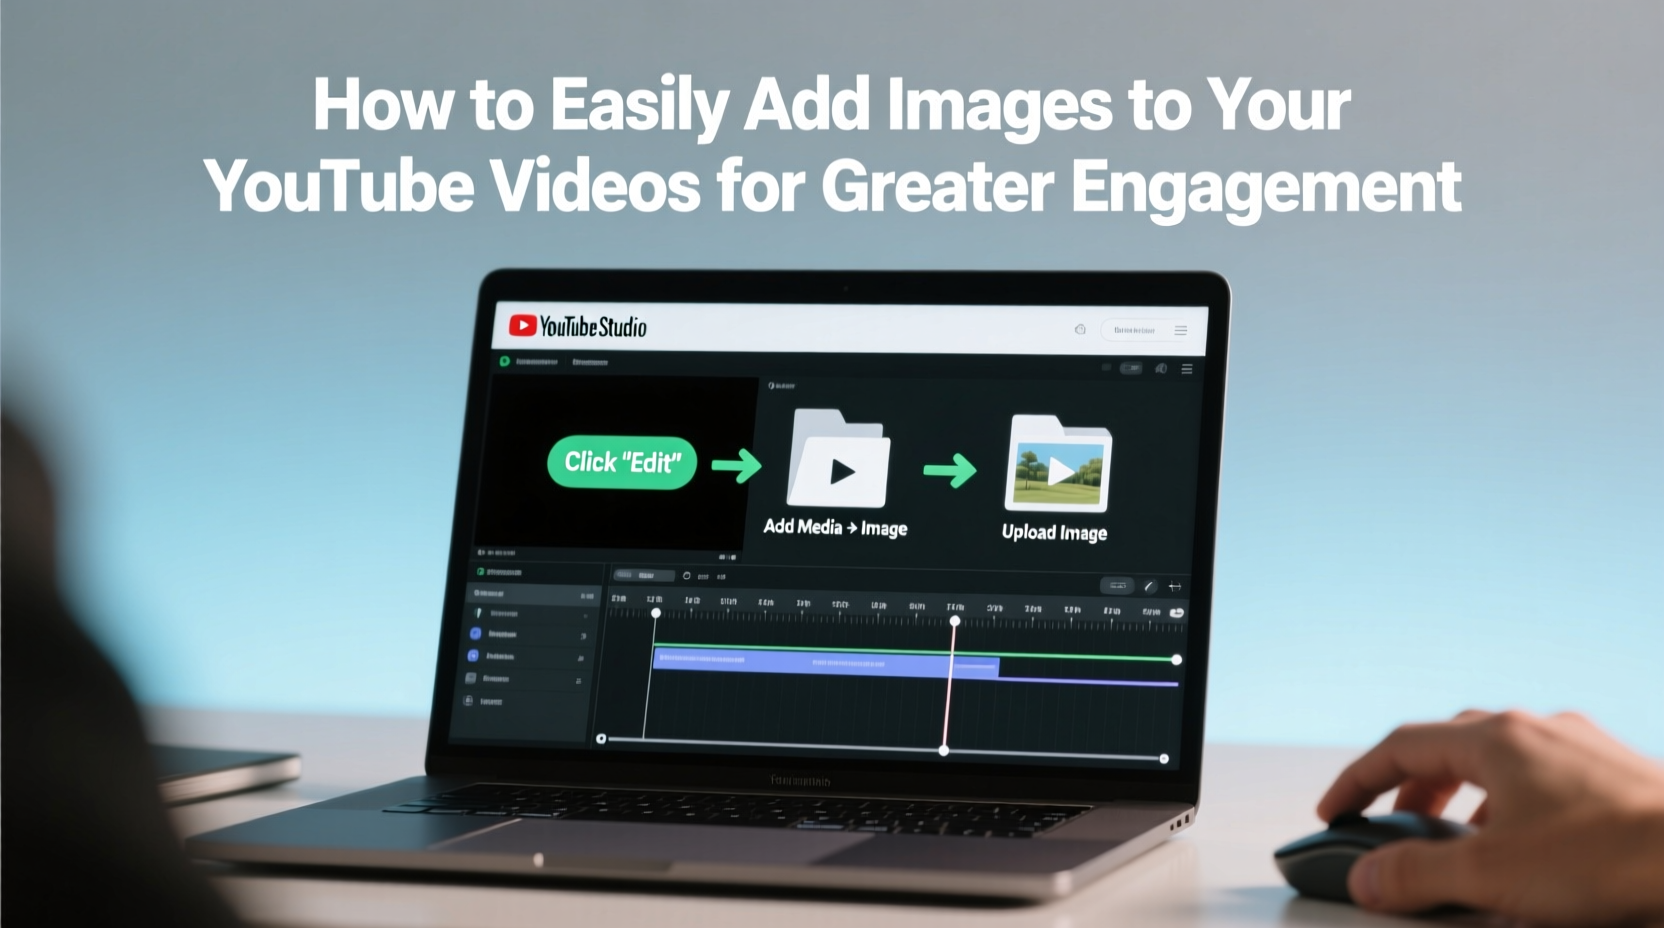
Step-by-Step Guide to Adding Images to Your Videos
Adding images to your YouTube videos is straightforward once you understand the workflow. Follow these steps using free or widely available tools:
- Choose Your Editing Software: Use accessible tools like DaVinci Resolve (free), iMovie (Mac), Clipchamp (Windows/online), or Adobe Premiere Pro (paid). Even YouTube’s built-in editor supports basic image insertion.
- Gather and Prepare Images: Collect high-resolution images in JPG or PNG format. Resize them to match your video resolution (e.g., 1920x1080) to avoid pixelation.
- Import Media: Open your project, import your video and image files into the media library.
- Add Images to Timeline: Drag the image onto the timeline above your video track. Position it where you want it to appear.
- Adjust Duration and Effects: Set how long the image displays (usually 3–7 seconds). Apply transitions like fade-in/fade-out or zoom effects to make the change smooth.
- Export and Upload: Render your video in MP4 format (H.264 codec recommended) and upload to YouTube.
Best Practices for Using Images Effectively
Not all images enhance a video—poorly chosen or badly placed ones can distract. To maximize impact, follow these guidelines:
- Relevance First: Every image should support your narrative. Avoid decorative graphics that don’t add value.
- Keep It Brief: Display images only as long as necessary. Overexposure leads to disengagement.
- Maintain Consistent Style: Use a uniform color scheme, font, and filter to create a professional look.
- Optimize for Mobile: Over half of YouTube views come from mobile devices. Ensure text is large enough and central to the frame.
- Use Copyright-Safe Images: Stick to royalty-free sources like Unsplash, Pexels, or Pixabay unless you own the rights.
Do’s and Don’ts of Image Integration
| Do | Don't |
|---|---|
| Use high-resolution images (1920x1080 or higher) | Stretch low-quality images to fit screen |
| Add subtle animations (pan, zoom, fade) | Overload with flashy transitions |
| Align images with voiceover or on-screen text | Show images unrelated to current topic |
| Credit image sources in description if required | Use copyrighted images without permission |
Real Example: Boosting Engagement with Visual Reinforcement
Consider Maya, a DIY home improvement YouTuber. Her early videos featured long monologues over static camera angles, averaging a 45% audience retention rate. After analyzing viewer drop-off points, she noticed dips during technical explanations. She began inserting labeled diagrams, before-and-after photos, and close-ups of tools during those segments.
Within two months, her average retention rose to 68%. Comments reflected appreciation for clarity: “The diagram really helped me understand the wiring setup.” By simply embedding relevant images at critical moments, Maya transformed complex topics into digestible content, proving that small visual additions yield measurable results.
Tools and Resources for Seamless Integration
You don’t need a professional studio to use images effectively. Here are reliable, user-friendly options:
- DaVinci Resolve: Free, powerful editing suite with intuitive image layering and effects.
- Canva: Create custom graphics optimized for YouTube dimensions (use their “YouTube” templates).
- Pixabay & Unsplash: Vast libraries of free, high-res images with commercial use rights.
- YouTube Studio Editor: Limited but sufficient for quick edits—ideal for adding end screens or simple overlays.
Checklist: Preparing and Adding Images to Your Next Video
- ☐ Identify key moments in the script where visuals would help
- ☐ Source or create high-resolution, copyright-safe images
- ☐ Resize and format images to match video resolution
- ☐ Import images into your editing software
- ☐ Place images on timeline and adjust duration
- ☐ Add transitions or subtle motion (Ken Burns effect)
- ☐ Preview on mobile and desktop before export
- ☐ Credit sources in video description if applicable
Frequently Asked Questions
Can I use screenshots from websites or apps in my videos?
Yes, but exercise caution. Screenshots of public-facing content (like a news article or app interface) generally fall under fair use for commentary or education. However, avoid using proprietary dashboards, private data, or branding-heavy interfaces without permission. When in doubt, blur logos or seek authorization.
How long should an image stay on screen?
Aim for 3 to 7 seconds, depending on complexity. Simple icons or titles may need only 2–3 seconds, while detailed charts or multi-point lists benefit from 5–7 seconds. Always sync timing with your narration—let viewers finish reading before moving on.
Will adding images slow down my video rendering?
Minimal impact. Still images require far less processing power than video clips. However, using hundreds of images or applying heavy effects (like animated zooms on every frame) can increase export time. Stick to essential visuals and lightweight transitions for optimal performance.
Final Thoughts and Action Steps
Integrating images into your YouTube videos isn’t just about aesthetics—it’s a strategic move to improve understanding, sustain attention, and elevate production quality. The process is accessible to beginners and scalable for seasoned creators. With free tools and a little planning, you can turn static moments into engaging visual experiences.
Start small. In your next video, pick one segment that feels flat and insert a single, well-chosen image. Observe viewer feedback and retention metrics. As you grow more confident, experiment with layered graphics, animated text, and branded visuals that reflect your channel’s identity.


 浙公网安备
33010002000092号
浙公网安备
33010002000092号 浙B2-20120091-4
Comments
No comments yet. Why don't you start the discussion?