
Image overlays are a powerful visual tool used in digital design, photography, marketing, and social media. When done right, they transform ordinary photos into compelling compositions that capture attention. Whether you're blending textures, adding depth with transparency, or combining landscapes with portraits, layering images opens up endless creative possibilities. The good news? You don’t need advanced skills or expensive software to achieve professional results.
This guide walks through practical methods, tools, and insider techniques to help you layer one photo over another seamlessly—without frustration or complexity.
Why Image Overlays Matter
Layering images isn’t just about aesthetics; it serves functional purposes too. Designers use overlays to:
- Add texture or mood (e.g., film grain, light leaks)
- Create composite scenes (e.g., placing a person into a new environment)
- Highlight contrast between two subjects
- Enhance storytelling in digital collages
- Improve branding consistency across visuals
A well-executed overlay can turn a flat image into something dynamic and emotionally engaging. The key lies in alignment, opacity control, and blending modes—all of which are accessible even to beginners.
Essential Tools for Photo Layering
You don’t need Photoshop expertise to create beautiful overlays. Several user-friendly tools make the process straightforward:
| Tool | Best For | Learning Curve | Cost |
|---|---|---|---|
| Adobe Photoshop | Precision editing, complex composites | High | Paid |
| GIMP | Free alternative to Photoshop | Moderate | Free |
| Canva | Quick social media graphics | Low | Free + Pro features |
| Figma | Digital design and prototyping | Low-Moderate | Free tier available |
| Pixlr X / E | Browser-based photo editing | Low | Free + Premium |
For most casual creators, Canva or Pixlr offer more than enough functionality without requiring hours of training. Professionals who demand full control may prefer Photoshop or GIMP for their advanced masking and adjustment layers.
Step-by-Step Guide to Layering Photos
Follow this clear sequence to layer one photo over another effectively, regardless of your chosen tool:
- Choose Your Base Image: This is the background layer—usually the dominant scene or subject. Pick an image with strong composition and lighting.
- Select the Overlay Image: This will sit on top. Ensure its dimensions and aspect ratio align reasonably well with the base, or plan to crop accordingly.
- Import Both Images into Your Editor: Open your preferred tool and upload both files. Most platforms allow drag-and-drop.
- Position the Overlay: Place the second image above the base in the layer stack. Resize and reposition it as needed. <5> Adjust Opacity: Reduce the top layer’s opacity (often via a slider) to let the base show through. Start at 50% and fine-tune visually.
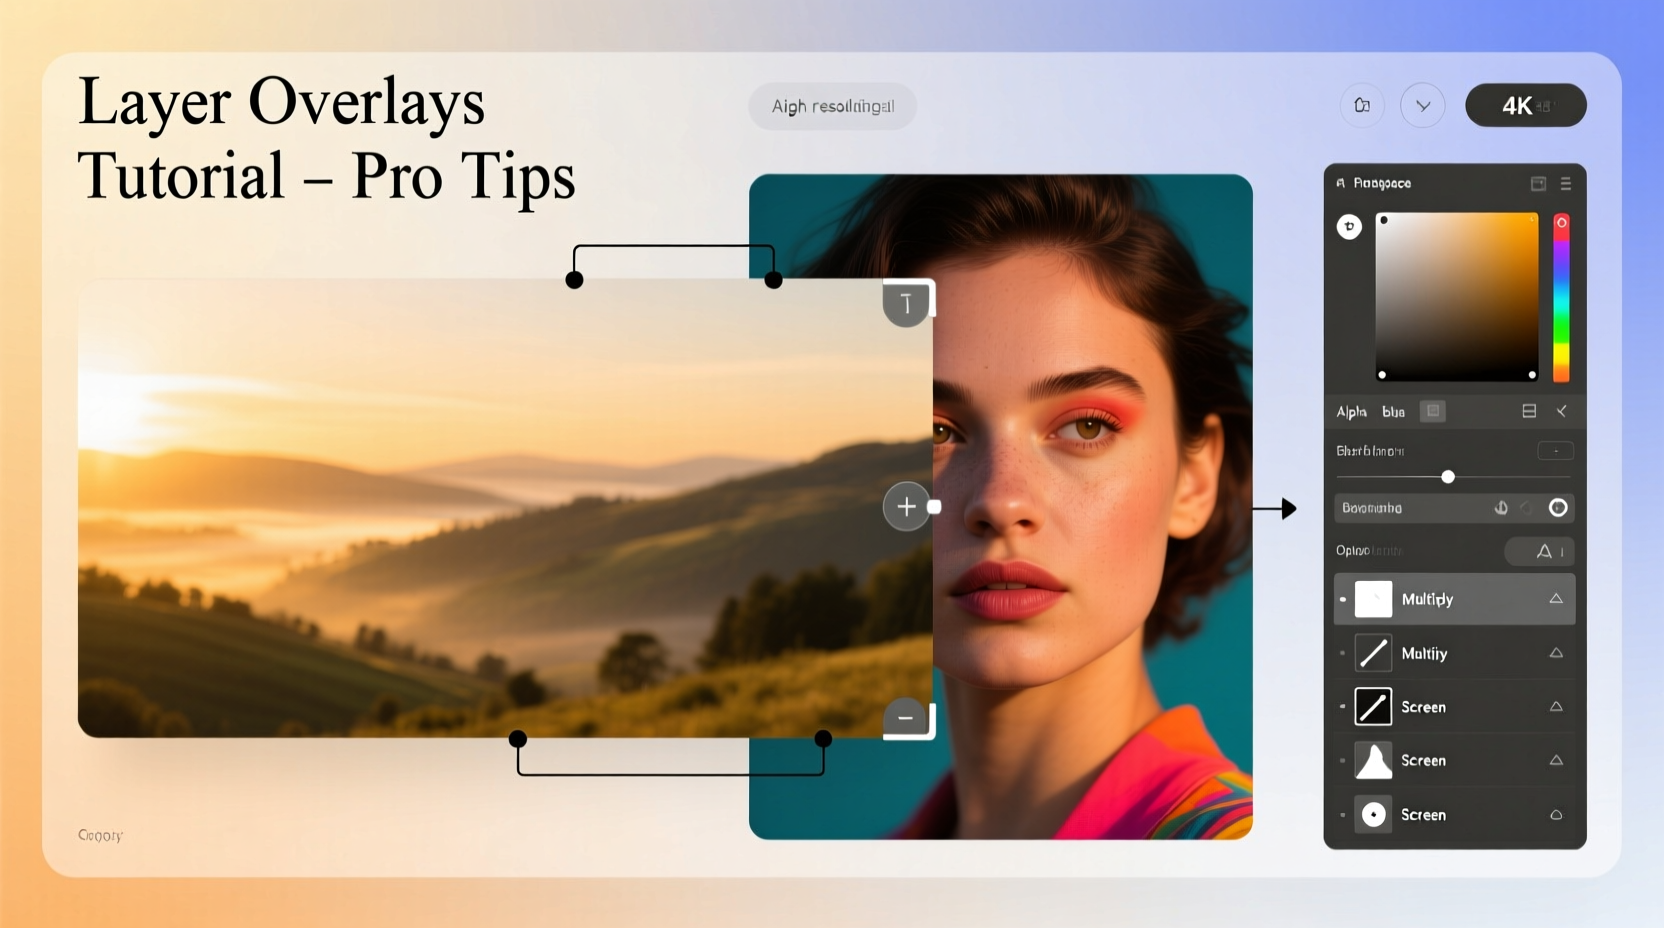
- Use Blending Modes: Experiment with options like Multiply, Screen, Overlay, or Soft Light to enhance integration. Multiply darkens; Screen lightens—ideal for textures.
- Add Masks (Optional): Use layer masks to hide parts of the overlay non-destructively. Paint with black to erase, white to reveal.
- Refine Edges and Colors: Apply slight color corrections or sharpening if needed to unify both images’ tones.
- Export Your Final Image: Save in high quality (preferably PNG for transparency support or JPEG for general use).
Real Example: Creating a Moody Travel Poster
Sophia, a travel blogger, wanted to create a promotional graphic for her Iceland trip. She had a crisp photo of herself standing on a glacier but felt it lacked atmosphere. Her solution?
She opened Canva, uploaded the portrait as the base, then layered a stormy sky texture over the top. Using the “Overlay” blending mode and reducing opacity to 60%, she achieved a dramatic, cinematic effect. A quick text addition completed the poster. The result was shared across Instagram and her newsletter, increasing engagement by 37% compared to previous posts.
This example shows how minimal effort—just two images and basic adjustments—can produce striking visuals that resonate with audiences.
Expert Insight: What Makes an Overlay Work
“Great overlays aren’t about complexity—they’re about harmony. Match lighting direction, color temperature, and perspective. Even subtle misalignment breaks realism.” — Daniel Reeves, Digital Art Director at Luminary Studio
Professional designers emphasize cohesion. If your base image has soft golden-hour lighting, avoid overlaying a harsh midday texture. Similarly, ensure shadows fall in consistent directions. These small details determine whether a composite looks intentional or artificial.
Common Mistakes and How to Avoid Them
Even experienced creators sometimes slip up. Here are frequent pitfalls and their fixes:
- Overdoing Opacity: Too much transparency makes the overlay irrelevant; too little overwhelms the base. Aim for balance.
- Ignoring Resolution: Low-res overlays introduce blur or jagged edges. Always match or exceed the base image quality.
- Clashing Colors: Use adjustment layers (like Hue/Saturation) to tone down conflicting hues.
- Forgetting Export Settings: Saving in low quality undermines your work. Choose appropriate formats: PNG for transparency, JPEG for web sharing.
“Start simple. One overlay, one adjustment. Master that before stacking multiple layers.” — Lena Cho, Visual Storytelling Coach
Checklist: Quick-Start Guide to Perfect Overlays
Before finalizing your image, run through this checklist:
- ✅ Both images are high resolution and properly licensed
- ✅ Overlay is correctly positioned and scaled
- ✅ Opacity adjusted for natural blending (typically 30–70%)
- ✅ Blending mode enhances rather than distracts
- ✅ Colors and lighting feel cohesive
- ✅ No visible hard edges or unnatural cutouts
- ✅ Final export is saved in optimal format and quality
Frequently Asked Questions
Can I layer photos on a smartphone?
Yes. Apps like Snapseed, PicsArt, and Canva Mobile allow layering with intuitive touch controls. While less precise than desktop tools, they’re excellent for quick edits and social content.
Do I need to credit the original photo sources?
If you’re using stock images or someone else’s photography, yes—always follow licensing terms. Even with royalty-free images, crediting is ethical and often required. For personal projects using your own photos, attribution isn’t necessary.
How do I make only part of the overlay visible?
Use a layer mask. Instead of erasing pixels permanently, apply a mask and paint with black to hide areas, or gray for partial transparency. This keeps your edits flexible and reversible.
Final Thoughts and Next Steps
Layering one photo over another doesn’t require years of design experience—just a clear goal, the right tools, and a few foundational techniques. From enhancing mood with textured overlays to creating imaginative composites, the creative potential is vast and accessible to everyone.
The best way to improve is to experiment. Try combining a portrait with a cityscape, or add a vintage film grain to a modern photo. Each attempt builds intuition and sharpens your eye for detail.


 浙公网安备
33010002000092号
浙公网安备
33010002000092号 浙B2-20120091-4
Comments
No comments yet. Why don't you start the discussion?