
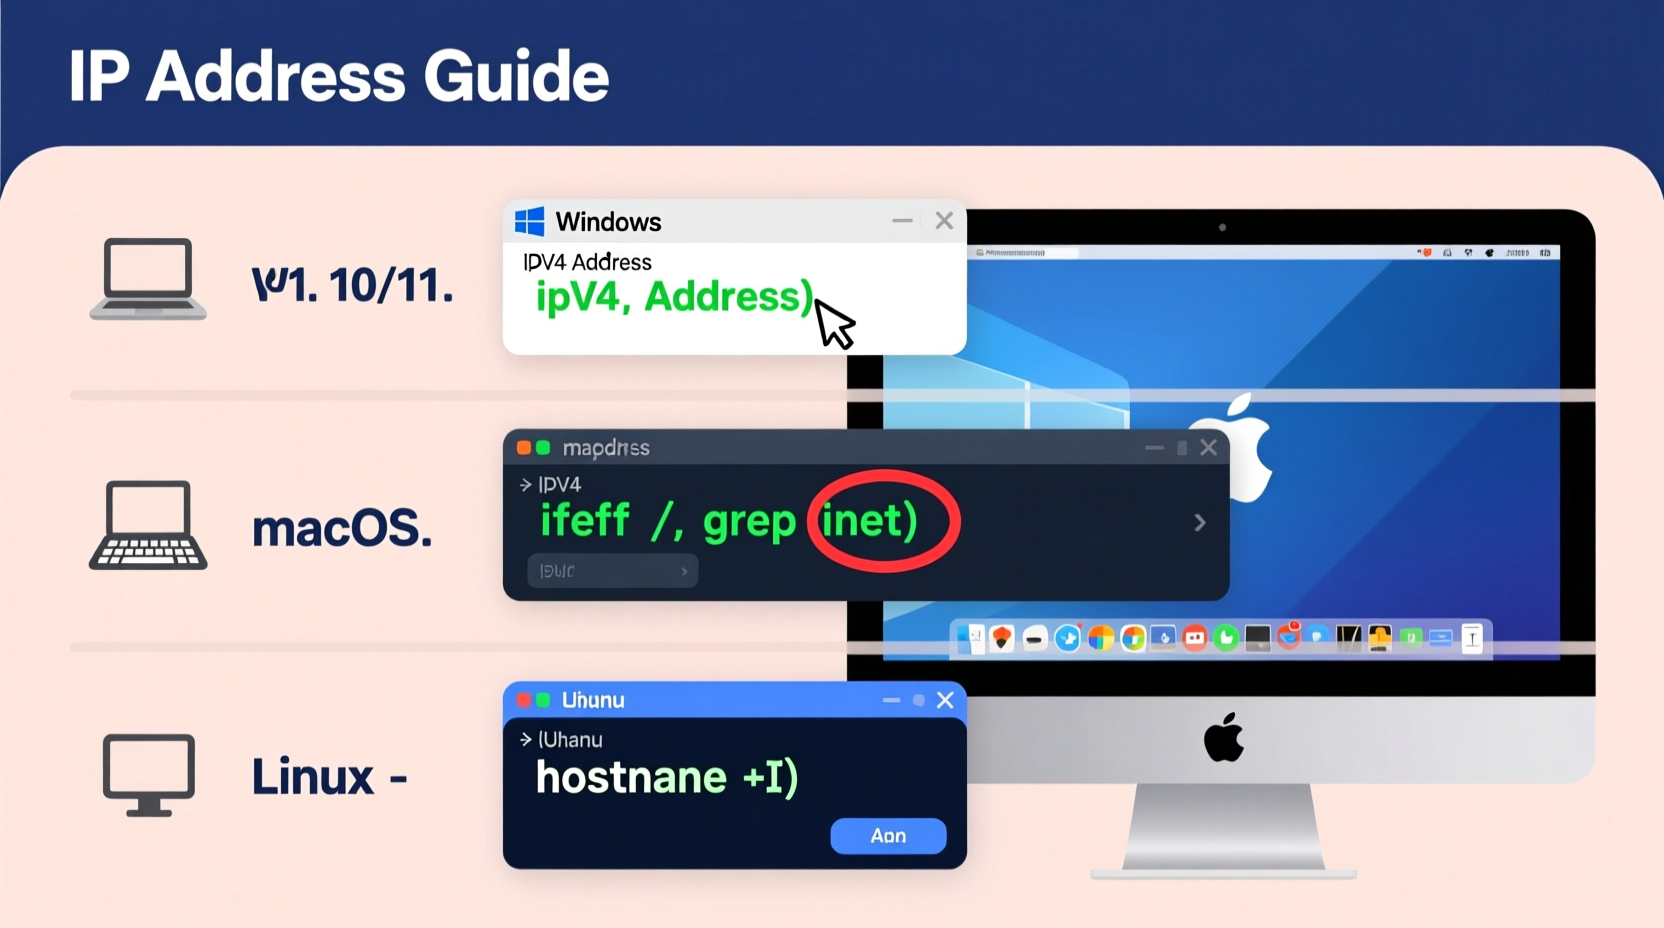
Your laptop’s IP address is a unique identifier that allows it to communicate over a network. Whether you’re troubleshooting connectivity issues, setting up a printer, or securing your home network, knowing your device’s IP address is often the first step. The process varies slightly depending on your operating system, but in every case, it’s fast and straightforward. This guide walks through reliable methods for finding your IP address on Windows, macOS, Linux, and Chrome OS—no technical background required.
Understanding IP Addresses: IPv4 vs. IPv6
Before diving into the steps, it helps to understand the two main types of IP addresses: IPv4 and IPv6. Most users interact primarily with IPv4 addresses, which appear as four sets of numbers separated by dots (e.g., 192.168.1.5). These are assigned by your router when you connect to a local network.
IPv6 addresses are longer and use hexadecimal notation (e.g., 2001:0db8:85a3::8a2e:0370:7334). They were introduced to accommodate the growing number of internet-connected devices. While both may be active on your system, IPv4 remains the standard for most local network tasks.
“Every device on a network needs an IP address—it’s like a digital street address that ensures data reaches the right destination.” — Dr. Lena Patel, Network Systems Engineer
How to Find Your IP Address on Windows
Windows offers multiple ways to retrieve your IP address, from graphical tools to command-line utilities. Choose the method that suits your comfort level.
Method 1: Using Settings (GUI)
- Click the Start menu and go to Settings.
- Select Network & Internet.
- Choose either Wi-Fi or Ethernet, depending on your connection type.
- Click the network you're connected to.
- Scroll down to view your IP address under “IPv4 address.”
Method 2: Using Command Prompt
- Press Windows + R, type
cmd, and press Enter. - In the Command Prompt window, type
ipconfigand press Enter. - Look for the section labeled Wireless LAN adapter (for Wi-Fi) or Ethernet adapter.
- Your IPv4 address appears next to IPv4 Address.
Finding Your IP on macOS
Apple’s macOS provides clean, intuitive access to network settings. You can find your IP address through System Settings or Terminal.
Using System Settings
- Click the Apple logo in the top-left corner and select System Settings.
- Go to Network.
- Select your active connection (Wi-Fi or Ethernet) from the sidebar.
- If connected, your IP address will be displayed beneath the connection status.
Using Terminal (Advanced Option)
- Open Terminal from Applications > Utilities or via Spotlight (Cmd + Space).
- Type
ifconfig | grep \"inet \" | grep -v 127.0.0.1and press Enter. - The first result is usually your local IP address (e.g., 192.168.x.x).
“macOS users who frequently switch networks should bookmark their network preferences—it saves time during travel or remote work setups.” — Jordan Lee, IT Consultant
Locating IP Address on Linux Distributions
Linux offers powerful command-line tools for retrieving network information. While GUI options exist, most users rely on terminal commands due to their speed and consistency across distros.
Using Terminal Commands
The two most common commands are ip and hostname.
- To use the modern
ipcommand:ip addr showLook for your wireless interface (oftenwlan0orwlp2s0) and find the line containing “inet” followed by your IP. - Alternatively, use:
hostname -IThis returns only the IP address(es), making it ideal for quick reference.
GUI Method (Ubuntu Example)
- Click the network icon in the top-right corner.
- Select Settings.
- Choose your active connection under Wi-Fi or Ethernet.
- Click the gear icon and navigate to the IPv4 tab to view your IP.
| Method | Command/Path | Best For |
|---|---|---|
| Terminal (ip) | ip addr show |
Detailed interface info |
| Terminal (hostname) | hostname -I |
Quick copy-paste |
| GUI Settings | Network > IPv4 Tab | New Linux users |
ip route get 1.1.1.1 to see which interface and IP your system uses to reach the internet—great for diagnosing routing issues.
Checking IP Address on Chrome OS
Chromebooks are designed for simplicity, and finding your IP follows that philosophy. There’s no terminal needed for basic lookup, though advanced users can dig deeper.
Standard Method via Settings
- Click the time in the bottom-right corner.
- Select your Wi-Fi or Ethernet network.
- Click the network name again in the expanded panel.
- Scroll down to find IP address listed under network details.
Using Crosh (Chrome OS Shell)
- Press Ctrl + Alt + T to open the Crosh terminal.
- Type
ip aand press Enter. - Find your active interface (usually
wlan0) and locate the “inet” field.
This method is useful if you’re troubleshooting or accessing developer features.
Common Mistakes When Finding Your IP
Even simple tasks can go wrong. Here are frequent pitfalls and how to avoid them:
- Mistaking public IP for local IP: The IP shown on sites like whatismyip.com is your router’s public IP, not your laptop’s internal one.
- Reading the wrong interface: In command-line outputs, ensure you’re checking the active network (Wi-Fi, not loopback).
- Ignoring dynamic changes: IPs can change if you reconnect or move networks—always verify when troubleshooting.
“Over half of support calls for ‘device not found’ issues resolve once users confirm they’re using the correct, current IP.” — Tech Support Report, NetSecure Inc. (2023)
FAQ: Quick Answers to Common Questions
Why does my IP address change?
Your local IP is typically assigned dynamically by your router using DHCP. It may change each time you reconnect unless you set a static IP reservation in your router settings.
Can two devices have the same IP address?
Not without conflict. If two devices are assigned the same IP, network errors occur—this is called an IP conflict. Modern routers usually prevent this automatically.
Is my IP address private?
Your local IP (like 192.168.x.x) is only visible within your network and is safe to share internally. Your public IP is exposed to the internet but doesn’t reveal personal details on its own.
Checklist: How to Confirm You’ve Found the Right IP
- ✅ Verify the IP starts with 192.168, 10., or 172.16–31 (standard private ranges).
- ✅ Ensure it’s listed under your active Wi-Fi or Ethernet connection.
- ✅ Cross-check using both GUI and command-line methods if uncertain.
- ✅ Recheck after rebooting or switching networks.
- ✅ Avoid using 127.0.0.1—that’s the loopback (localhost), not your real IP.
Real-World Scenario: Setting Up a Home Media Server
Sophia wanted to stream videos from her Linux laptop to her smart TV using Plex. She needed to enter the laptop’s IP into the server settings but kept getting connection errors. After double-checking, she realized she had copied the public IP from a website instead of her local 192.168 address. Using hostname -I in the terminal, she retrieved the correct internal IP, entered it into Plex, and successfully established the connection. A small mistake saved with the right knowledge.
Conclusion
Finding your laptop’s IP address is a fundamental skill that empowers you to manage devices, troubleshoot networks, and configure services with confidence. Whether you're on Windows, macOS, Linux, or Chrome OS, the tools are built-in and accessible. By understanding the difference between local and public IPs and knowing where to look on your system, you eliminate guesswork and save time. Don’t wait until you’re troubleshooting an issue—familiarize yourself with these steps now so you’re ready when the moment comes.


 浙公网安备
33010002000092号
浙公网安备
33010002000092号 浙B2-20120091-4
Comments
No comments yet. Why don't you start the discussion?