
Moving your phone number from one carrier to another doesn’t have to be stressful. Number porting—transferring your existing mobile number to a new service provider—is a common process used by millions every year. Whether you're switching for better rates, improved coverage, or enhanced features, keeping your number ensures continuity in personal and professional communication. With the right preparation and understanding of the steps involved, the entire process can take as little as 24 hours. This guide walks you through everything you need to know to make your number transfer seamless and secure.
Why Porting Your Number Matters
Your phone number is more than just digits—it's tied to your identity in the digital world. It’s linked to banking apps, social media accounts, two-factor authentication, and years of personal messages. Losing access or forcing contacts to update your information creates unnecessary friction. Porting allows you to retain your number while upgrading your service. The Federal Communications Commission (FCC) mandates that all U.S. carriers must allow number portability, making it a consumer right since 2003.
“Keeping your phone number when switching providers gives you flexibility without sacrificing connectivity.” — Sarah Lin, Telecommunications Consumer Advocate
Step-by-Step Guide to Porting Your Phone Number
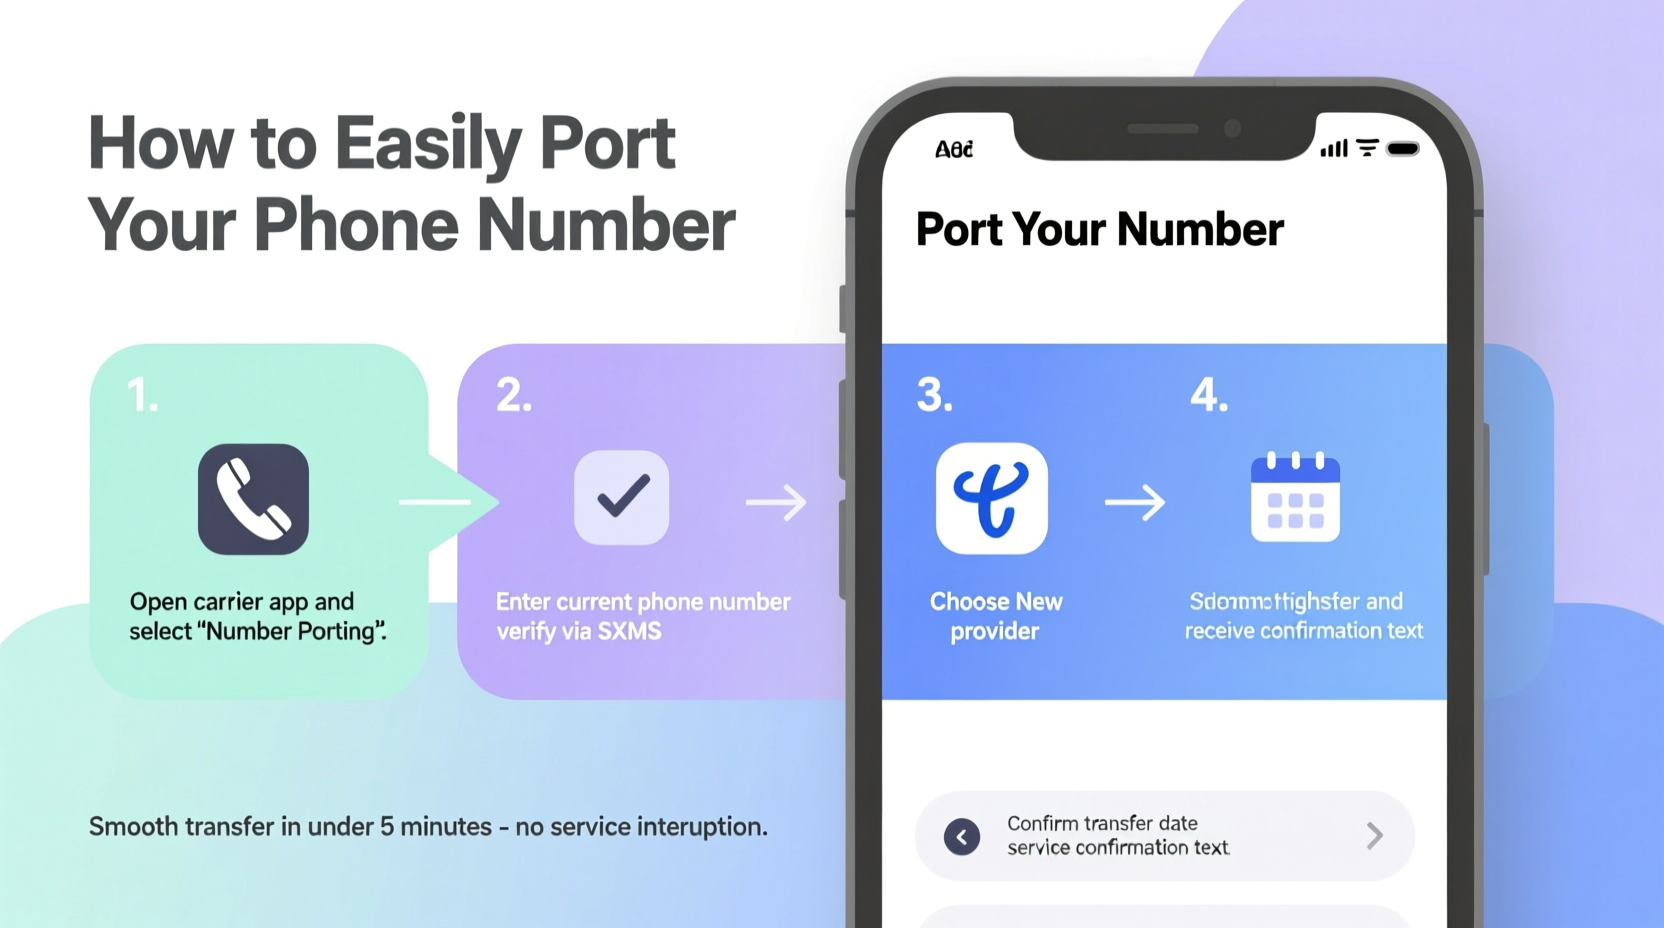
Porting your number follows a clear sequence. By following these steps carefully, you minimize delays and avoid service interruptions.
- Verify eligibility: Confirm your number can be ported. Most local and mobile numbers are eligible, but VoIP lines or certain landlines may face restrictions.
- Choose your new carrier: Research plans and coverage. Ensure the provider offers service in your area and supports number porting.
- Gather required information: You’ll need your full name, address, account number, and PIN or password from your current carrier.
- Initiate the port request: Sign up with the new carrier and provide your details during activation. They will contact your old carrier on your behalf.
- Wait for confirmation: The transfer typically takes 24 hours for wireless numbers; landlines may take up to seven days.
- Test your service: Once complete, make a call, send a text, and verify data functionality.
Essential Information You’ll Need
To successfully initiate a port, carriers require specific account details to verify ownership. Having this ready speeds up the process and reduces back-and-forth.
| Required Information | Description |
|---|---|
| Phone Number | The exact number you wish to transfer, including area code. |
| Account Holder Name | Must match the name on file with your current carrier. |
| Billing Address | Current address associated with your account. |
| Account Number | Found on your bill or account dashboard. |
| Account PIN or Password | A security code set with your carrier (not your voicemail PIN). |
| Service Plan Details | Helps the new carrier confirm active status. |
Common Pitfalls and How to Avoid Them
Even straightforward ports can run into issues if key details are overlooked. Awareness of common mistakes helps prevent frustration.
- Using incorrect account info: A mismatch in name or address halts the process. Double-check spelling and formatting.
- Canceling too early: Never terminate your old plan before the port completes. Wait for official confirmation from the new carrier.
- Outstanding balances: Some carriers block porting if there are unpaid bills. Settle dues before initiating the transfer.
- Contract obligations: If under contract, check early termination fees. However, these do not prevent porting—only financial responsibility.
- Transferring inactive numbers: Your line must be active. Reactivate suspended accounts first.
Real-Life Example: A Smooth Transfer
Jamal had been with his original carrier for eight years. When he moved to a rural part of Oregon, his signal dropped consistently. After researching alternatives, he chose a regional provider known for strong rural coverage. He visited their website, selected a plan, and began activation. During signup, he entered his phone number and was prompted for his account number and PIN. He retrieved both from his online account and submitted them. Within 15 minutes, he received an email confirming receipt of the port request. The next morning, his new SIM activated automatically. He tested calls and texts—everything worked. His old service disconnected only after the transfer completed, and he canceled it the same day. Total downtime: less than two hours.
Do’s and Don’ts of Number Porting
| Do’s | Don’ts |
|---|---|
| Keep your current phone active until the port finishes. | Don’t cancel your old service prematurely. |
| Verify all personal and account details before submitting. | Don’t guess your account PIN—contact support if forgotten. |
| Contact the new carrier immediately if the port stalls. | Don’t assume the process is automatic—follow up if needed. |
| Back up contacts and messages before switching SIMs. | Don’t rely solely on cloud sync—export a local copy. |
Frequently Asked Questions
Can I port my number if I’m still under contract?
Yes. Being under contract does not prevent porting. However, you may be responsible for early termination fees unless you’re within a grace period or qualifying for an exception.
How long does the porting process take?
Wireless number transfers usually complete within 24 hours. Landline or VoIP ports can take 4–7 business days. Delays occur if information is incorrect or verification fails.
What happens to my old service after porting?
Your old line becomes inactive once the number is transferred. You must cancel your account separately to stop billing. Some carriers auto-cancel after porting; others don’t.
Checklist for a Successful Number Transfer
Use this checklist to ensure nothing is missed before, during, and after the porting process.
- ✅ Confirm your number is eligible for porting
- ✅ Choose a new carrier and plan that meets your needs
- ✅ Locate your account number and security PIN from your current carrier
- ✅ Verify your personal details match your carrier’s records
- ✅ Initiate the port through your new carrier (not your old one)
- ✅ Keep your current phone powered on until the transfer completes
- ✅ Test calling, texting, and data on your new device post-transfer
- ✅ Cancel your old service only after confirmation
- ✅ Update emergency contacts and two-factor authentication apps with new service info
Final Thoughts and Next Steps
Porting your phone number is a simple process when approached with preparation and attention to detail. The ability to keep your identity intact while upgrading your mobile experience empowers you to make choices based on value, not inertia. Millions switch carriers every year—not because they’re dissatisfied, but because better options exist. With the steps outlined here, you can confidently move your number without disruption.


 浙公网安备
33010002000092号
浙公网安备
33010002000092号 浙B2-20120091-4
Comments
No comments yet. Why don't you start the discussion?