
Digital watches are reliable, durable, and packed with features that make tracking time, workouts, and daily activities easier than ever. The Geonaute brand, known for its sport-focused accessories, offers digital watches designed for runners, cyclists, and fitness enthusiasts. While these watches are built for simplicity and performance, adjusting the time can sometimes feel confusing—especially if you're unfamiliar with the button layout or interface.
This comprehensive guide walks you through the exact steps to set and adjust the time on your Geonaute digital watch. Whether you’ve just unboxed it, replaced the battery, or accidentally changed the time, this article ensures you’ll have your watch accurately synchronized in minutes.
Understanding Your Geonaute Watch Interface
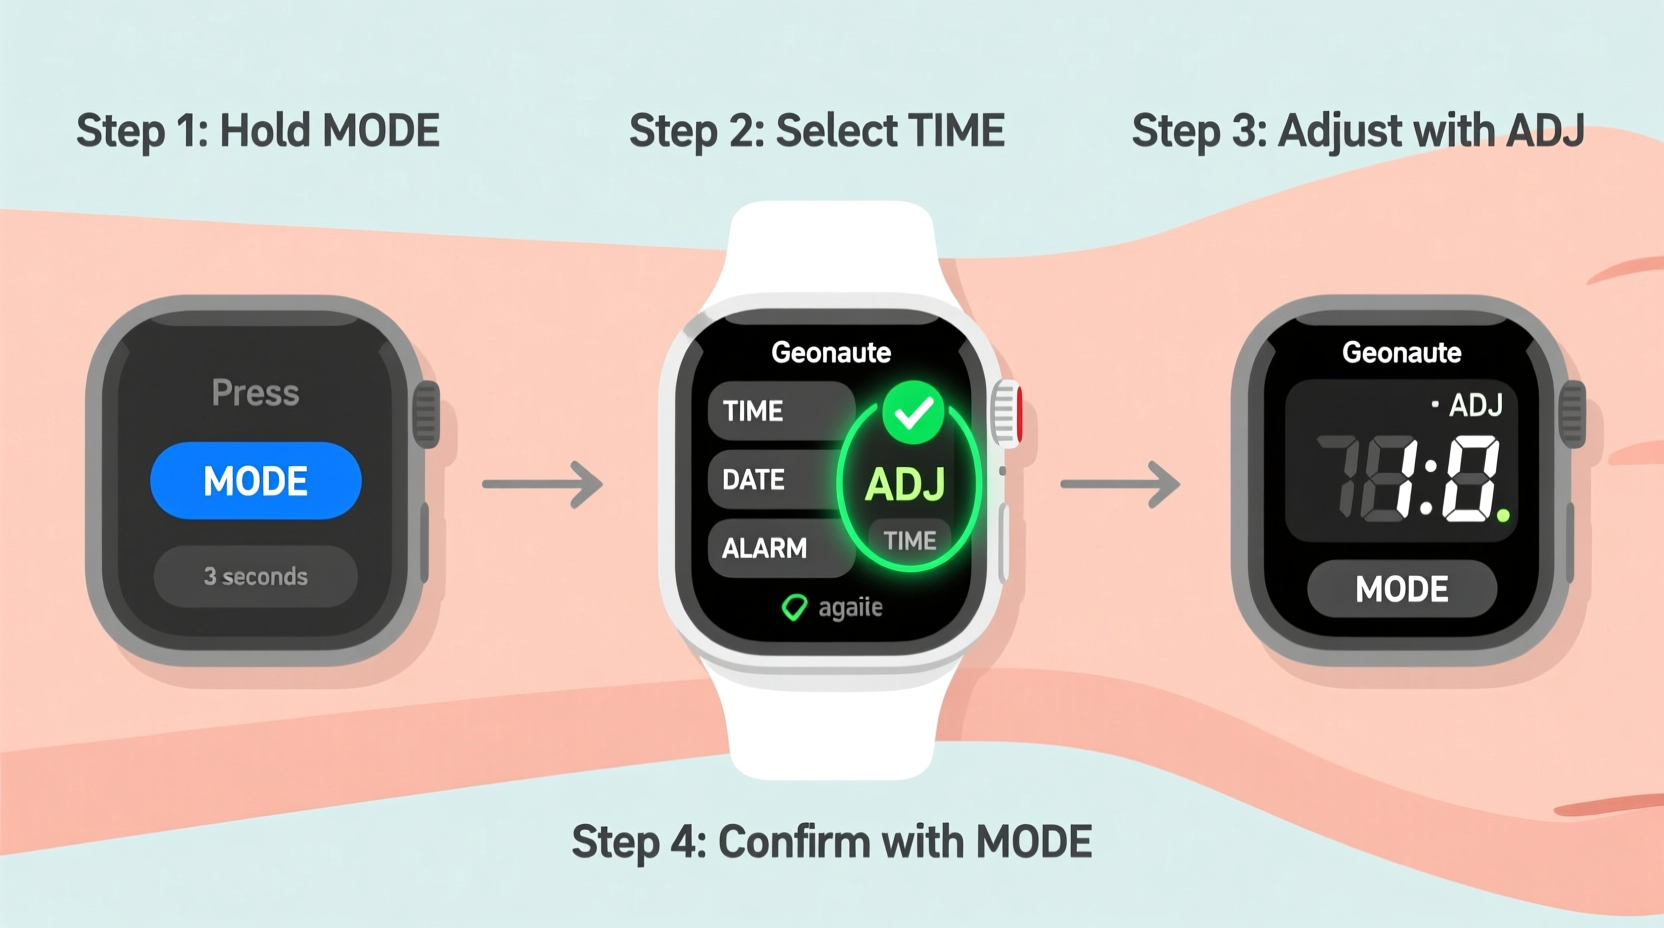
Before diving into time adjustment, it’s essential to understand the basic layout of most Geonaute digital watches. These models typically feature four buttons arranged around the watch face:
- Mode (or View): Cycles through different display modes such as time, stopwatch, date, and alarm.
- Start/Stop: Begins or pauses timing functions like stopwatch or countdown.
- Lap/Reset: Records lap times during stopwatch use or resets the timer.
- Adjust (or Set): Enters settings mode and confirms changes.
The exact labeling may vary slightly between models, but the functionality remains consistent across the Geonaute line. Familiarizing yourself with these buttons prevents confusion when navigating settings.
“Many users skip reading the manual, but understanding the button roles cuts setup time in half.” — Marc Dubois, Sports Equipment Technician
Step-by-Step Guide to Setting the Time
Follow this precise sequence to set the correct time on your Geonaute digital watch. This method applies to most standard Geonaute models, including those from Decathlon's sports range.
- Press and hold the 'Adjust' button. Do this while in the normal time display mode. Hold it for about 2–3 seconds until the hour digits begin to flash.
- Use the 'Mode' button to cycle between settings. Each press moves you to the next setting: hours → minutes → seconds → month → date → day. Wait for the field you want to adjust to blink.
- Use the 'Start/Stop' button to increase the value. For example, if you’re setting the hour and it shows “10,” pressing 'Start/Stop' will increment it to 11, 12, etc.
- Use the 'Lap/Reset' button to decrease the value. This is useful if you overshoot the desired number and need to go back.
- Confirm each setting by pressing 'Adjust' again. After selecting the correct value, press 'Adjust' to lock it in and move to the next field.
- Exit after setting all values. Once you've adjusted the last field (usually day or date), press 'Mode' repeatedly until the display returns to normal time mode.
Common Mistakes to Avoid
Even simple tasks can go wrong without attention to detail. Here are common errors people make when adjusting their Geonaute watch—and how to avoid them.
| Mistake | Why It Happens | How to Fix It |
|---|---|---|
| Accidentally changing the date instead of time | Pressing 'Mode' too many times during setup | Count the flashes: time fields usually come first before date |
| Setting incorrect 12/24-hour format | Not checking whether \"PM\" or \"24H\" is displayed | Consult manual; some models require long-press to toggle format |
| Exiting too early | Pressing 'Mode' instead of 'Adjust' to confirm | Always press 'Adjust' to save each value before moving on |
| Forgetting daylight saving time (DST) | Assuming the watch auto-updates | Manually adjust forward or backward by one hour when DST starts/ends |
Real Example: Adjusting Time Before a Morning Run
Sophie, a regular runner from Lyon, recently replaced her Geonaute watch battery after noticing it had stopped working. When she powered it back on, the time was set to 12:00 AM, and the date showed January 1st—regardless of the actual day being mid-March.
She followed the steps outlined above: holding the 'Adjust' button until the hour blinked, using 'Start/Stop' to set 7:30 AM, then cycling through minutes, date, and day. She paused briefly when she noticed “Jan” still showing, realizing she’d skipped the month field. After going back and correcting it to “Mar,” she saved each entry and returned to normal mode.
Thanks to the clear button logic, Sophie completed the entire process in under two minutes—just in time for her sunrise training session. Her experience highlights how intuitive the system becomes once you understand the flow.
Quick Checklist for Time Adjustment
To help you stay organized, here’s a printable-style checklist you can follow every time you need to set or correct the time:
- ✅ Ensure the watch is in normal time display mode
- ✅ Press and hold 'Adjust' until numbers flash
- ✅ Use 'Mode' to navigate to hours, minutes, seconds, date, and day
- ✅ Increase values with 'Start/Stop'
- ✅ Decrease values with 'Lap/Reset'
- ✅ Confirm each selection with 'Adjust'
- ✅ Exit by pressing 'Mode' until display stabilizes
- ✅ Verify accuracy against a trusted time source (e.g., phone)
Frequently Asked Questions
Does my Geonaute watch automatically update the time?
No, most Geonaute digital watches do not have automatic time synchronization via GPS or radio signals. You must manually set the time after battery replacement or power loss.
What should I do if the buttons aren’t responding?
First, check if the battery is low or improperly installed. Try removing and reinserting the battery. If the issue persists, clean the button contacts gently with a dry cotton swab and ensure no moisture is trapped inside.
Can I switch between 12-hour and 24-hour formats?
Yes, but the method varies by model. On some watches, you can toggle the format during time setup by holding the 'Adjust' button longer when editing the hour. Refer to your specific model’s manual for exact instructions.
Final Thoughts and Best Practices
Your Geonaute digital watch is more than just a timekeeper—it’s a tool for managing workouts, tracking progress, and staying punctual throughout the day. Taking a few moments to correctly set the time ensures everything from your morning jog to your evening schedule runs smoothly.
Once you’ve mastered the button sequence, adjusting the time becomes second nature. Make it a habit to verify the accuracy monthly, especially around daylight saving transitions. And if you share the watch with someone else—like a family member or training partner—show them how to adjust it too.
“A well-maintained watch enhances both performance and confidence.” — Lila Nguyen, Fitness Coach and Gear Advisor
With consistent care and proper setup, your Geonaute watch will remain a dependable companion through countless miles and minutes.


 浙公网安备
33010002000092号
浙公网安备
33010002000092号 浙B2-20120091-4
Comments
No comments yet. Why don't you start the discussion?