
Creating compelling videos doesn’t require expensive software or professional training. With the right approach and accessible tools, anyone can edit high-quality videos from home—completely free. Whether you're crafting social media clips, documenting travel adventures, or producing educational content, learning basic video editing opens creative doors. This guide walks through practical steps, highlights top free tools, and shares expert-backed tips to help you produce polished videos without spending a cent.
Step 1: Choose the Right Free Editing Software
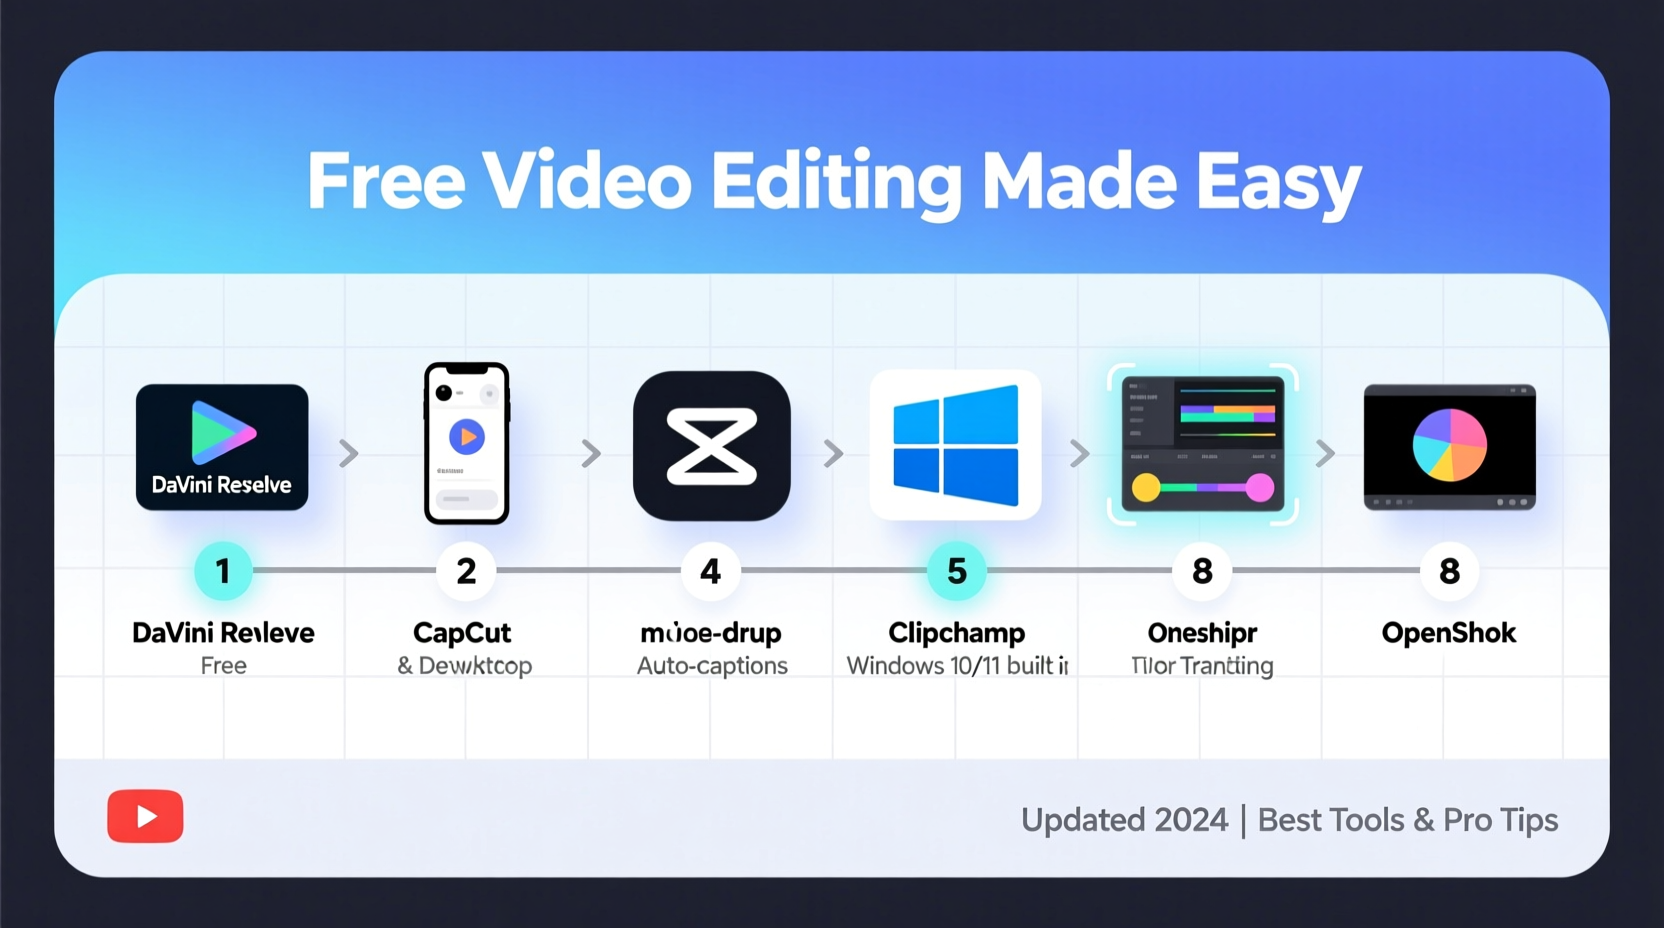
Selecting user-friendly software is the foundation of efficient editing. While premium programs like Adobe Premiere Pro offer advanced features, several free alternatives deliver powerful capabilities tailored for beginners and intermediate users.
| Tool | Platform | Best For | Export Quality |
|---|---|---|---|
| DaVinci Resolve | Windows, Mac, Linux | Color grading & pro-level editing | Up to 4K |
| Shotcut | Windows, Mac, Linux | Cross-platform simplicity | HD and 4K |
| OpenShot | Windows, Mac, Linux | Beginners and educators | HD |
| CapCut (Desktop & Mobile) | Windows, Mac, iOS, Android | Social media content | Full HD |
| iMovie | Mac, iOS only | Apple ecosystem users | HD and 4K |
For most beginners, CapCut and OpenShot provide intuitive interfaces with drag-and-drop functionality, built-in transitions, and audio controls. DaVinci Resolve stands out if you plan to grow into color correction or multi-track editing, despite its steeper learning curve.
Step 2: Organize Your Footage Before Editing
Jumping straight into editing often leads to confusion and wasted time. Start by organizing your files in a logical folder structure. Name clips descriptively—such as “Park_Interview_Morning” or “B-Roll_Cityscape”—to make them easy to identify later.
Transfer all relevant video clips, audio files, music tracks, and images into a single project folder. Most editing tools allow you to import entire folders directly, keeping your workspace clean and efficient.
- Create subfolders: Raw Footage, Audio, Music, Exports
- Use consistent naming conventions
- Delete unusable clips early to reduce clutter
- Back up your project on an external drive or cloud storage
“Preparation saves more time than any shortcut during editing. A well-organized timeline starts before you open the software.” — Jordan Lee, Independent Filmmaker
Step 3: Master the Basic Editing Workflow
Every video edit follows a similar sequence. Following this workflow ensures nothing gets overlooked and helps maintain consistency across projects.
- Import Media: Load all necessary clips and assets into your chosen editor.
- Trim and Arrange: Cut out pauses, mistakes, or irrelevant sections. Drag clips onto the timeline in narrative order.
- Add Transitions: Use subtle fades or cuts between scenes. Avoid overusing flashy effects unless stylistically appropriate.
- Incorporate Audio: Balance voiceovers, background music, and ambient sound. Lower music volume when dialogue plays.
- Include Text and Titles: Add opening titles, lower thirds, or end credits for clarity and professionalism.
- Adjust Color and Brightness: Correct exposure issues and ensure visual consistency across shots.
- Preview and Refine: Watch the full video multiple times, making small adjustments until flow feels natural.
- Export Final Video: Choose appropriate settings for your platform (e.g., MP4 at 1080p for YouTube).
Step 4: Enhance Your Video with Smart Techniques
Even with free tools, thoughtful enhancements elevate your content. These techniques are simple but impactful:
Use B-Roll Strategically
B-roll footage adds visual interest and covers awkward cuts. If you’re recording a talking-head video, overlay related visuals—like someone typing when discussing productivity—to keep viewers engaged.
Apply L-Cuts and J-Cuts
These audio transitions smooth scene changes. An L-cut lets the audio from one clip continue slightly into the next visual. A J-cut introduces the next clip’s audio before the video switches. Both create seamless storytelling rhythms.
Leverage Keyboard Shortcuts
Most editors support shortcuts that speed up editing. Common ones include:
- Spacebar – Play/Pause
- I / O – Set In/Out points
- Ctrl/Cmd + K – Split clip
- Delete – Remove selected segment
Normalize Audio Levels
Inconsistent volume distracts viewers. Use the “normalize” feature (available in DaVinci Resolve, Audacity, and CapCut) to bring all audio segments to a balanced peak level, typically -1dB to -3dB.
Mini Case Study: From Phone Clip to Viral TikTok
Alex, a college student, wanted to share a campus sustainability initiative. Using only an iPhone and CapCut (free version), he filmed interviews, nature shots, and event highlights. He organized clips by theme, trimmed long pauses, added soft background music, and used animated text overlays to emphasize key quotes.
After exporting in 1080p and uploading to TikTok with relevant hashtags, the video gained over 75,000 views in two weeks. The success wasn't due to fancy gear—it came from clear messaging, steady pacing, and thoughtful editing within a free tool.
“People don’t need Hollywood budgets to tell meaningful stories. They need focus, patience, and the willingness to learn.” — Sarah Kim, Digital Storytelling Instructor
Checklist: Essential Steps to Edit a Video for Free
- ✅ Choose a free editor (e.g., CapCut, OpenShot, DaVinci Resolve)
- ✅ Organize raw footage into labeled folders
- ✅ Import clips and audio into your project timeline
- ✅ Trim unnecessary parts and arrange scenes logically
- ✅ Add transitions, text, and background music
- ✅ Adjust color balance and audio levels
- ✅ Preview multiple times on different devices
- ✅ Export in MP4 format at 1080p resolution
- ✅ Share on your intended platform
Frequently Asked Questions
Can I edit 4K video for free?
Yes. DaVinci Resolve and Shotcut fully support 4K editing and export. However, smooth performance depends on your computer’s RAM and graphics card. Older machines may struggle with high-resolution previews.
Are there watermarks in free video editors?
Most reputable free tools do not add watermarks. CapCut previously added subtle branding but now allows watermark-free exports on desktop. Avoid lesser-known apps that promise “pro features” but embed logos.
How long should my video be?
It depends on the platform. Aim for 15–60 seconds on TikTok/Instagram Reels, 2–5 minutes for YouTube Shorts, and 5–15 minutes for standard YouTube videos. Prioritize engagement over length—keep only what serves the story.
Final Thoughts and Next Steps
Video editing is a skill built over time, not mastered overnight. The tools are free, accessible, and more capable than ever. What matters most is consistency: practice regularly, experiment with styles, and refine your storytelling instincts. Every cut, transition, and audio adjustment brings you closer to creating content that resonates.
You don’t need permission or expensive gear to start. Open a free editor today, import a clip from your phone, and begin shaping your vision. The digital world rewards creators who show up—and with these steps, you’re already ahead.


 浙公网安备
33010002000092号
浙公网安备
33010002000092号 浙B2-20120091-4
Comments
No comments yet. Why don't you start the discussion?