
Blurry photos can be frustrating—especially when the moment captured is meaningful. Whether it’s due to shaky hands, poor lighting, or autofocus issues, a lack of clarity doesn’t have to mean the end of a great shot. With the right editing techniques and free mobile or desktop apps, you can significantly enhance image sharpness and recover detail that might seem lost. This guide walks through practical, proven methods to transform soft or hazy images into crisp, clear visuals without spending a dime.
Understanding Why Photos Turn Out Blurry
Before diving into fixes, it helps to understand what causes blur. Common culprits include camera shake, incorrect focus, low light, fast-moving subjects, or small sensor sizes in smartphones. While some blurriness—especially motion blur or extreme out-of-focus areas—can't be fully reversed, many cases involve minor softness that responds well to sharpening tools.
Digital sharpening works by enhancing the contrast along edges in an image. This creates the illusion of increased detail and clarity. However, over-sharpening can introduce artifacts like halos or noise, so balance is essential. The goal isn’t to invent detail but to bring out what’s already present.
“Sharpening won’t fix fundamentally out-of-focus images, but it can rescue slightly soft shots—especially when combined with proper exposure adjustments.” — Lena Park, Digital Imaging Specialist
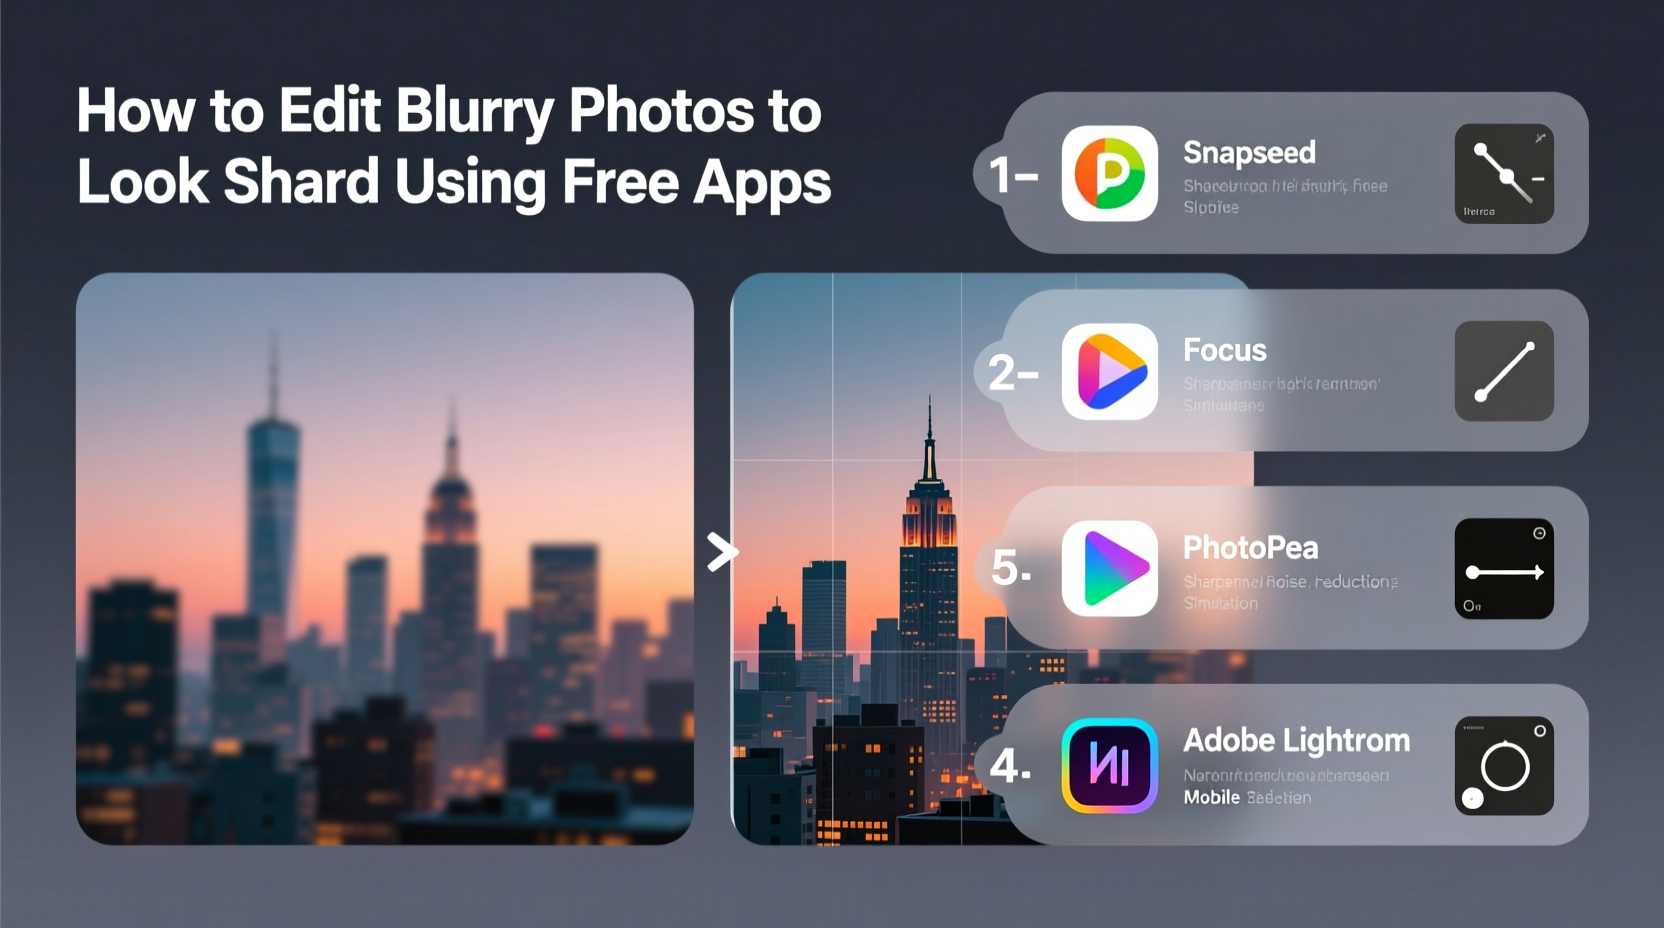
Top Free Apps for Sharpening Blurry Photos
The good news is that several high-quality, no-cost apps offer powerful sharpening features. These are accessible on both mobile and desktop platforms and require no prior editing experience.
| App Name | Platform | Key Sharpening Feature | Best For |
|---|---|---|---|
| Snapseed (by Google) | iOS, Android | Details tool with Structure, Sharpening, and Micro-contrast | Mobile users needing precision control |
| Photopea | Web-based (desktop) | Unsharp Mask and Smart Sharpen filters | Advanced edits similar to Photoshop |
| GIMP | Windows, macOS, Linux | Sharpen (Unsharp Mask), Enhance, and Wavelet Denoise | Detailed desktop editing with full control |
| Pixlr E | Web, iOS, Android | Sharpen, Unsharp Mask, and Clarity sliders | Quick web edits with layer support |
| Fotor | Web, Windows, Mobile | One-click “Sharpness” enhancement and AI-enhance mode | Beginners wanting instant results |
All these apps are genuinely free, though some include optional premium upgrades. The core sharpening tools, however, remain available at no cost.
Step-by-Step: How to Sharpen a Blurry Photo Using Snapseed
Snapseed is one of the most intuitive and powerful free photo editors available on mobile. Here's a detailed walkthrough for improving a blurry image.
- Open the app and import your blurry photo. Tap “Open” and select the image from your gallery.
- Go to “Tools” and select “Details.” This section offers three key sliders: Sharpening, Structure, and Micro-contrast.
- Adjust the Sharpening slider. Start with a value between +30 and +50. Watch the screen for visible edge definition without introducing grain.
- Increase Structure moderately (+20 to +40). This enhances mid-frequency textures like fabric, hair, or skin pores, adding perceived sharpness.
- Use Micro-contrast sparingly. It boosts fine details but can create noise if pushed too high. Values between +10 and +25 often suffice.
- Tap “Done,” then export. Save the image to your device, choosing “High” quality to preserve detail.
For best results, zoom in while adjusting to see pixel-level changes. Then zoom out periodically to assess the overall look. Overdoing any slider leads to unnatural textures or exaggerated edges.
Avoid These Common Mistakes
- Applying maximum sharpening across the entire image
- Ignoring noise—sharpening amplifies grain, especially in shadows
- Editing JPEGs repeatedly, which degrades quality over time
- Not checking the final result on a larger screen or different device
Desktop Editing: Getting Crisp Results with GIMP
If you’re working on a computer, GIMP (GNU Image Manipulation Program) offers professional-grade tools. While it has a steeper learning curve, its sharpening capabilities surpass most mobile apps.
“GIMP gives you surgical control over sharpening. You can target specific areas, mask edges, and fine-tune thresholds—just like paid software.” — Marcus Tran, Open-Source Photography Advocate
Follow this process to sharpen effectively in GIMP:
- Launch GIMP and open your blurry photo via File > Open.
- Duplicate the background layer: Right-click the layer in the Layers panel and choose “Duplicate Layer.”
- Navigate to Filters > Enhance > Sharpen (Unsharp Mask).
- Adjust the settings:
- Radius: 1.0–2.0 pixels (controls edge width)
- Amount: 0.5–1.0 (intensity of sharpening)
- Threshold: 0–5 (prevents noise in smooth areas)
- Click “OK” to apply. Zoom in to inspect results.
- Optionally, use Filters > Noise > Reduce Noise afterward to clean up any grain introduced during sharpening.
- Export as PNG or high-quality JPEG to avoid compression loss.
For selective sharpening, use layer masks. Paint black over areas like skies or skin where sharpening isn’t needed, preserving a natural appearance.
Using Photopea for Web-Based Precision
Photopea is a browser-based editor that mimics Adobe Photoshop’s interface. It supports PSD files and offers advanced sharpening filters.
- Upload your image at photopea.com
- Go to Filter > Sharpen > Unsharp Mask
- Set Radius to 1–2 px, Amount to 80–150%, Threshold to 2–4 levels
- Preview changes and click OK
- Use Image > Adjustments > Brightness/Contrast to further enhance clarity
Because Photopea runs in the browser, no installation is required. It’s ideal for quick yet powerful edits on any device with internet access.
Real Example: Restoring a Blurry Family Portrait
Consider Sarah, who took a group photo at her nephew’s birthday party indoors. The lighting was dim, and she didn’t use a flash. The resulting image was slightly blurred, with soft facial features and muted colors.
She opened the photo in Snapseed and applied the following:
- Increased brightness (+20) to reveal shadow detail
- Adjusted contrast (+15) to improve tonal separation
- Applied Sharpening (+40) and Structure (+30) in the Details tool
- Used the Selective tool to gently enhance only the faces
The final image showed dramatically improved clarity. Eyes appeared more defined, hair texture became visible, and clothing patterns stood out. While not studio-quality, the photo was now suitable for printing and sharing. This demonstrates how even modest corrections can yield significant improvements when applied thoughtfully.
Checklist: Sharpening Blurry Photos the Right Way
Before finalizing your edited photo, run through this checklist to ensure optimal results:
- ✅ Start with the highest-resolution version of the image available
- ✅ Use zoom to inspect edges and avoid over-processing
- ✅ Balance sharpening with noise reduction if needed
- ✅ Apply adjustments gradually—small increments work better than large jumps
- ✅ Preview the image on multiple devices (phone, tablet, computer)
- ✅ Avoid re-saving JPEGs multiple times; use lossless formats when possible
- ✅ Compare before-and-after views to gauge real improvement
Frequently Asked Questions
Can I fix a completely out-of-focus photo?
Unfortunately, no. If the subject was never in focus when captured, sharpening tools cannot reconstruct missing detail. These apps enhance existing edges but don’t add new information. Your best bet is to retake the photo with better focus or lighting.
Why does my photo look grainy after sharpening?
Sharpening amplifies all image data—including noise. Low-light photos or those taken with older smartphone cameras often contain digital noise that becomes more visible when sharpened. To fix this, reduce the sharpening amount and apply mild noise reduction either before or after sharpening.
Is AI photo enhancement worth using?
Some free apps, like Fotor and Pixlr, include AI-powered “enhance” features that automatically adjust sharpness, color, and detail. These can be effective for minor fixes and are excellent for beginners. However, they offer less control than manual tools. Use them as a starting point, then refine manually if needed.
Final Tips for Consistently Clearer Photos
While editing can rescue blurry images, prevention is always better. Take sharper photos from the start by following these practices:
- Hold your phone steady with both hands or use a mini tripod
- Tap the screen to manually focus on your subject
- Ensure adequate lighting—natural light is ideal
- Use portrait mode for close-ups, which often applies computational sharpening
- Enable HDR mode in high-contrast scenes to retain detail
Pairing smart shooting habits with skilled post-processing maximizes your chances of getting crisp, share-worthy images every time.
Conclusion
Blurry photos don’t have to stay that way. With free tools like Snapseed, GIMP, Photopea, and others, you can significantly improve image clarity and breathe new life into otherwise forgettable shots. The key lies in understanding how sharpening works, using the right tools for your platform, and applying adjustments with restraint. Whether you're enhancing memories, preparing images for social media, or salvaging old photos, these techniques put professional-level results within reach—all at zero cost.


 浙公网安备
33010002000092号
浙公网安备
33010002000092号 浙B2-20120091-4
Comments
No comments yet. Why don't you start the discussion?