
Editing text in images used to be a task reserved for graphic design professionals. Today, with intuitive software and online tools, anyone can make changes to text embedded in photos or graphics—whether it’s fixing a typo in a social media post, updating a menu image, or personalizing a meme. The key is knowing which tools to use and understanding the right workflow to preserve image quality while achieving natural-looking results.
This guide walks you through the entire process from start to finish, using beginner-friendly tools and techniques. No prior design experience needed—just a clear goal and a few minutes of your time.
Understanding the Challenge of Editing Text in Images
Unlike editable documents, text in images is part of the pixel data. You can't simply click and type over it like in a Word file. Instead, editing requires \"erasing\" the old text and replacing it with new text that matches the original in style, size, color, and background.
The success of the edit depends on three factors:
- Image resolution: Higher resolution makes editing cleaner and less pixelated.
- Text complexity: Simple sans-serif fonts on solid backgrounds are easier to replace than stylized text on busy patterns.
- Tool capability: The right software provides precise selection, cloning, and text tools.
“Most beginners fail not because they lack skill, but because they skip preparation. Always analyze the image before making any edits.” — David Lin, Digital Imaging Instructor at Creative Arts Institute
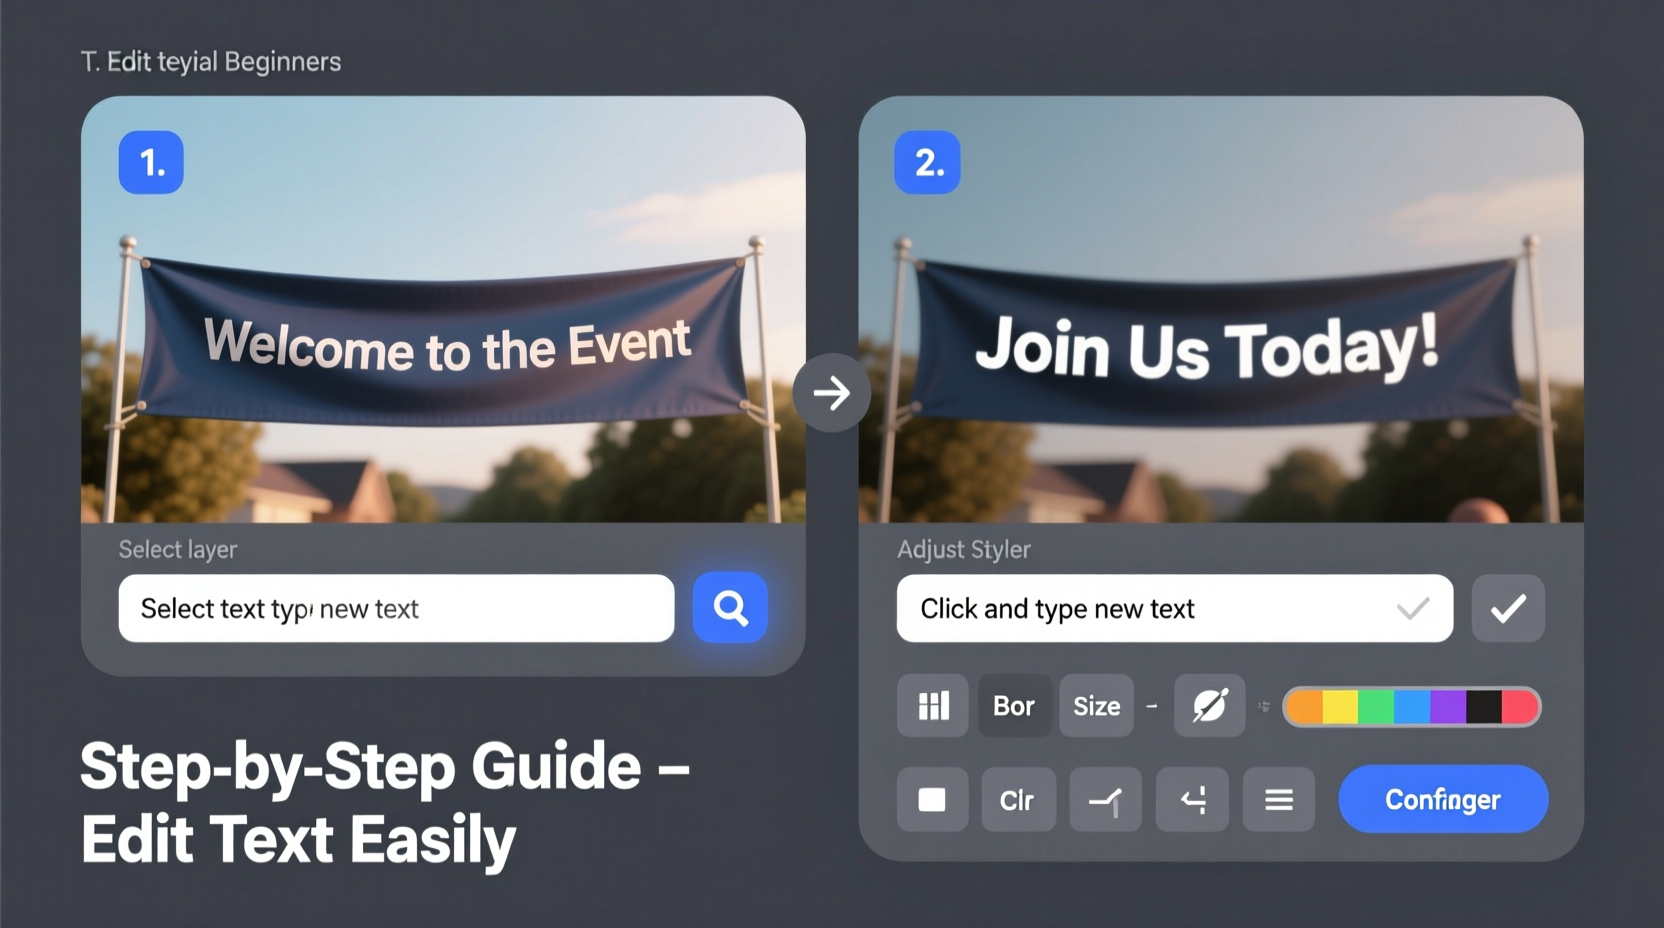
Step-by-Step Guide to Edit Text in an Image
Follow this structured approach to seamlessly edit text in any image, whether you're using a desktop application or a web-based editor.
- Choose the Right Tool
Select software based on your comfort level and needs. For beginners, browser-based editors like Pixlr or Canva work well. Advanced users may prefer Adobe Photoshop. - Open the Image
Upload or import the image into your chosen editor. Make sure the canvas loads correctly and the text area is clearly visible. - Remove the Original Text
Use one of two methods:- Clone Stamp Tool: Copy nearby pixels to paint over the text.
- Content-Aware Fill: Let the software automatically fill the selected area with surrounding texture (available in Photoshop and some online tools).
- Add New Text
Select the Text tool (usually represented by a “T” icon). Click where the original text was and type your replacement. Adjust font, size, color, and alignment to match the original as closely as possible. - Refine and Save
Zoom in to check edges, shadows, and alignment. Make micro-adjustments if needed. Once satisfied, export the image in the desired format (JPEG, PNG, etc.).
Best Tools for Beginners
You don’t need expensive software to edit text in images. Many free and user-friendly options deliver professional results.
| Tool | Best For | Platform | Learning Curve |
|---|---|---|---|
| Pixlr E | Detailed edits with layers | Web | Moderate |
| Canva | Simple text replacements | Web, Mobile | Low |
| Fotor | Quick fixes and filters | Web, Desktop | Low |
| Photopea | Photoshop-like features for free | Web | Moderate |
| GIMP | Advanced control (open-source) | Windows, Mac, Linux | High |
For most beginners, Canva or Pixlr offer the best balance of functionality and ease. They support layers, text styling, and basic retouching without overwhelming new users.
Checklist: Preparing for a Clean Text Edit
Before starting your edit, go through this checklist to ensure a smooth process and high-quality output.
- ✅ Back up the original image
- ✅ Zoom in to assess text clarity and background complexity
- ✅ Identify the font family or find a close match
- ✅ Note the text color using an eyedropper tool
- ✅ Check for shadows, outlines, or gradients on the original text
- ✅ Work on a duplicate layer (if supported) to preserve the base image
- ✅ Save frequently in progress formats (e.g., .pxd for Pixlr, .xcf for GIMP)
Real Example: Updating a Restaurant Menu Image
Sarah runs a small café and received a flyer from her designer with an outdated price: “Latte – $4.50.” She needs to change it to $5.00 immediately but doesn’t have the original design file.
She uploads the JPEG to Pixlr E, zooms in on the text, and selects the Healing Brush to remove “$4.50.” After smoothing the background, she picks the Text tool, chooses a similar sans-serif font (found via side-by-side comparison), sets the color to dark brown using the eyedropper from nearby text, and types “$5.00.” She adjusts the letter spacing slightly to match and exports the corrected image in 10 minutes.
The updated flyer looks identical to the original—no one can tell it was edited. Sarah avoids reprinting costs and shares the fix across her social media platforms the same day.
Common Mistakes to Avoid
Even simple edits can go wrong if basic principles are ignored. Watch out for these pitfalls:
- Mismatched fonts: Using a default font that stands out awkwardly.
- Poor blending: Leaving halos or rough edges around replaced text.
- Ignoring lighting: Not accounting for shadows or highlights on original text.
- Overwriting important pixels: Accidentally erasing parts of the image while removing text.
- Low-resolution export: Saving in a compressed format that reduces clarity.
“In digital editing, attention to detail separates acceptable results from invisible edits. Spend extra time matching the texture and tone.” — Lena Torres, Photo Retouching Specialist
FAQ
Can I edit text in an image using my phone?
Yes. Apps like Canva, Adobe Express, and Snapseed allow basic text editing on mobile devices. While less precise than desktop tools, they’re sufficient for quick fixes on social media images or personal photos.
Is it possible to edit text in a scanned document?
If the scan is clear and the text is horizontal, yes. Use OCR (Optical Character Recognition) tools like Google Keep or Microsoft Lens to extract and retype text. Direct pixel editing works too, but accuracy depends on scan quality.
Why does my new text look blurry or pixelated?
This usually happens when the font size is too large for the image resolution or when the image is upscaled. Always work with the highest resolution version available and match the DPI settings if printing.
Final Tips for Flawless Results
Editing text in images becomes easier with practice. Start with simple projects—like changing a date on an invitation or correcting a caption—and gradually take on more complex edits. Save templates of common fonts and styles you use often. Share your work with others for feedback before publishing.
Remember, the goal isn’t just to change text—it’s to do so in a way that no one notices the edit was ever made.


 浙公网安备
33010002000092号
浙公网安备
33010002000092号 浙B2-20120091-4
Comments
No comments yet. Why don't you start the discussion?