
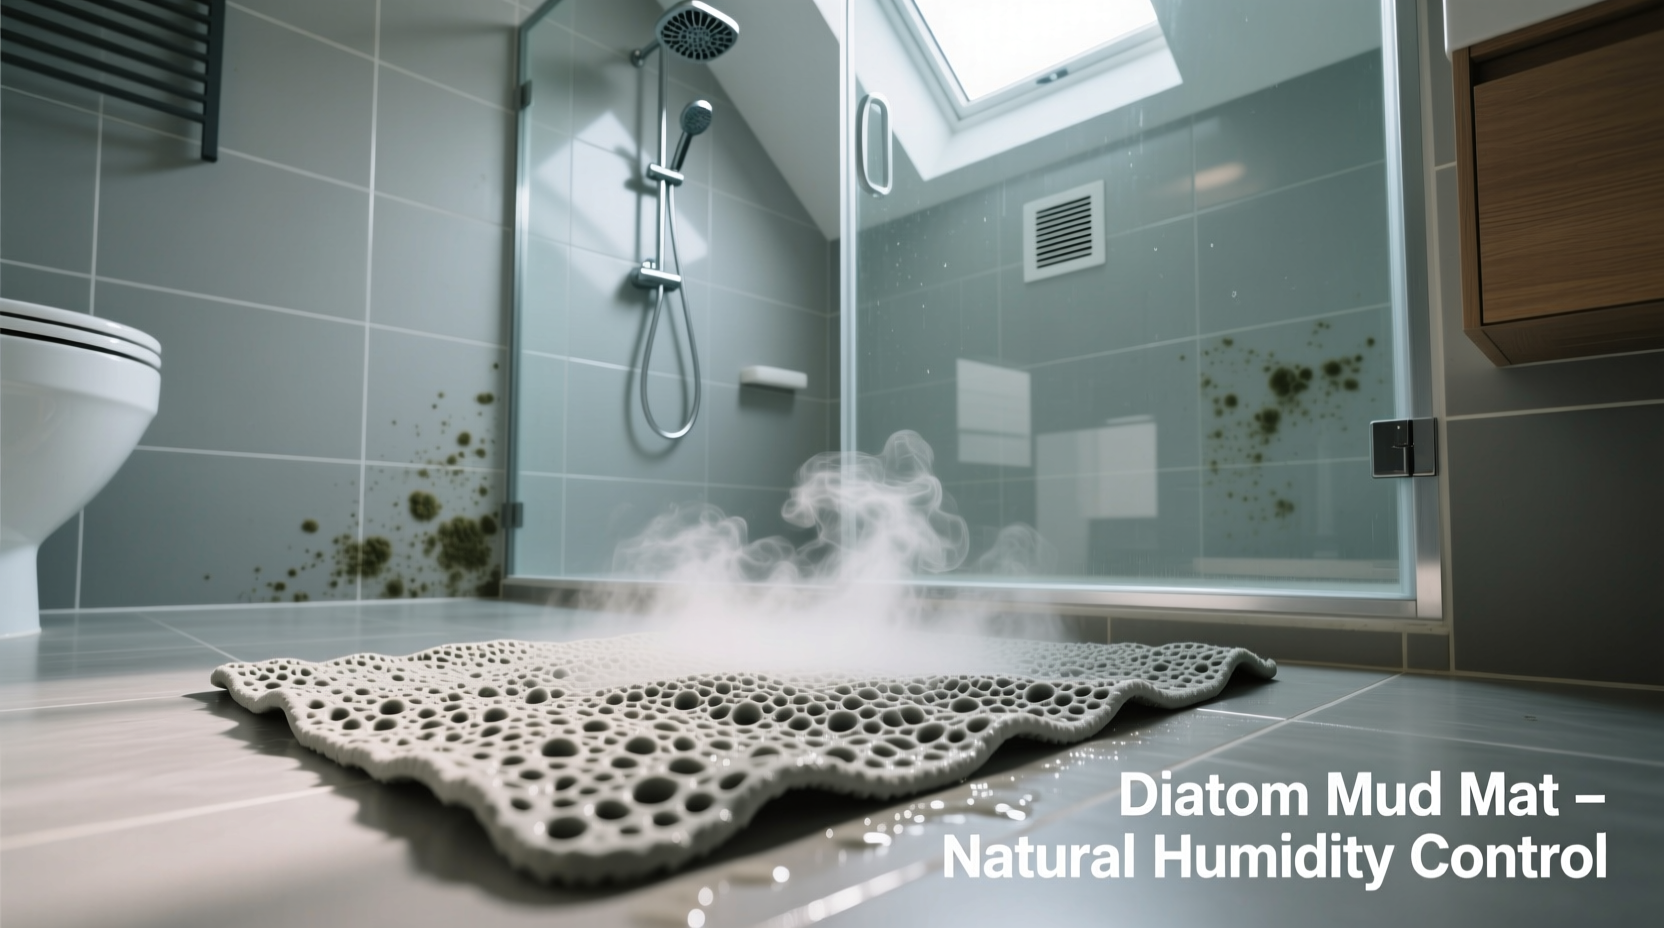
Bathrooms are among the most humid spaces in any home, making them prime environments for mold and mildew to thrive. While traditional solutions like exhaust fans and dehumidifiers help, they often require energy and maintenance. A growing number of homeowners are turning to a natural, passive solution: the diatom mud mat. Made from fossilized remains of marine phytoplankton, these mats offer exceptional moisture absorption, odor control, and antimicrobial properties. When used correctly, a diatom mud mat can significantly reduce ambient humidity and inhibit mold growth—without electricity or chemicals.
Understanding Diatom Mud and Its Properties
Diatomaceous earth, or diatom mud, is composed of the silica-rich shells of microscopic diatoms that lived millions of years ago. This naturally porous material has an incredibly high surface area, enabling it to absorb up to 2–3 times its weight in moisture. Unlike synthetic desiccants, diatom mud is non-toxic, biodegradable, and inherently resistant to microbial growth.
When compressed into flat mats or tiles, diatom mud becomes a functional decor element ideal for bathrooms. These mats wick moisture from the air and floor, reducing dampness that encourages mold. Their open-pore structure allows continuous evaporation when placed in ventilated areas, making them self-regenerating with minimal upkeep.
“Diatom-based materials have been used in Japan and Korea for decades in homes and public baths due to their proven hygroscopic and antibacterial performance.” — Dr. Hiroshi Tanaka, Environmental Materials Research Institute, Kyoto University
Step-by-Step Guide to Using a Diatom Mud Mat Effectively
To maximize the benefits of your diatom mud mat, follow this practical sequence:
- Choose the right size and shape: Select a mat that fits near common moisture sources—such as outside the shower, beside the sink, or under the toilet. Standard sizes range from 40x60 cm to 50x80 cm.
- Unpack and acclimate: Remove packaging and let the mat sit in your bathroom for 24 hours before active use. This allows it to adjust to ambient humidity levels.
- Place in high-moisture zones: Position the mat where water frequently accumulates. Ideal spots include just outside the tub, in front of the vanity, or on the edge of the shower tray.
- Allow daily absorption: As you shower or wash hands, the mat will passively pull moisture from the air and floor surface. It works silently and continuously.
- Sun-dry weekly: Once a week, take the mat outside and expose it to direct sunlight for 2–3 hours. UV rays kill any surface microbes and accelerate moisture release, reactivating the pores.
- Brush gently if needed: If dust or soap scum builds up, lightly brush the surface with a soft bristle brush. Avoid washing with water unless absolutely necessary.
- Rotate or replace every 12–18 months: Over time, pore efficiency decreases. Rotate multiple mats or replace annually for optimal performance.
Do’s and Don’ts of Diatom Mud Mat Maintenance
| Do’s | Don’ts |
|---|---|
| Place in well-ventilated areas | Install in completely enclosed cabinets or dark closets |
| Dry in sunlight weekly | Leave wet for extended periods (more than 48 hours) |
| Clean with a dry brush | Use chemical cleaners or bleach |
| Use multiple mats in rotation | Wash in dishwasher or soak in water |
| Pair with ventilation for best results | Rely solely on the mat without any airflow |
Real-World Example: Reducing Mold in a Shared Apartment Bathroom
In a Tokyo apartment shared by four university students, persistent mold appeared on grout lines and ceiling corners despite daily fan use. After installing two 50x80 cm diatom mud mats—one outside the shower and one near the sink—the relative humidity dropped from 85% to 62% within three weeks. The residents committed to weekly sun-drying on the balcony and noticed not only less dampness but also reduced musty odors. After six months, no new mold patches formed, and existing ones stopped spreading. A professional inspection confirmed improved indoor air quality and lower spore counts.
This case illustrates that while diatom mats aren’t standalone fixes, they act as powerful supplements to good ventilation and hygiene habits.
Maximizing Mold Prevention: Pairing Mats with Smart Habits
A diatom mud mat performs best when integrated into a broader moisture-control strategy. Consider combining it with the following practices:
- Run the exhaust fan during and 20 minutes after showers: This removes airborne moisture before it settles.
- Wipe down tiles and glass doors post-shower: Use a squeegee to minimize standing water.
- Keep bathroom doors slightly ajar: Promotes cross-ventilation and prevents stagnation.
- Fix leaks promptly: Even minor drips contribute to long-term humidity buildup.
- Monitor humidity levels: Use a $10 hygrometer to track conditions. Aim to keep levels below 60%.
Frequently Asked Questions
How long does a diatom mud mat last?
With proper care—including weekly sun exposure and gentle cleaning—most diatom mud mats remain effective for 12 to 18 months. Some users report up to 2 years of service with light usage and consistent maintenance.
Can I use a diatom mud mat in a child’s bathroom?
Yes. These mats are non-toxic, slip-resistant, and free from volatile organic compounds (VOCs). However, ensure the mat is secured to prevent tripping, especially for young children. Avoid placing small fragments where toddlers might chew them.
Do diatom mud mats eliminate all mold risk?
No single product eliminates all mold risk. Diatom mats reduce ambient moisture, which inhibits mold growth, but they should be used alongside ventilation, cleaning, and leak prevention. They are part of a holistic approach, not a complete replacement for other measures.
Checklist: Optimizing Your Diatom Mud Mat Routine
- ✅ Choose a mat sized appropriately for your space
- ✅ Position near primary moisture sources (shower, sink)
- ✅ Allow 24-hour acclimation before full use
- ✅ Sun-dry the mat for 2–3 hours once per week
- ✅ Brush gently to remove surface debris monthly
- ✅ Monitor bathroom humidity with a hygrometer
- ✅ Replace or rotate the mat every 12–18 months
- ✅ Combine with ventilation and regular cleaning
Conclusion: Take Control of Bathroom Humidity Naturally
Controlling bathroom humidity doesn’t have to rely on noisy fans or costly gadgets. With a simple, eco-friendly tool like a diatom mud mat, you can actively reduce moisture, discourage mold, and maintain a fresher, healthier environment. By understanding how these mats work and integrating them into your daily routine, you gain a silent, sustainable ally against dampness. Start today—place your mat strategically, commit to weekly maintenance, and observe the difference over time. Small changes lead to lasting results.


 浙公网安备
33010002000092号
浙公网安备
33010002000092号 浙B2-20120091-4
Comments
No comments yet. Why don't you start the discussion?