
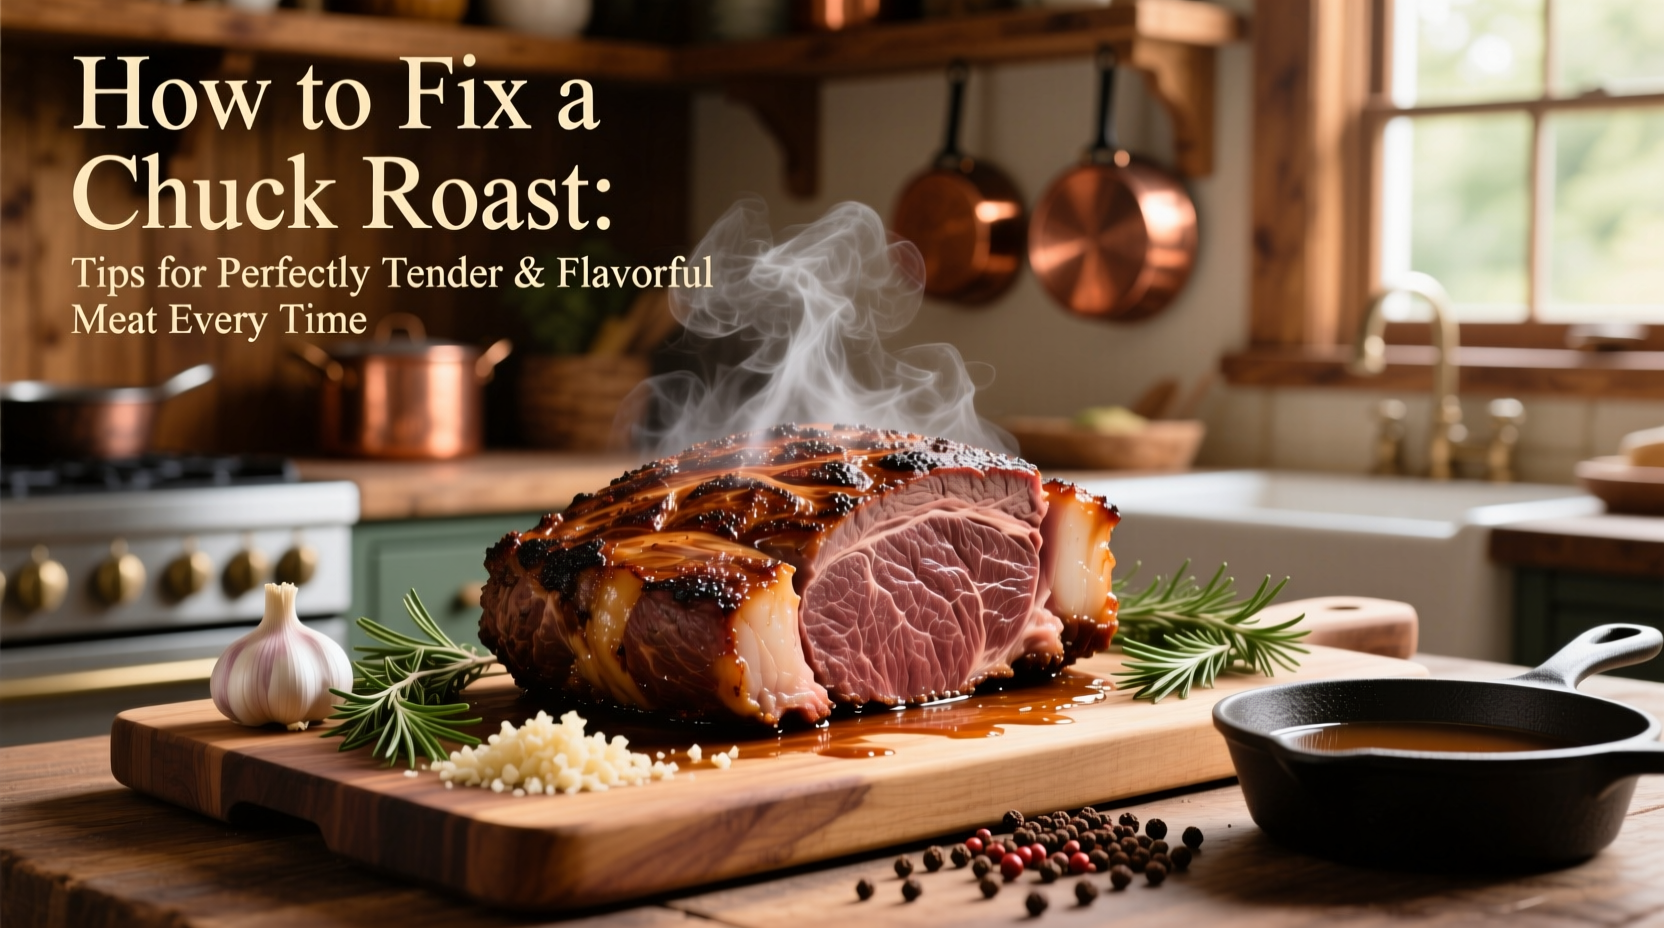
Chuck roast is one of the most economical and flavorful cuts of beef available, but it’s also one that many home cooks struggle with. Too often, it ends up tough, dry, or lacking depth of flavor. The truth is, when prepared correctly, chuck roast transforms into a melt-in-your-mouth centerpiece that rivals any restaurant dish. The key lies not in complexity, but in understanding the cut, choosing the right method, and applying consistent, science-backed techniques.
Derived from the shoulder region of the cow, chuck roast contains abundant connective tissue and marbling—qualities that, when broken down properly, result in rich, succulent meat. However, improper cooking can leave this potential untapped. With the right approach, you can consistently achieve fork-tender results infused with deep, savory flavor.
Understand the Cut: Why Chuck Roast Needs Special Care
Chuck roast comes from a heavily exercised part of the animal, which means it has a high concentration of collagen—a protein that gives structure to muscle fibers. When cooked quickly at high heat, collagen contracts, squeezing out moisture and making the meat chewy. But when exposed to low, steady heat over several hours, collagen breaks down into gelatin, creating that luxurious, silky texture associated with well-made pot roast or braised dishes.
This transformation requires patience. Rushing the process defeats the purpose. Unlike tender cuts like filet mignon or ribeye, chuck roast isn’t suited for grilling or pan-searing alone. It demands slow, moist-heat cooking methods such as braising, stewing, or slow roasting.
The Right Cooking Methods for Maximum Tenderness
Different tools yield similar results when used correctly. The goal across all methods is maintaining a temperature between 275°F and 325°F (135°C–163°C) for an extended period—typically 3 to 5 hours depending on size.
Braising on the Stovetop
Braising combines dry and wet heat. After searing the roast in a heavy Dutch oven, add liquid (broth, wine, or tomato-based sauce) until it reaches halfway up the meat. Cover tightly and simmer gently on low heat. This method offers excellent control and develops deep flavors through reduction.
Slow Cooker Method
Ideal for hands-off cooking. Sear the roast first (don’t skip this step), then transfer to the slow cooker with aromatics and liquid. Cook on low for 8–10 hours or high for 5–6 hours. While convenient, slow cookers can sometimes dilute flavor if too much liquid is added.
Oven Braising
Preheat oven to 300°F (150°C). After searing, place the roast in a covered Dutch oven with vegetables and liquid. Braise in the oven for 3–4 hours. This method provides even, radiant heat and enhances browning.
Pressure Cooking (Instant Pot)
For faster results without sacrificing tenderness. Using high pressure, a chuck roast can become tender in under 90 minutes. Use natural release to prevent toughness from sudden pressure changes.
“Low and slow isn’t just a saying—it’s the biochemical key to transforming tough cuts. Collagen hydrolyzes into gelatin best between 160°F and 205°F over time.” — Dr. Sarah Lin, Food Scientist & Meat Specialist
Step-by-Step Guide to Perfect Chuck Roast
- Choose the right roast: Look for a well-marbled piece, preferably boneless, weighing 3–4 pounds. Trim excess fat, leaving a thin layer for flavor.
- Season generously: Use kosher salt and freshly ground black pepper. For extra depth, rub with garlic powder, onion powder, smoked paprika, or dried thyme.
- Sear thoroughly: Heat oil in a heavy pot until shimmering. Sear all sides of the roast until deeply browned—about 3–4 minutes per side. Don’t rush this stage.
- Build flavor base: Remove roast temporarily. Add chopped onions, carrots, and celery; sauté until softened. Deglaze with red wine or broth, scraping up browned bits (fond).
- Add liquid: Return roast to pot. Add enough hot broth or sauce to reach halfway up the meat. Avoid submerging completely.
- Cook low and slow: Cover and cook at 300°F in oven for 3–4 hours, or use alternative methods as described above.
- Check for doneness: Insert a fork or skewer. It should slide in with little resistance. Internal temperature should be at least 195°F for optimal tenderness.
- Rest and shred: Let roast rest 15–20 minutes before slicing or pulling apart. This allows juices to redistribute.
- Reduce sauce: Strain cooking liquid, skim fat, and reduce by simmering to intensify flavor. Serve over meat.
Common Mistakes and How to Fix Them
| Problem | Likely Cause | Solution |
|---|---|---|
| Meat is tough | Undercooked or cooled too quickly | Return to heat and cook longer; ensure internal temp exceeds 195°F |
| Dry texture | Overcooked or insufficient fat/moisture | Baste during cooking; keep adequate liquid; avoid exceeding 4 hours at high heat |
| Bland flavor | Insufficient seasoning or no sear | Season early; sear well; use aromatic vegetables and quality broth |
| Sauce is greasy | Too much fat or not chilled/skimmed | Chill overnight; remove solidified fat; use leaner broth next time |
| Meat falls apart too easily | Over-braised or excessive acidity | Reduce cooking time slightly; limit vinegar or citrus in braising liquid |
Real Example: From Tough to Tender
Mark, a home cook in Portland, had given up on chuck roast after three failed attempts. His first roast was boiled in water with potatoes and turned out rubbery. The second was over-seasoned and dry. He finally succeeded when he followed a simple rule: low oven temperature with enough liquid to braise, not boil. He seasoned the roast the night before, seared it well, and cooked it at 275°F for four hours with onions, garlic, and beef broth. The result? “The meat pulled apart with a fork,” he said. “Even my picky teenager asked for seconds.”
Essential Checklist for Success
- ☐ Choose a well-marbled chuck roast (3–4 lbs)
- ☐ Trim only excess fat—leave some for flavor
- ☐ Season with salt and spices at least 1 hour before cooking (ideally overnight)
- ☐ Sear all sides until deeply browned
- ☐ Use aromatic vegetables as a flavor base
- ☐ Braise with enough liquid to cover halfway
- ☐ Maintain low, consistent heat (below 325°F)
- ☐ Cook until fork-tender (internal temp ~195°F)
- ☐ Rest before slicing or shredding
- ☐ Reduce and season the cooking liquid into a rich sauce
Frequently Asked Questions
Can I cook a frozen chuck roast?
It’s not recommended. Cooking from frozen increases the risk of uneven cooking and prevents proper searing. Thaw the roast in the refrigerator for 24–48 hours before cooking for best results.
Why did my roast come out stringy?
This usually happens when the meat is sliced incorrectly. Always cut against the grain. Identify the direction of the muscle fibers and slice perpendicular to them to shorten the fibers and improve tenderness.
Can I make chuck roast ahead of time?
Absolutely—and doing so often improves flavor. Cook the roast one day in advance, chill it in its cooking liquid, then reheat gently the next day. This allows flavors to meld and makes fat removal easier.
Final Thoughts: Mastery Through Consistency
Fixing a chuck roast isn’t about luck or secret ingredients. It’s about respecting the science of cooking tough cuts. By applying controlled heat, building layers of flavor, and allowing time for transformation, you turn an inexpensive piece of meat into something extraordinary. Whether served over mashed potatoes, tucked into sandwiches, or shredded into tacos, a properly cooked chuck roast delivers comfort and satisfaction in every bite.


 浙公网安备
33010002000092号
浙公网安备
33010002000092号 浙B2-20120091-4
Comments
No comments yet. Why don't you start the discussion?