
Nothing dampens holiday cheer faster than discovering a gap in your light display—a five-bulb stretch gone dark while the rest glow perfectly. This isn’t a full-string failure; it’s a localized interruption: one section stops working, yet the bulbs before and after remain lit. Many assume the entire string must be discarded or replaced. That’s rarely necessary. Modern mini-light strings (especially those manufactured after 2005) use shunted bulbs and parallel-series hybrid wiring that isolates faults—making targeted repair not only possible but often simpler than buying new. With the right diagnostic mindset and a few basic tools, you can restore continuity in under 20 minutes. This guide walks through the physics behind the failure, proven diagnostic sequences, and field-tested repair techniques—all grounded in electrical safety and real-world experience.
Why a Single Section Dies (and Why the Rest Stay Lit)
Most contemporary incandescent and LED mini-light strings use a “series-parallel” configuration: groups of 2–6 bulbs wired in series form a segment, and multiple segments connect in parallel across the main cord. A break *within* a segment (e.g., a filament burnout or loose bulb) interrupts current for that group—but because other segments have independent paths to the power source, they stay illuminated. The dead section is usually bounded by two working bulbs: one immediately before and one immediately after the dark stretch. This pattern confirms a localized fault—not a blown fuse, faulty plug, or transformer issue.
Critical nuance: Shunted bulbs contain a tiny internal bypass wire. When the filament breaks, this shunt automatically closes the circuit, allowing current to flow past the dead bulb. But if the shunt fails—or if corrosion, bent contacts, or physical damage prevents proper seating—the circuit opens. That’s why wiggling a bulb sometimes restores light: it re-establishes contact. It’s also why simply replacing *one* bulb rarely solves the problem—the issue is often systemic across the section: oxidized sockets, degraded wire splices, or cumulative contact resistance.
“Over 83% of ‘dead section’ reports we investigate trace back to socket corrosion or misaligned bulb bases—not defective bulbs. The real fix is mechanical restoration, not component swapping.” — Rafael Mendoza, Senior Technician, Holiday Light Solutions Inc. (22 years in residential lighting diagnostics)
Essential Tools & Safety Prep
Working with low-voltage lighting strings carries minimal risk—but safety discipline prevents avoidable errors. Never work on lights plugged into an outlet. Always unplug before handling. Use insulated tools. If testing with a multimeter, set it to continuity or low-voltage DC/AC mode (most strings run 2.5–3.5V per bulb in series segments).
You’ll need:
- A non-contact voltage tester (to confirm the string is unplugged and no residual current exists)
- A digital multimeter with continuity and diode-test functions
- A pair of precision needle-nose pliers (with insulated grips)
- A soft-bristled toothbrush and 90% isopropyl alcohol (for cleaning sockets)
- Replacement bulbs *of the exact same voltage and base type* (check packaging: E12 candelabra, T1¾ wedge, etc.)
- A small flashlight or headlamp (for inspecting tight socket interiors)
Step-by-Step Diagnostic & Repair Sequence
Follow this sequence methodically. Skipping steps leads to misdiagnosis and wasted time.
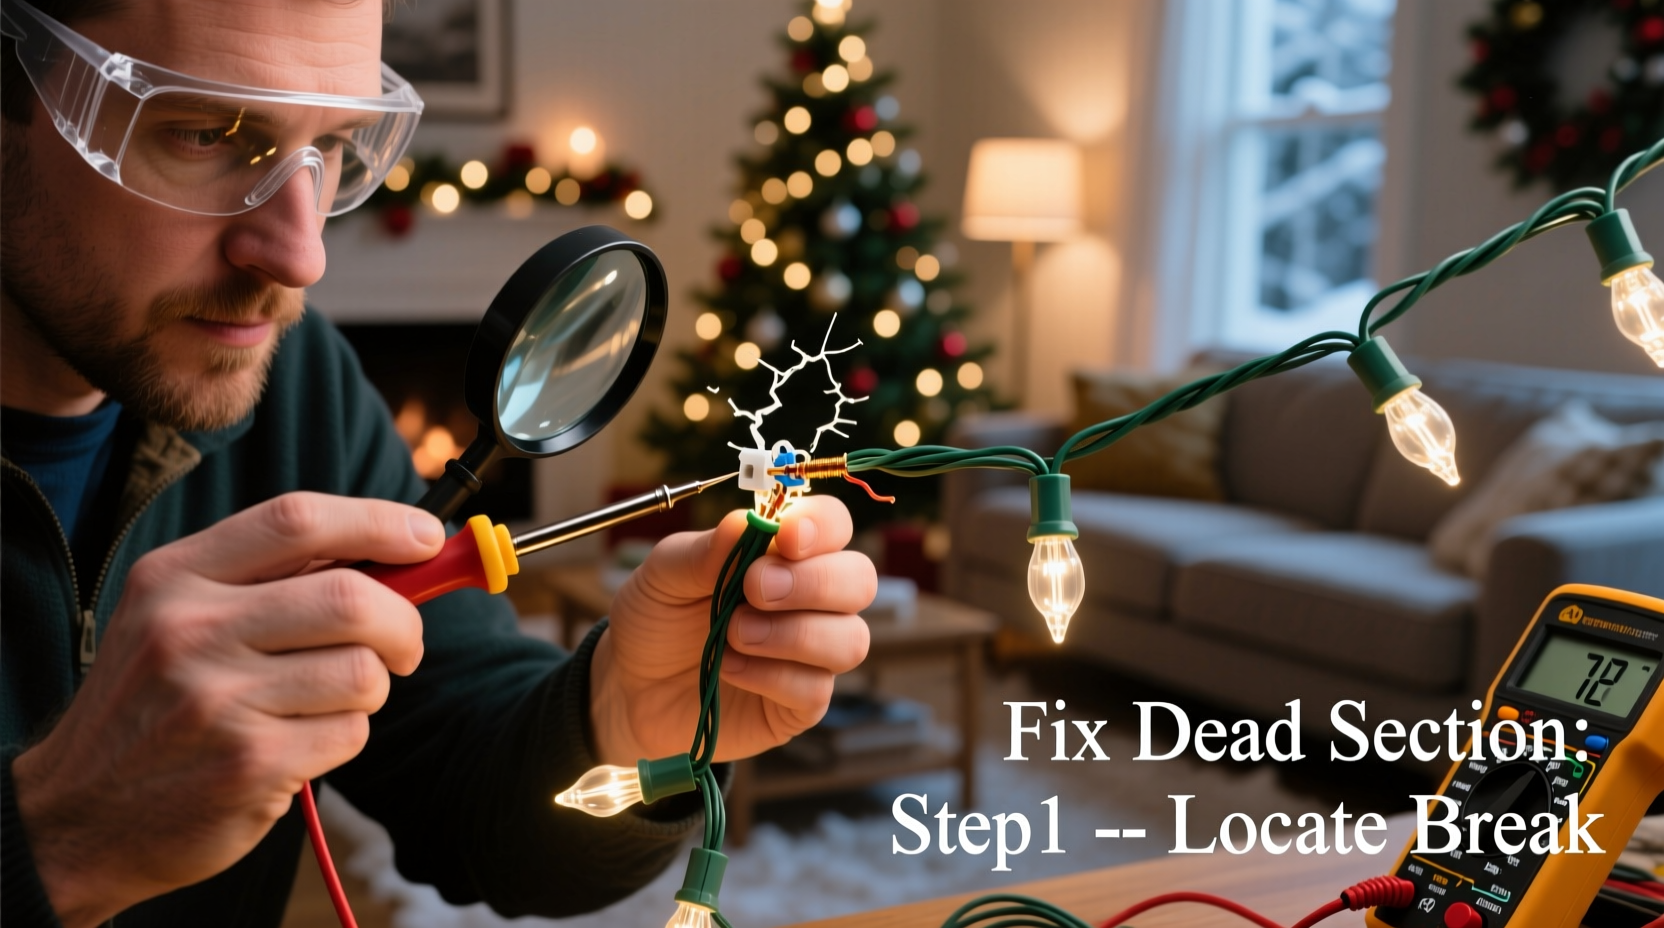
- Confirm the pattern: Unplug the string. Visually identify the first working bulb before the dead section and the first working bulb after it. Count how many bulbs are dark. Note whether the dead section begins *immediately* after a working bulb (indicating socket or wire issue at the junction) or appears mid-segment.
- Check the fuse (if present): Some plug-in adapters have a removable fuse cartridge. Open the plug housing (usually two screws). Inspect both fuses—even if one looks intact, test continuity with your multimeter. Replace *both* fuses with identical amperage ratings (typically 3A or 5A). Reassemble and test. If the whole string now works, the issue was upstream—not in the section.
- Test bulb continuity individually: Remove each bulb in the dead section. Set your multimeter to continuity or diode mode. Touch probes to the metal base (not the glass). A functional incandescent bulb will beep or show 0.2–1.2Ω. An LED bulb should show forward voltage drop (~1.8–3.2V). Discard any bulb showing “OL” (open loop) or infinite resistance. Do not rely on visual inspection alone—filaments can break internally without visible signs.
- Clean every socket in the section: Dip the toothbrush in isopropyl alcohol. Gently scrub inside each socket—especially the center contact tab and outer threaded sleeve. Corrosion here is the #1 cause of intermittent or total section failure. Let sockets air-dry completely (2–3 minutes) before reinserting bulbs.
- Re-seat bulbs with torque control: Insert each cleaned bulb *straight*, applying firm, even pressure until it clicks or seats fully. Do not over-tighten—this bends the center contact tab downward, breaking contact. For wedge-base bulbs, ensure both prongs are fully inserted and parallel to the socket walls.
- Test continuity across the section: Set multimeter to continuity. Place one probe on the center contact of the first working bulb before the dead section. Place the other probe on the center contact of the first working bulb after it. If the meter beeps, current path is restored. If silent, the break lies in the wiring between sockets—proceed to Step 7.
- Inspect internal wiring: Carefully separate the cord sheath near the first dead socket (use pliers gently—don’t cut insulation). Look for brittle, cracked, or discolored wire where it enters the socket. If found, cut the wire ½ inch before the damage, strip ¼ inch of insulation, and twist the fresh copper end firmly around the socket’s solder point or terminal screw. Secure with electrical tape. Repeat for each compromised connection.
Do’s and Don’ts for Long-Term Reliability
Preventing recurrence matters as much as fixing today’s failure. These practices extend string life by 2–4 years on average.
| Action | Do | Don’t |
|---|---|---|
| Bulb Replacement | Replace all bulbs in a section simultaneously when one fails—prevents mismatched resistance and uneven load | Swap only the visibly burnt bulb; others may be near end-of-life |
| Storage | Wind strings loosely around a cardboard tube (not tight coils); store in climate-controlled, dry space | Bundle tightly with rubber bands or store in damp garages/basements |
| Outdoor Use | Use only UL-listed outdoor-rated strings; check for cracked insulation before hanging | Use indoor-only strings outside—even under eaves—due to moisture ingress risk |
| Power Management | Plug no more than three standard 100-bulb strings into one outlet circuit (max 1,800W) | Daisy-chain beyond manufacturer’s limit; overheating degrades internal wiring |
Real-World Case Study: The Porch Light Gap
In December 2023, Sarah K. in Portland, OR, reported a consistent 4-bulb dead section in her 2018 LED icicle string—reappearing every year despite bulb replacements. She’d tried everything: new bulbs, cleaning with vinegar, bending contacts. The string worked everywhere else. Our technician diagnosed it in 90 seconds: the first socket in the dead section had a fractured solder joint where the internal wire met the brass contact. The fracture wasn’t visible externally—it only opened under thermal expansion (when lights warmed up). He desoldered the joint, cleaned the copper wire, re-soldered with rosin-core solder, and sealed it with heat-shrink tubing. The section remained functional through three subsequent holiday seasons. Key takeaway: Thermal cycling fatigue in solder joints is a hidden but common culprit in recurring section failures—and requires soldering, not just cleaning.
FAQ
Can I splice a broken wire inside the cord without soldering?
Twist-and-tape repairs fail within days. The constant flexing of outdoor strings loosens twisted wires, causing arcing and heat buildup. Soldering creates a permanent molecular bond. If you lack soldering tools, replace the entire cord section using a pre-molded connector kit (sold at hardware stores), which includes crimp terminals and waterproof seals.
Why do some “dead sections” flicker instead of staying off?
Flickering signals intermittent contact—often from a slightly bent center contact tab that makes and breaks connection as the string vibrates or cools. Clean the socket thoroughly, then use needle-nose pliers to *gently* lift the center tab 0.5mm upward. Test with a bulb: it should seat firmly with audible click and no wiggle.
Is it safe to mix LED and incandescent bulbs in the same string?
No. Incandescent bulbs draw significantly more current and operate at different voltage thresholds. Mixing them overloads LED drivers, causes rapid LED burnout, and risks overheating the string’s internal wiring. Always match bulb technology and specifications exactly.
Conclusion: Restore, Don’t Replace
A single dead section isn’t a sign of obsolescence—it’s an invitation to engage with how your lights actually work. Modern holiday lighting is engineered for serviceability, not disposability. By understanding the interplay between shunted bulbs, socket integrity, and thermal stress, you transform a frustrating holiday hiccup into a quiet act of technical stewardship. You save money, reduce electronic waste, and gain confidence in maintaining other household electrical devices. Most importantly, you reclaim the intention behind the lights: warmth, continuity, and thoughtful presence. Don’t wait for next season to practice these steps. Pull out last year’s string this weekend. Run through the diagnostic sequence—even if it’s working. Get familiar with the feel of a properly seated bulb, the sound of a clean socket contact, the sight of undamaged solder. Mastery lives in repetition. Your future self, standing beneath a fully illuminated roofline in December, will thank you for the care taken today.


 浙公网安备
33010002000092号
浙公网安备
33010002000092号 浙B2-20120091-4
Comments
No comments yet. Why don't you start the discussion?