
A split zipper is more than just an inconvenience—it can render your favorite jacket or backpack unusable at the worst possible time. Whether you're caught in the rain with a jacket that won’t close or struggling to keep your laptop secure in a bag with a failing zipper, the problem demands immediate attention. The good news? You don’t always need to replace the entire item. With the right techniques, most split zippers can be repaired quickly, inexpensively, and often without professional help.
Zippers split when the slider fails to hold both sides of teeth together. This typically happens due to wear, misalignment, or damage to the slider mechanism. Understanding the root cause allows you to choose the best repair method. From temporary field fixes to long-term solutions, this guide covers practical, tested strategies that work on nylon coil, molded plastic, and metal zippers found in outdoor gear, coats, and travel bags.
Why Zippers Split: Common Causes
Before attempting any fix, it's important to understand why zippers fail. A zipper that repeatedly separates isn't always broken—it may simply be misaligned or under stress. Identifying the underlying issue improves your chances of a lasting repair.
- Worn or damaged slider: Over time, the slider’s internal mechanism weakens, losing its grip on the zipper teeth.
- Misaligned tape: If the fabric tapes (the material on either side of the zipper) are twisted or sewn unevenly, the teeth won’t mesh properly.
- Damaged or missing teeth: Broken, bent, or missing teeth prevent the slider from closing completely.
- Pulling at an angle: Yanking the pull tab sideways stresses the mechanism and accelerates wear.
- Dirt or debris buildup: Grime inside the slider can interfere with smooth operation.
Addressing these causes early prevents further deterioration. For example, cleaning a gritty slider can restore function without any tools. Recognizing whether the problem is mechanical, structural, or environmental helps determine if a quick hack will suffice or if a more involved repair is needed.
Immediate Fixes for On-the-Go Repairs
Sometimes you need a fast solution to get through the day. These temporary fixes stabilize a splitting zipper until you can perform a permanent repair.
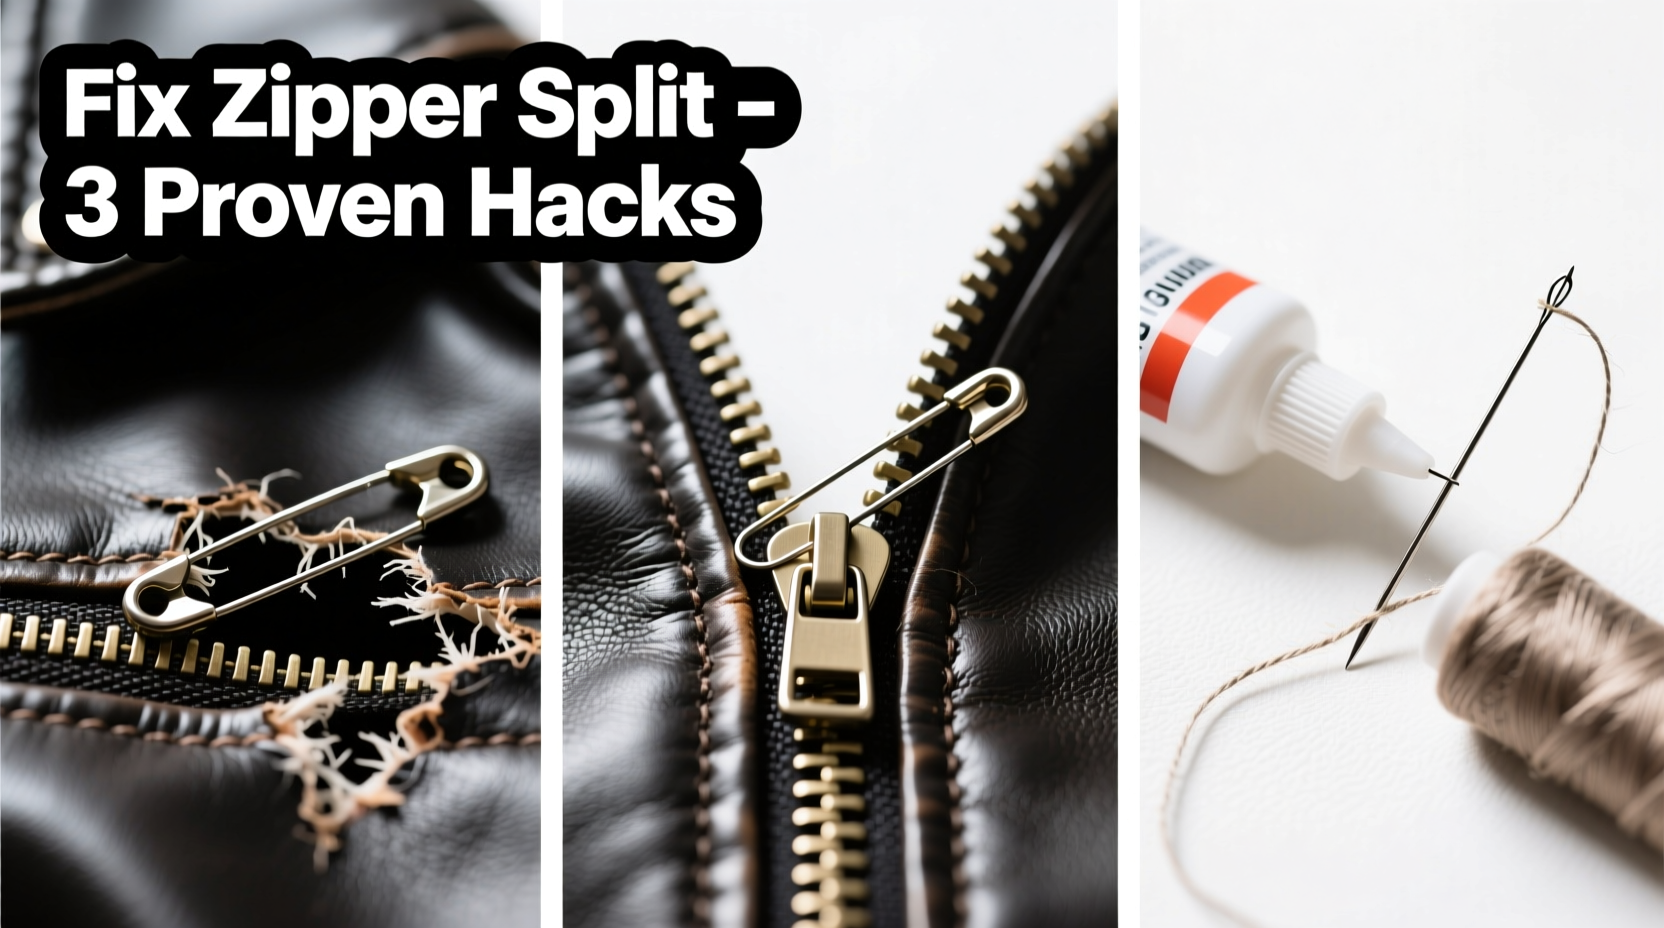
1. Use a Key Ring or Paperclip
If the slider still functions but keeps separating, lock it in place. Open a small key ring or unbend a sturdy paperclip and thread it through the hole in the pull tab. Hook the other end through the fabric loop or zipper tape on the opposite side. This physically prevents the slider from moving backward.
2. Apply a Zipper Stop Hack
No stop means the slider can slide off entirely. To create one, remove the pull tab and use pliers to bend the bottom of the slider slightly inward. Alternatively, tie a strong knot with thread just below the slider. While not elegant, it works in a pinch.
3. Lubricate with Pencil Graphite
A stiff or gritty zipper resists closure. Rub the tip of a graphite pencil along the teeth. The carbon acts as a dry lubricant, reducing friction and helping the slider move smoothly. Avoid oil-based lubes like WD-40—they attract dirt and degrade fabric over time.
“Field repairs should focus on stability, not perfection. Your goal is to make the zipper functional enough to get home and do a proper fix.” — Daniel Ruiz, Outdoor Gear Technician
Step-by-Step Guide to Permanently Fix a Splitting Zipper
For a lasting repair, follow this detailed process. It works on jackets, backpacks, duffel bags, and other common items with separating zippers.
- Remove Debris: Brush the zipper teeth with an old toothbrush. Wipe with a dry cloth. For stubborn grime, dip the brush in isopropyl alcohol and clean gently.
- Test Slider Tension: Slide the zipper up and down. If it feels loose, use needle-nose pliers to gently squeeze the slider body from the sides. Apply light pressure—over-tightening can jam it.
- Realign the Teeth: Unzip fully. Lay the item flat and ensure both sides of the zipper tape are aligned. Manually interlock the first few teeth at the base. Slowly zip upward while guiding the teeth into position.
- Replace the Pull Tab (if missing): Purchase a universal replacement pull from a craft or hardware store. Slide it onto the slider’s stem and press the clasp shut with pliers.
- Secure with a Zipper Stop: Buy metal zipper stops or use a sewing needle and strong thread to stitch a stop just below the slider. This prevents future slippage.
- Test Under Load: Gently tug on the fabric above the zipper to simulate normal use. If it holds, the repair is successful.
This method restores functionality in 80% of cases where the teeth are intact and the slider is only slightly worn. If the zipper continues to separate after tightening, the slider may be too far gone and require replacement.
When to Replace the Slider or Entire Zipper
Sometimes, no amount of tweaking will fix a zipper. Knowing when to upgrade is key to avoiding repeated frustration.
| Issue | Solution | Difficulty Level |
|---|---|---|
| Slider wobbles visibly | Replace slider | Medium |
| Multiple missing teeth | Replace entire zipper | High |
| Tape is torn or frayed | Professional repair or replacement | High |
| Zipper won’t catch at all | Check alignment; replace if misaligned | Low–Medium |
To replace a slider, remove the old one by prying open the top stop with pliers. Slide off the old slider, thread on a new one (same size and type), then reattach the top stop or create a new one with pliers. Replacing an entire zipper requires seam ripping, precise alignment, and sewing skills. For valuable items, consider taking them to a tailor or cobbler.
Mini Case Study: Repairing a Winter Jacket Zipper
Lena, a hiker from Colorado, noticed her insulated winter jacket’s main zipper kept splitting during trail hikes. At first, she used a paperclip to lock the pull tab in place, but it broke after two days. She decided to investigate further.
Upon inspection, she found the slider was loose and the bottom stop was missing. She cleaned the teeth with a toothbrush and applied graphite from a pencil. Using needle-nose pliers, she gently compressed the slider from both sides. Then, she stitched a small metal stop just below the slider using nylon thread.
The fix held throughout the winter season. Lena later replaced the slider entirely during spring maintenance, extending the jacket’s life by three additional years. Her experience shows that even frequent-use gear can be preserved with consistent care and timely interventions.
Prevention Tips to Avoid Future Splitting
Preventive maintenance is the best way to avoid zipper failures. Incorporate these habits into your routine:
- Always pull the tab straight—never at an angle.
- Clean zippers monthly, especially after exposure to salt, sand, or mud.
- Lubricate occasionally with wax or graphite—not oil.
- Store bags and jackets unzipped to reduce tension on the teeth.
- Repair minor issues immediately before they worsen.
“Zippers are designed for thousands of cycles, but misuse cuts their lifespan by 70%. Treat them gently, and they’ll last.” — Mariah Chen, Textile Engineer
Checklist: How to Fix a Splitting Zipper
- ✅ Inspect zipper for debris, damage, or misalignment
- ✅ Clean teeth with a soft brush and mild cleaner
- ✅ Test slider movement and tension
- ✅ Tighten slider with needle-nose pliers if loose
- ✅ Realign zipper teeth manually at the base
- ✅ Add a temporary lock (key ring or thread)
- ✅ Install a permanent zipper stop
- ✅ Replace pull tab or slider if necessary
- ✅ Consider full zipper replacement for severe damage
Frequently Asked Questions
Can I fix a zipper that keeps separating without tools?
Yes, in some cases. If the issue is minor misalignment, manually realign the teeth and zip slowly. You can also tie a knot in the zipper tape below the slider to act as a stop. However, long-term fixes usually require basic tools like pliers or a needle.
What household items can I use to lubricate a sticky zipper?
Graphite from a pencil is the safest option. Candle wax also works well—rub it lightly along the teeth. Avoid cooking oil, petroleum jelly, or WD-40, as they attract dirt and degrade materials over time.
How do I know if my zipper needs replacing?
If the slider won’t stay closed even after tightening, multiple teeth are missing, or the fabric tape is torn, replacement is likely necessary. Persistent splitting despite repeated repairs is also a sign it’s time for a new zipper.
Conclusion: Take Action Before It’s Too Late
A splitting zipper doesn’t mean the end of your favorite jacket or bag. With simple tools and a bit of patience, most issues can be resolved at home. The key is acting early—before minor wear becomes major damage. Regular cleaning, proper use, and prompt repairs can extend the life of your gear for years.
Don’t let a faulty zipper ruin your day or force an unnecessary purchase. Try one of these proven methods today and reclaim the full function of your essential items. Whether you’re fixing a backpack before a trip or restoring a beloved coat, every repair is an investment in sustainability and personal resourcefulness.


 浙公网安备
33010002000092号
浙公网安备
33010002000092号 浙B2-20120091-4
Comments
No comments yet. Why don't you start the discussion?