
A zipper that keeps splitting down the middle is more than just annoying—it turns your favorite jacket, coat, or jeans into unwearable clutter. Whether it's on a winter coat you rely on or a pair of boots you paid good money for, a misaligned zipper undermines both function and confidence. The good news? Most split zippers aren’t beyond repair. With a few household tools and smart techniques, you can restore smooth operation without replacing the entire garment.
This guide walks through practical, proven fixes for zippers that separate unexpectedly. From adjusting slider tension to replacing worn components, these methods are accessible even if you’ve never held a needle. More importantly, they extend the life of your clothes, save money, and reduce textile waste—all with minimal effort.
Why Zippers Split: Understanding the Mechanics
Zippers operate through precise alignment between two rows of interlocking teeth and a slider mechanism. When the slider moves upward, it forces the teeth together. If any part of this system fails—due to wear, poor alignment, or damage—the zipper may open shortly after being closed.
The most common causes of splitting include:
- Worn or loose slider: Over time, the metal jaws inside the slider loosen, losing their grip on the zipper teeth.
- Misaligned tape: The fabric strips holding the teeth can shift, especially after repeated stress or improper washing.
- Damaged or missing teeth: Broken or bent teeth prevent proper meshing, causing gaps mid-zip.
- Pulling at an angle: Yanking the pull tab sideways stresses the mechanism and accelerates wear.
Identifying the root cause determines which fix will work best. A loose slider often just needs tightening, while a broken tooth might require replacement parts or temporary reinforcement.
Step-by-Step Guide: Fixing a Splitting Zipper at Home
You don’t need professional tailoring skills to fix a separating zipper. Most solutions take under 15 minutes and use items already in your home. Follow this sequence to diagnose and resolve the issue effectively.
- Inspect the zipper fully. Run your fingers along both sides of the teeth. Look for missing, bent, or corroded teeth. Check if the slider wobbles when moved side to side.
- Test the bottom stop. This small metal piece at the base prevents the slider from coming off. If it’s gone or pushed up, the slider may not apply even pressure.
- Clean the teeth. Use a soft toothbrush and mild soap to remove dirt or grime blocking proper closure. Dry thoroughly before proceeding.
- Lubricate the mechanism. Rub a graphite pencil tip, candle wax, or silicone-based lubricant along the teeth. Avoid oil-based products—they attract lint and degrade fabric over time.
- Adjust the slider tension. Using needle-nose pliers, gently squeeze the slider body from both sides. Do this incrementally—over-tightening can jam the zipper.
After each step, test the zipper. Often, one adjustment is enough to restore functionality.
When the Slider Is Too Loose
A loose slider is the leading cause of zipper separation. As the internal channel widens, it no longer compresses the teeth tightly enough to hold them together. The fix is subtle but effective.
Place the slider in the middle of the zipper (not at the end). Using needle-nose pliers with smooth jaws, apply light pressure to the sides of the slider. Squeeze just enough to narrow the internal gap—about 10–15% tighter than before. Move the zipper up and down repeatedly to test. If it sticks, ease off slightly.
“Many people throw out garments because they assume the whole zipper needs replacing. In reality, 70% of split zippers just need a tension adjustment.” — Luis Mendez, Garment Repair Technician with 18 years of experience
Alternative Fixes Without Tools
If you're traveling or lack tools, temporary fixes can get you through the day. These aren't permanent solutions but can prevent embarrassment and further damage until you can make a proper repair.
- The Keyring Hack: Slide a small keyring or safety pin through the zipper pull and loop it around the button or fabric above the zipper. This anchors the zipper in place and prevents it from sliding down.
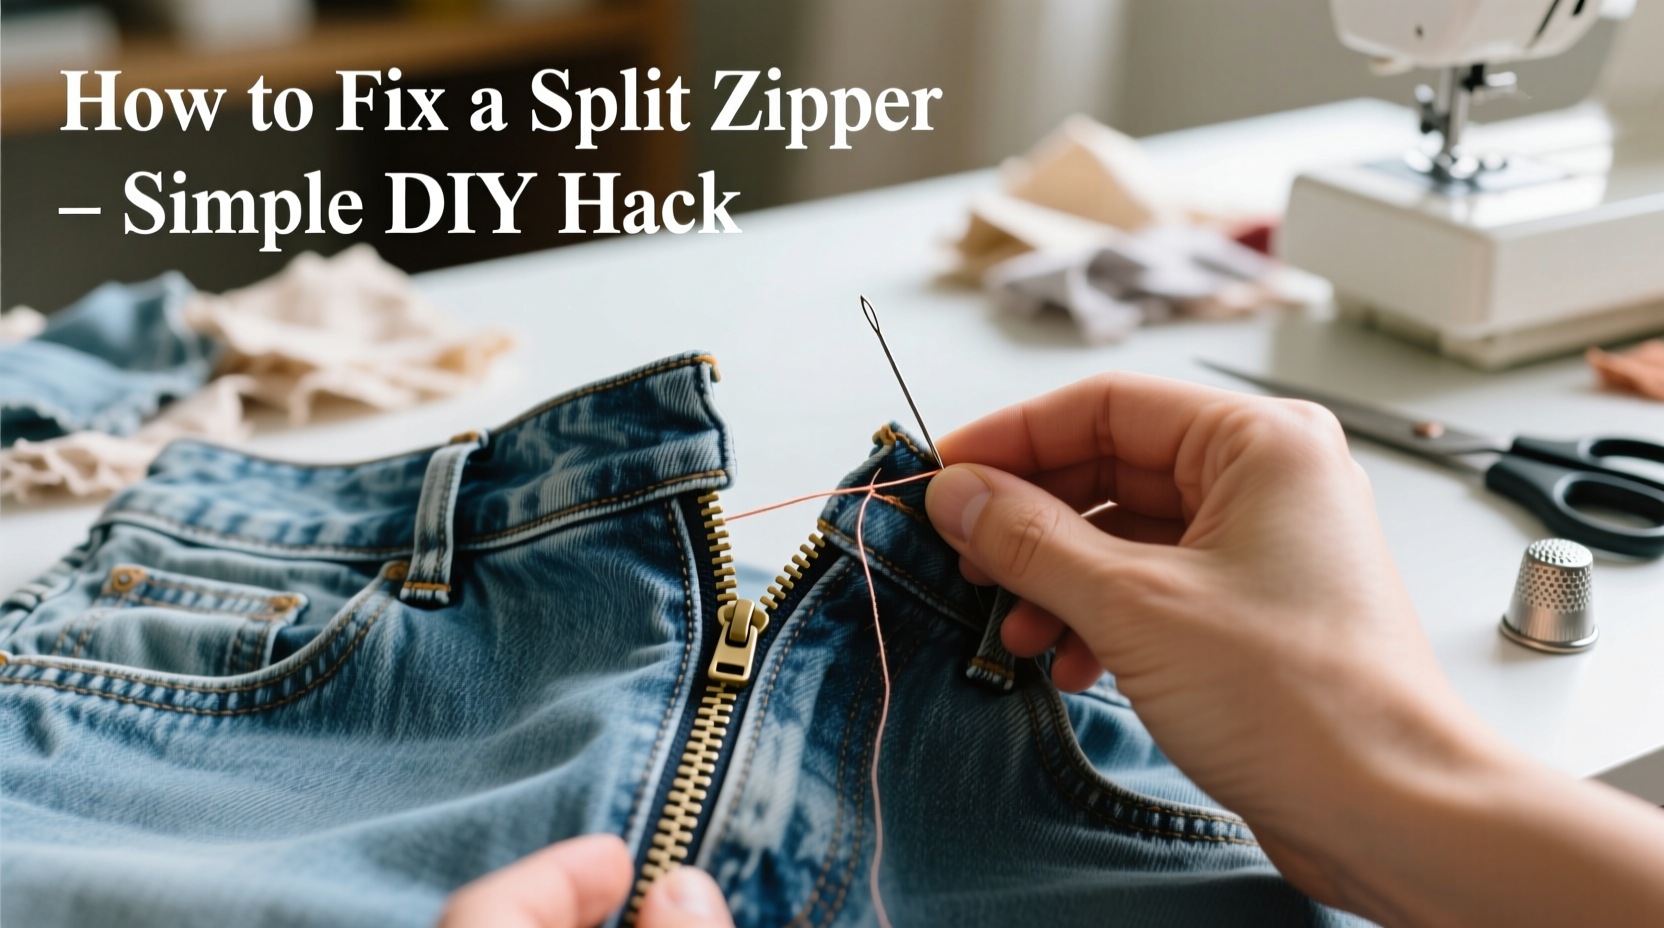
- Thread Lock Method: Thread a needle with strong thread and stitch a tiny “anchor” stitch across the top of the closed zipper. Knot securely. This mimics a second top stop and holds the slider in place.
- Zip Tie Reinforcement: Cut a small piece of plastic zip tie and slide it behind the slider. Position it so it blocks downward movement. Trim excess carefully.
These tricks are ideal for emergencies but should be removed once a permanent fix is applied.
Replacing Missing Bottom Stops
If the bottom metal stop has fallen off, the slider can drift too far down, causing the teeth to disengage. You can replace it using basic supplies.
First, position the slider at the very bottom of the zipper. Then, using a fine needle and thread matching the garment, sew a few tight zigzag stitches across the base of both zipper tapes. Make sure the stitches sit just below the slider when fully closed. This creates a new barrier.
For heavier garments like coats or bags, reinforce with a small drop of fabric glue after stitching. Let dry completely before use.
Do’s and Don’ts of Zipper Maintenance
Prevention is the best long-term strategy. Many zipper failures stem from repeated misuse rather than manufacturing defects. The following table outlines best practices to avoid future issues.
| Do’s | Don’ts |
|---|---|
| Close zippers before washing clothes | Leave zippers open during laundry cycles |
| Use zipper pulls gently and straight up/down | Yank or pull at an angle |
| Lubricate stiff zippers with wax or graphite | Use WD-40 or vegetable oil (they stain and degrade materials) |
| Store garments with zippers partially closed | Store zippers fully open for long periods (can warp alignment) |
| Repair minor issues immediately | Ignore early signs of splitting or sticking |
Regular maintenance reduces strain and extends zipper lifespan significantly. A zipper cared for properly can last the lifetime of the garment.
Mini Case Study: Reviving a Winter Coat
Sarah, a teacher in Portland, Oregon, relied on her wool-blend winter coat throughout the rainy season. By January, the front zipper began splitting halfway up every time she zipped it. Frustrated, she nearly donated it—until she tried the slider adjustment method.
Using needle-nose pliers from her kitchen drawer, she gently compressed the slider. After three light squeezes and testing each time, the zipper stayed closed. She followed up by sewing a new bottom stop with nylon thread for added security. The coat lasted another two winters without issue.
Her total investment: less than 10 minutes and no cost. What seemed like a dead garment was restored with basic knowledge and patience.
Frequently Asked Questions
Can I fix a plastic zipper that keeps splitting?
Yes. Plastic zippers respond well to gentle heating. Use a hairdryer to warm the slider for 10–15 seconds, then try squeezing it lightly with pliers. Heat makes the plastic slightly malleable, allowing better compression. Avoid overheating, as this can melt the teeth.
Is it worth fixing a zipper on cheap clothing?
Often yes. Even inexpensive garments use zippers that cost more to replace than the repair itself. If the fabric is still in good condition, investing 10 minutes to fix the zipper adds weeks or months of wear. It’s also more sustainable than discarding usable items.
What if one side of the zipper has no teeth left?
If multiple teeth are missing, a DIY fix won’t suffice. You’ll need to replace the entire zipper. However, if only one or two teeth are damaged, you can sometimes bypass them by repositioning the slider or adding a thread stop above the damage to prevent the slider from reaching the broken section.
Checklist: How to Fix a Splitting Zipper
Follow this concise checklist the next time your zipper separates:
- ✅ Inspect for visible damage (missing teeth, broken slider)
- ✅ Clean the teeth with a soft brush
- ✅ Lubricate with wax or graphite
- ✅ Test the bottom stop—if missing, sew a new one
- ✅ Gently squeeze the slider with pliers to increase tension
- ✅ Test the zipper repeatedly after each adjustment
- ✅ For emergencies, use a keyring or thread to lock the zipper in place
- ✅ Maintain zippers monthly to prevent future issues
Keep this list handy in your sewing kit or phone notes for quick reference.
Conclusion: Small Fixes, Big Impact
A zipper that splits in the middle doesn’t mean the end of a garment. With a few simple techniques, most issues can be resolved in minutes using everyday tools. Learning how to adjust a slider, replace a stop, or temporarily secure a zipper empowers you to maintain your wardrobe independently and sustainably.
Every repaired zipper is a small victory against fast fashion and unnecessary waste. Instead of discarding clothes over a mechanical flaw, you extend their life, save money, and reduce environmental impact. These hacks are easy to learn, effective, and applicable across jackets, pants, bags, and more.


 浙公网安备
33010002000092号
浙公网安备
33010002000092号 浙B2-20120091-4
Comments
No comments yet. Why don't you start the discussion?