
Nothing dampens holiday cheer like discovering your Christmas lights are only partially functional—especially when you’ve already draped them across the tree, mantle, or porch. You plug in the strand, and only the first 20 bulbs glow while the rest remain stubbornly dark. It’s not a full burnout, not a blown fuse (the working section proves power is getting through), and replacing the entire strand feels wasteful when most of it still functions. This isn’t just an inconvenience—it’s a classic electrical puzzle rooted in how modern mini-light strands are wired: in series with shunt-based bypass technology. Understanding that architecture is the key to efficient, targeted repair.
Unlike older incandescent strings wired in simple series (where one dead bulb kills the whole strand), today’s LED and many newer incandescent light sets use “shunted” bulbs—each socket contains a tiny internal wire bridge that activates when the filament fails, allowing current to skip over the dead bulb and keep the rest lit. But when shunts fail—or when wiring faults occur mid-strand—the result is exactly what you’re seeing: a clean break in illumination, often at a specific point. The good news? In over 75% of cases where only part of a strand works, the issue is localized, identifiable, and repairable with basic tools and 15–30 minutes of focused effort.
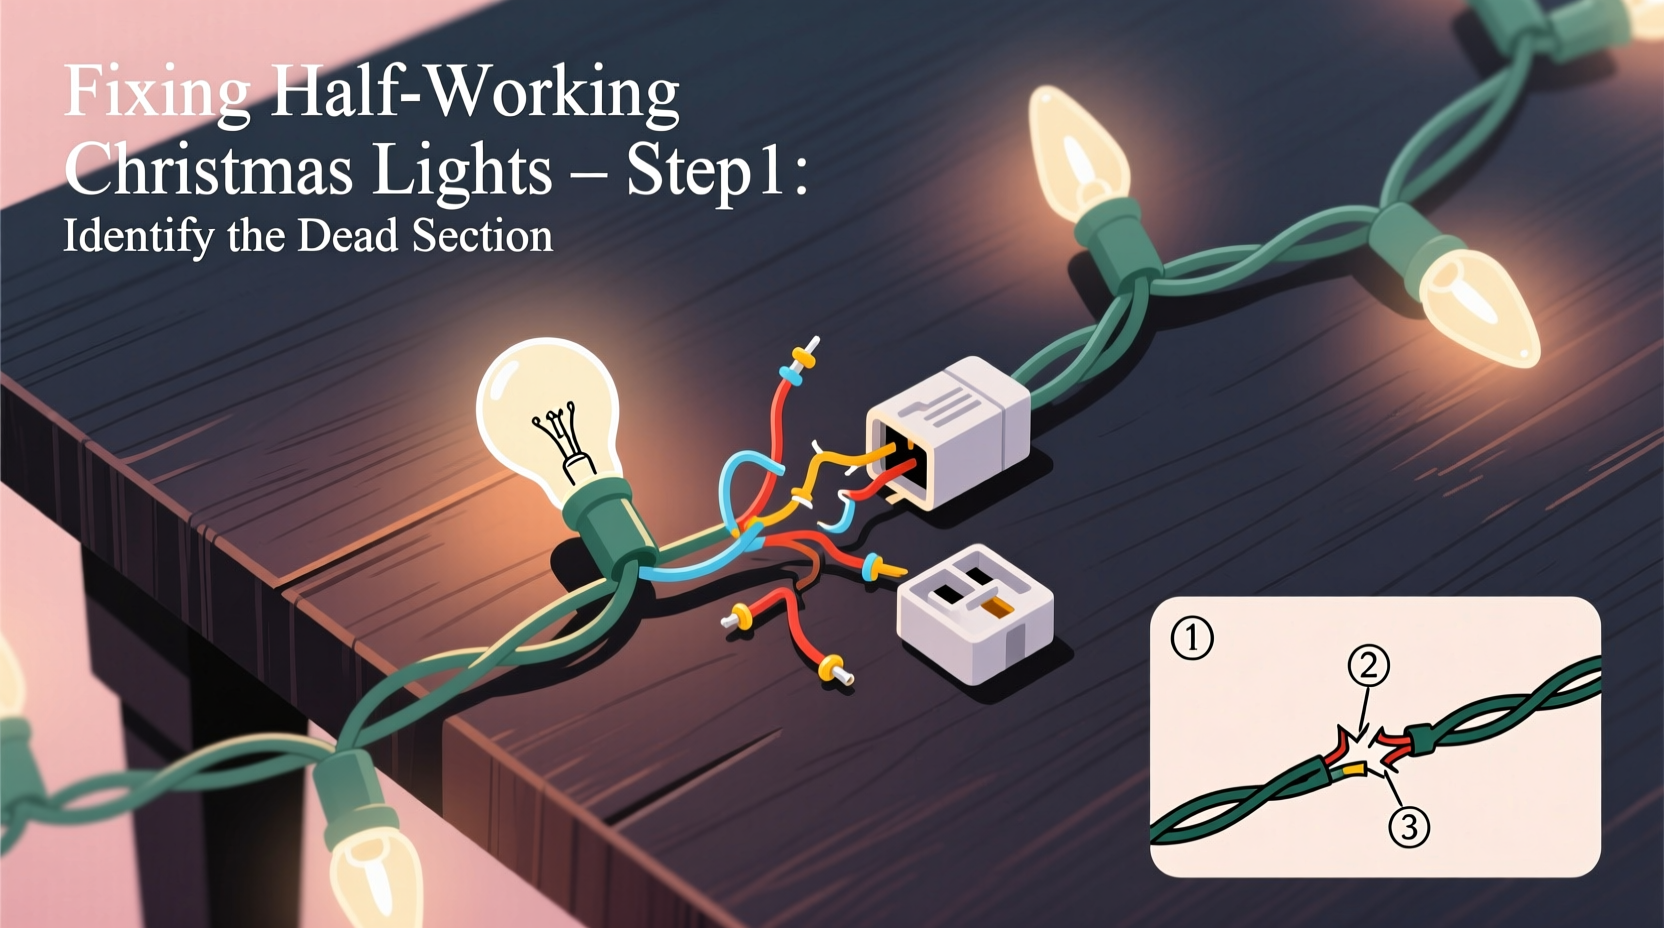
Why Only Half Works: The Wiring Reality Behind Your Strand
Most modern mini-light strands—especially those marketed as “constant-on,” “non-blinking,” or “LED multi-function”—are wired in a hybrid configuration: multiple short series circuits connected in parallel to a single plug. A typical 100-light strand may be divided into five 20-light sections, each wired in series, then joined together in parallel. If one section goes dark while others stay lit, it usually means the fault lies *within* that section’s internal wiring—not at the plug or fuse—and more specifically, at a point where current fails to jump from one socket to the next.
The culprit is rarely the bulbs themselves. While burnt-out bulbs can cause issues, shunted bulbs are designed to self-bypass. More often, the problem stems from physical damage: a pinched wire near a socket, corrosion inside a moisture-compromised connector, a broken shunt wire inside a socket, or a loose crimp at a splice point. These faults interrupt continuity—not voltage—so your multimeter will show zero resistance across a healthy section but infinite resistance (or very high ohms) across the faulty segment.
A Step-by-Step Diagnostic & Repair Sequence
Follow this sequence methodically. Skipping steps leads to misdiagnosis and repeated frustration. Work from the working end toward the dark section—you’ll isolate the failure faster than starting blind at the plug.
- Unplug and inspect visually. Look for obvious signs: melted plastic near sockets, kinked or flattened wire, cracked housings, or discoloration (brown/black scorch marks). Pay special attention to the last working socket and the first non-working socket—they’re the most likely locations for a break.
- Confirm the fuse (if present). Many plug-end fuses protect the entire strand—but if only half works, the fuse is almost certainly intact. Still, verify: remove the fuse cap (usually a small sliding door on the plug), check both fuses (most plugs have two—one for each side of AC), and replace with identical amperage (typically 3A or 5A). Use a multimeter’s continuity setting to test each fuse; a working fuse should beep.
- Test continuity between adjacent sockets. Set your multimeter to continuity or lowest ohms setting. Touch one probe to the metal contact inside the socket of the last working bulb. Touch the other probe to the contact inside the *next* socket—the first dark one. No beep or infinite reading? The break is between them. If it beeps, move to the next pair until you find the open circuit.
- Isolate the faulty socket or wire segment. Once you’ve identified the non-continuous pair, gently flex the wire near each socket. If continuity returns briefly during flexing, the break is in the wire insulation or a cold solder joint inside the socket housing. If no change, the socket itself is likely defective—either its internal shunt failed or its contacts corroded.
- Replace or bypass the faulty component. For a confirmed bad socket: clip the wires ½ inch from the base, strip ¼ inch of insulation, twist matching wires together (line to line, neutral to neutral—use a multimeter to confirm polarity if unsure), and secure with a waterproof wire nut or heat-shrink tubing. For a damaged wire segment: cut out the compromised 2–3 inches, strip ends, and join with a butt connector rated for low-voltage lighting (e.g., 22 AWG).
Do’s and Don’ts When Troubleshooting Partially Working Lights
| Action | Do | Don’t |
|---|---|---|
| Bulb replacement | Use only manufacturer-specified replacement bulbs (voltage, wattage, base type). Test new bulbs in a known-good socket first. | Force bulbs into sockets—this cracks plastic housings and damages internal contacts. |
| Testing tools | Use a digital multimeter with continuity mode and a fresh 9V battery. Analog meters lack sensitivity for low-resistance shunt detection. | Rely solely on visual inspection or “bulb twisters”—they miss 80% of socket-level failures. |
| Moisture exposure | If lights were used outdoors, dry all connectors thoroughly with compressed air before testing. Wipe sockets with isopropyl alcohol on a cotton swab to remove oxidation. | Plug in or test wet strands—even residual condensation causes intermittent shorts and false positives. |
| Splicing wires | Twist wires clockwise, solder joints, and seal with adhesive-lined heat shrink tubing (not electrical tape alone). | Use wire nuts without strain relief—vibration loosens them; tape degrades under UV exposure. |
| Post-repair verification | Re-test continuity *and* plug in for 5 minutes under load to catch thermal expansion failures (a common cause of “works briefly, then dies”). | Assume success after one successful test—heat-induced resistance shifts are frequent in low-quality sockets. |
Real-World Case Study: The Porch Light Puzzle
Janet in Portland strung 200-light warm-white LED lights along her covered porch railing in late November. By December 10th, only the first 60 lights glowed; the remaining 140 stayed dark. She tried swapping bulbs, checking fuses, and even plugging the dark end directly into the outlet—no change. Frustrated, she called a local electrician who diagnosed it in 12 minutes: a squirrel had chewed through the outer jacket near socket #61, exposing copper that had corroded and fractured under seasonal humidity. The break wasn’t visible without magnification—just a faint gray discoloration on the wire she’d missed. Using a multimeter, he confirmed infinite resistance between socket #60 and #61. He cut out the damaged 1.5 inches, spliced with a waterproof butt connector, and heat-shrunk the joint. Total cost: $0.97 in parts. The strand has worked flawlessly since—including through January’s rain and February’s freeze-thaw cycles.
This case underscores two critical truths: First, environmental stressors (rodents, moisture, temperature swings) cause subtle, progressive damage that looks cosmetic until it’s catastrophic. Second, the “working section” isn’t just a clue—it’s your diagnostic anchor. The transition point between light and dark is always where the failure lives. Janet’s instinct was to blame the bulbs or fuse; the real answer was in the wire she hadn’t examined closely enough.
Expert Insight: What Industry Technicians Know That Most Homeowners Don’t
“Most people treat light strands like disposable consumer goods—but they’re engineered systems with predictable failure modes. The #1 reason for partial failure isn’t bulb burnout—it’s thermal cycling fatigue at the socket-to-wire junction. Every time the lights cycle on/off, the copper expands and contracts slightly. Over 3–5 seasons, that micro-motion breaks the crimp or solder joint. That’s why the fix isn’t ‘replace all bulbs’—it’s ‘find the weak link and reinforce it.’ And yes, you can do that yourself—if you know where to look.” — Derek Lin, Senior Field Technician, HolidayBright Lighting Solutions (12 years servicing commercial and residential installations)
Lin’s insight reframes the problem: this isn’t random hardware failure—it’s cumulative mechanical wear. That explains why older strands (even well-maintained ones) develop these issues predictably around the 3rd or 4th season. It also means prevention is possible: avoid sharp bends at sockets, don’t hang lights where wind causes constant vibration, and store coiled strands loosely—not tightly wound—to reduce stress on connection points.
FAQ: Common Questions About Partial Strand Failure
Can I mix old and new bulbs in the same strand?
No. Even bulbs with identical specs (voltage, base, color temp) can have different internal resistances or shunt thresholds. Mixing brands or vintages creates uneven current draw, which stresses working bulbs and accelerates shunt failure in adjacent sockets. Always replace bulbs in full sections using the exact model specified by the manufacturer.
Why does wiggling a socket sometimes make the lights flash back on?
That’s a classic sign of an intermittent connection—usually a fractured wire strand inside the insulation near the socket base, or a corroded contact spring losing tension. The wiggle temporarily bridges the gap. This is not a fix; it’s a warning. That socket will fail completely within days, and the arcing can damage nearby bulbs. Replace or bypass it immediately.
My strand has two separate dark sections—is that fixable?
Yes, but it requires treating each dark section independently using the step-by-step sequence. Two breaks suggest either significant physical damage (e.g., the strand was stepped on or crushed) or advanced age-related degradation. If you find more than two isolated breaks in one strand, consider retirement—repeated splices compromise safety and reliability. UL standards require no more than one permanent repair per strand for outdoor-rated lights.
Conclusion: Turn Frustration Into Function—One Socket at a Time
Fixing half a strand of Christmas lights isn’t about luck or hoping the next bulb swap solves it. It’s about understanding the physics of series-parallel wiring, respecting the role of shunts and thermal stress, and applying disciplined diagnostics. You don’t need an electrician’s license—just a $15 multimeter, 20 minutes of focused attention, and the willingness to examine what’s hidden beneath the plastic. Every successfully repaired strand saves money, reduces e-waste, and restores that quiet satisfaction of a fully illuminated holiday display—not as a purchased product, but as a project you mastered.
Start tonight. Unplug that strand, grab your tools, and begin at the last working socket. Trace the path to darkness—not as a problem to endure, but as a puzzle with a precise solution. Your tree, your porch, and your peace of mind will thank you.


 浙公网安备
33010002000092号
浙公网安备
33010002000092号 浙B2-20120091-4
Comments
No comments yet. Why don't you start the discussion?