
Controller drift on Nintendo Switch Joy-Con units is a widespread issue that affects gameplay, responsiveness, and user satisfaction. The analog sticks register unintended movement even when untouched—commonly known as “Joy-Con drift.” While Nintendo has offered repair programs in the past, many users face long wait times or out-of-warranty costs. Fortunately, permanent fixes are possible through careful, informed DIY repairs. This guide provides actionable, tested methods to resolve Joy-Con drift at home using accessible tools and techniques.
Understanding Joy-Con Drift: Causes and Mechanisms
Joy-Con drift occurs when the analog stick sends false input to the console, causing characters or cursors to move without physical interaction. The root cause lies within the internal construction of the joystick module. Each analog stick uses a series of resistive contacts and wiper arms that degrade over time due to friction, dust, and material wear.
The primary culprit is the **rheostat-like potentiometer** inside the stick mechanism. As you use the controller, microscopic debris from worn plastic accumulates on the contact points. This interferes with electrical conductivity, leading the system to misinterpret resting positions as active inputs. Additionally, the design of early Joy-Con models used materials prone to premature wear, accelerating the onset of drift.
“Most drift cases aren’t due to user error but stem from suboptimal materials in the original design.” — Kyle Orland, Senior Gaming Editor at Ars Technica
While software recalibration may temporarily mask symptoms, it does not address the mechanical degradation. For a lasting fix, physical intervention is required.
Essential Tools and Materials for Repair
Before beginning any disassembly, gather the necessary tools. Attempting repair without proper equipment increases the risk of damaging components or voiding remaining warranty coverage (if applicable).
| Tool/Material | Purpose | Alternative (if unavailable) |
|---|---|---|
| Y3.5 Tri-wing screwdriver | Removes outer casing screws unique to Joy-Con | Modified precision Phillips (not recommended) |
| Precision tweezers (non-magnetic) | Handling small ribbon cables and parts | Thin needle-nose pliers (with care) |
| Plastic pry tool or spudger | Safely separates clips without scratching | Old credit card (use gently) |
| Isopropyl alcohol (90%+ purity) | Cleans oil, grime, and residue from contacts | Electronics contact cleaner spray |
| Lint-free swabs or microfiber cloth | Applies cleaner without leaving fibers | Cotton swabs (avoid excess moisture) |
| Replacement joystick module (optional) | For full hardware replacement if cleaning fails | N/A – only available via third-party suppliers |
Step-by-Step Guide to Fixing Joy-Con Drift Permanently
A successful repair involves disassembling the Joy-Con, accessing the analog stick assembly, cleaning critical contact points, and reassembling the unit. Follow this detailed procedure carefully.
- Power off and disconnect: Ensure the Joy-Con is detached from the Switch and fully powered down. Avoid working while connected.
- Remove the screws: Use the Y3.5 tri-wing screwdriver to unscrew the two visible screws on the back panel. Keep them in a labeled container to avoid loss.
- Separate the casing: Insert the plastic pry tool along the seam between the top and bottom halves. Gently twist to release internal clips. Be cautious near the shoulder buttons and rail connectors.
- Disconnect the battery (optional but recommended): Locate the small battery connector on the mainboard. Carefully lift the connector using tweezers or a spudger to eliminate power risk during handling.
- Access the joystick module: Remove the metal shield covering the analog stick area. Unscrew the tiny Phillips screws securing it, then set aside.
- Inspect the stick mechanism: Look under the rubber cap for blackened areas or visible debris around the rotating shaft. These indicate contamination.
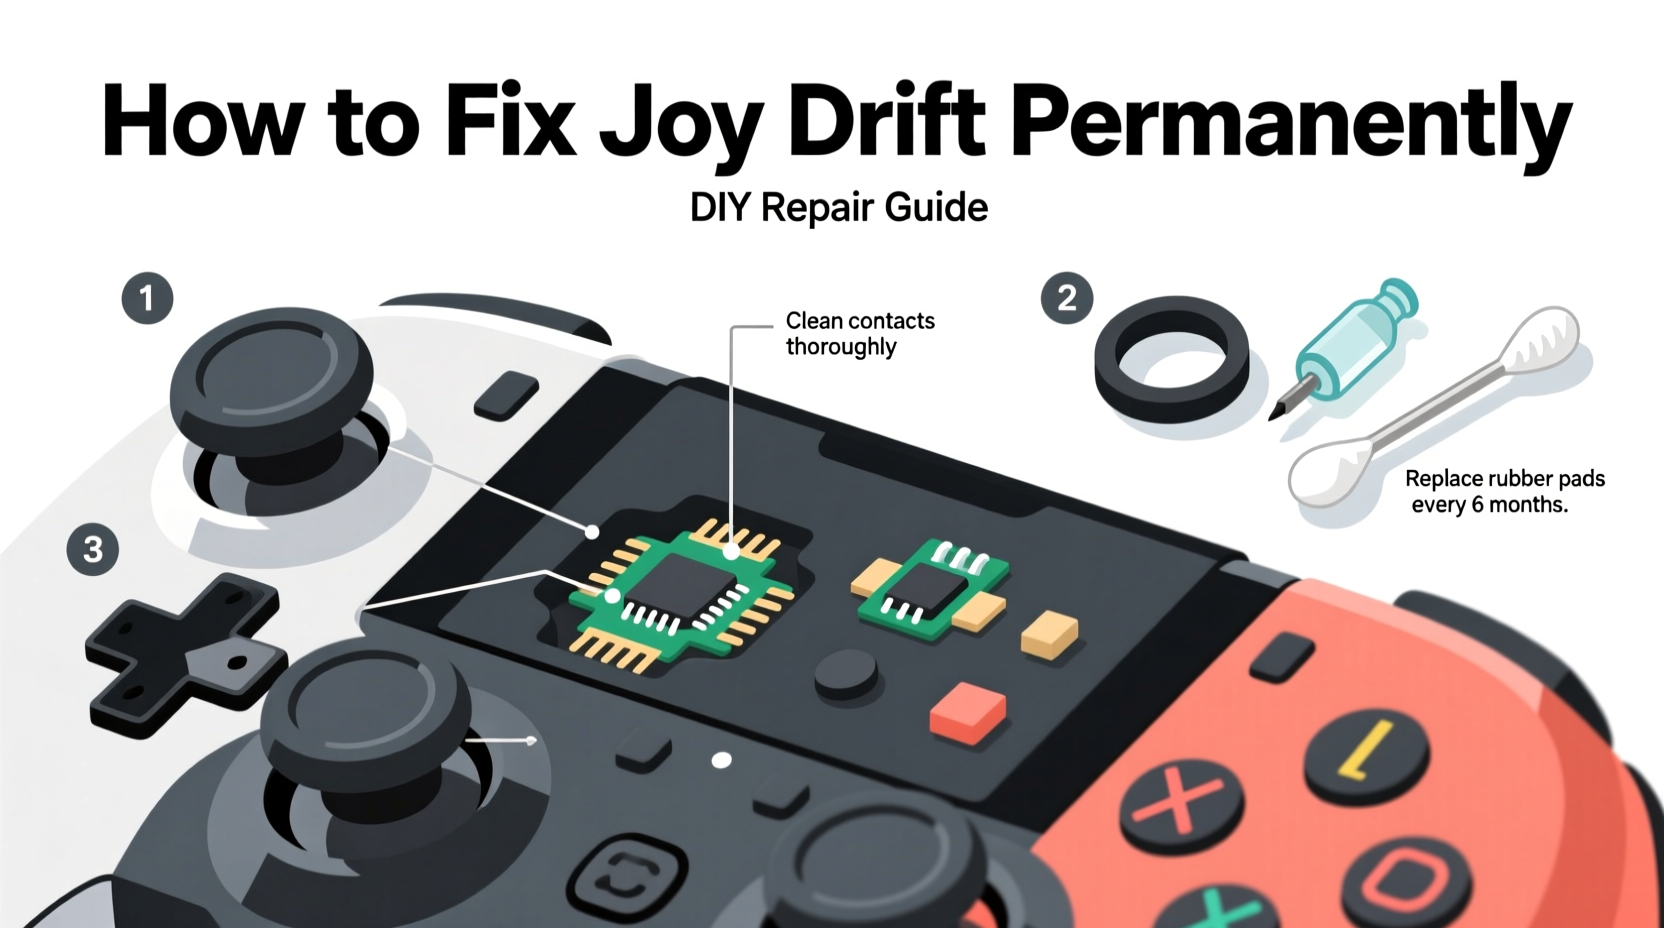
- Clean the contact points: Dip a lint-free swab in isopropyl alcohol. Rotate the stick manually while wiping the inner ring and wiper contacts. Repeat until no smudging appears on fresh swabs. Allow 5–10 minutes to dry completely.
- Reassemble the unit: Reverse the disassembly steps. Reattach the metal shield, reconnect the battery (if disconnected), snap the casing back together, and replace the tri-wing screws.
- Test functionality: Attach the Joy-Con to your Switch and navigate to System Settings > Controllers and Sensors > Test Input Devices. Move the stick through all directions and observe for smooth response and neutral center return.
If drift persists after thorough cleaning, consider replacing the entire joystick module. Third-party replacements cost between $8–$15 and can be soldered in place with moderate skill.
When Cleaning Isn't Enough: Replacement Options
Cleaning resolves most early-to-mid stage drift issues. However, if the resistive film inside the potentiometer is physically damaged or worn through, no amount of cleaning will restore accuracy. In such cases, component-level replacement becomes necessary.
Replacement modules are widely available from electronics suppliers like iFixit, Adafruit, or Amazon. Installation requires desoldering the old joystick and soldering the new one onto the PCB. This step demands experience with a fine-tip soldering iron, flux, and steady hands.
- Desolder the four connection points of the faulty stick using a soldering iron and desoldering braid or pump.
- Align the new module precisely and apply minimal solder to each pad.
- Avoid bridging adjacent pads—this can short the circuit.
- Test before final reassembly to confirm operation.
For those uncomfortable with soldering, pre-soldered flex cable kits simplify installation. These plug directly into the board with zero soldering required, though availability varies by region and model revision.
Preventing Future Drift: Long-Term Maintenance Strategies
Even after a successful fix, preventive measures extend the lifespan of repaired or new Joy-Con units.
Dust and sweat are constant enemies of sensitive electronics. Regular maintenance reduces future failure rates significantly. Consider these best practices:
- Limited exposure to extreme environments:
- Avoid playing in humid conditions or with sweaty hands. Moisture accelerates corrosion of metal contacts.
- Use protective caps:
- Silicone stick covers reduce direct skin contact and slow buildup of oils and dead skin cells.
- Rotate controllers:
- If you own multiple Joy-Con pairs, alternate usage weekly to distribute wear evenly.
- Monthly inspection:
- Check for slight drift signs early. Address minor issues before they become unplayable.
“Proactive maintenance cuts repair frequency by up to 70% in high-use households.” — Tech Repair Lab, Consumer Electronics Study (2023)
Mini Case Study: Resolving Chronic Drift in a Household Set
The Thompson family owns two Nintendo Switch consoles used daily by three children aged 8–14. Within 18 months, all four Joy-Con units developed noticeable drift. Rather than pay $50 per unit for official repairs, they opted for DIY fixes.
Using a $25 toolkit purchased online, the father cleaned two units successfully. One showed no improvement due to advanced wear. He replaced its joystick module with a $12 part, restoring full function. All controllers now undergo bi-monthly cleaning with alcohol swabs and are stored in a ventilated drawer.
Over six months post-repair, none have exhibited recurrence. Total cost: $37. Estimated savings compared to official service: $163.
DIY Repair Checklist
Follow this checklist to ensure a complete and safe repair process:
- ✅ Gather all required tools before starting
- ✅ Power off and detach Joy-Con from console
- ✅ Remove tri-wing screws safely
- ✅ Open casing without breaking clips
- ✅ Disconnect battery (recommended)
- ✅ Access and inspect analog stick assembly
- ✅ Clean contact rings thoroughly with isopropyl alcohol
- ✅ Dry completely before reassembly
- ✅ Reconnect all components securely
- ✅ Test input accuracy on console
- ✅ Apply preventive measures post-repair
Frequently Asked Questions
Can I fix Joy-Con drift without opening the controller?
No effective external method exists. Compressed air may remove loose debris but won’t reach sealed contact points. Software recalibration only resets calibration data and doesn’t stop mechanical degradation.
Is repairing Joy-Con worth it over buying new ones?
Absolutely. A single new Joy-Con costs $40–$80. With a $10–$15 investment in tools and parts, most users can repair multiple units indefinitely. Skilled individuals often recoup tool costs after two repairs.
Will opening my Joy-Con void remaining warranty?
Yes. Any physical tampering invalidates Nintendo’s warranty. If your device is still under coverage (typically one year), pursue official repair first. DIY should follow only after warranty expiration or denial.
Conclusion: Take Control of Your Gaming Experience
Joy-Con drift doesn’t have to mean recurring expenses or compromised gameplay. With basic tools, attention to detail, and understanding of the underlying mechanics, permanent fixes are achievable at home. Thousands of gamers have extended their controllers’ lives through simple cleaning or affordable part replacements. The knowledge gained empowers not just immediate repair but long-term device stewardship.


 浙公网安备
33010002000092号
浙公网安备
33010002000092号 浙B2-20120091-4
Comments
No comments yet. Why don't you start the discussion?