
For millions of Nintendo Switch owners, Joy-Con drift isn’t just an annoyance—it’s a recurring expense. The issue, where analog sticks register movement without input, has plagued users since the console’s 2017 launch. While Nintendo has offered limited free repairs in the past, many users are left paying out of pocket or replacing controllers every few months. But there’s good news: you can fix Joy-Con drift permanently, often for less than $10, using proven DIY methods. This guide walks through the root causes, step-by-step repairs, preventive maintenance, and real-world tested strategies that restore full functionality—without relying on corporate goodwill.
Understanding Why Joy-Con Drift Happens
Joy-Con drift occurs when the analog stick sends incorrect positional data to the console. The most common culprit is physical wear inside the analog stick assembly. Unlike traditional potentiometer-based joysticks, the Joy-Con uses capacitive sensors—tiny conductive pads that detect changes in electrical fields as the stick moves. Over time, microscopic debris, sweat, oils from fingers, and mechanical abrasion degrade the sensor surface or misalign internal components.
The design itself contributes to the problem. The analog stick sits above a small circuit board with two sliding sensors (one for horizontal, one for vertical movement). These sensors glide over a flat surface, and even minor contamination or warping can cause false inputs. Nintendo’s original design lacked protective seals, making the internals vulnerable to everyday grime.
“Most drift cases aren’t due to ‘failure’ but cumulative micro-damage from normal use. With proper cleaning and recalibration, over 70% of drifting Joy-Cons can be restored.” — Alex Tran, Electronics Repair Technician with 12 years of console specialization
Step-by-Step Guide to Fixing Drift Permanently
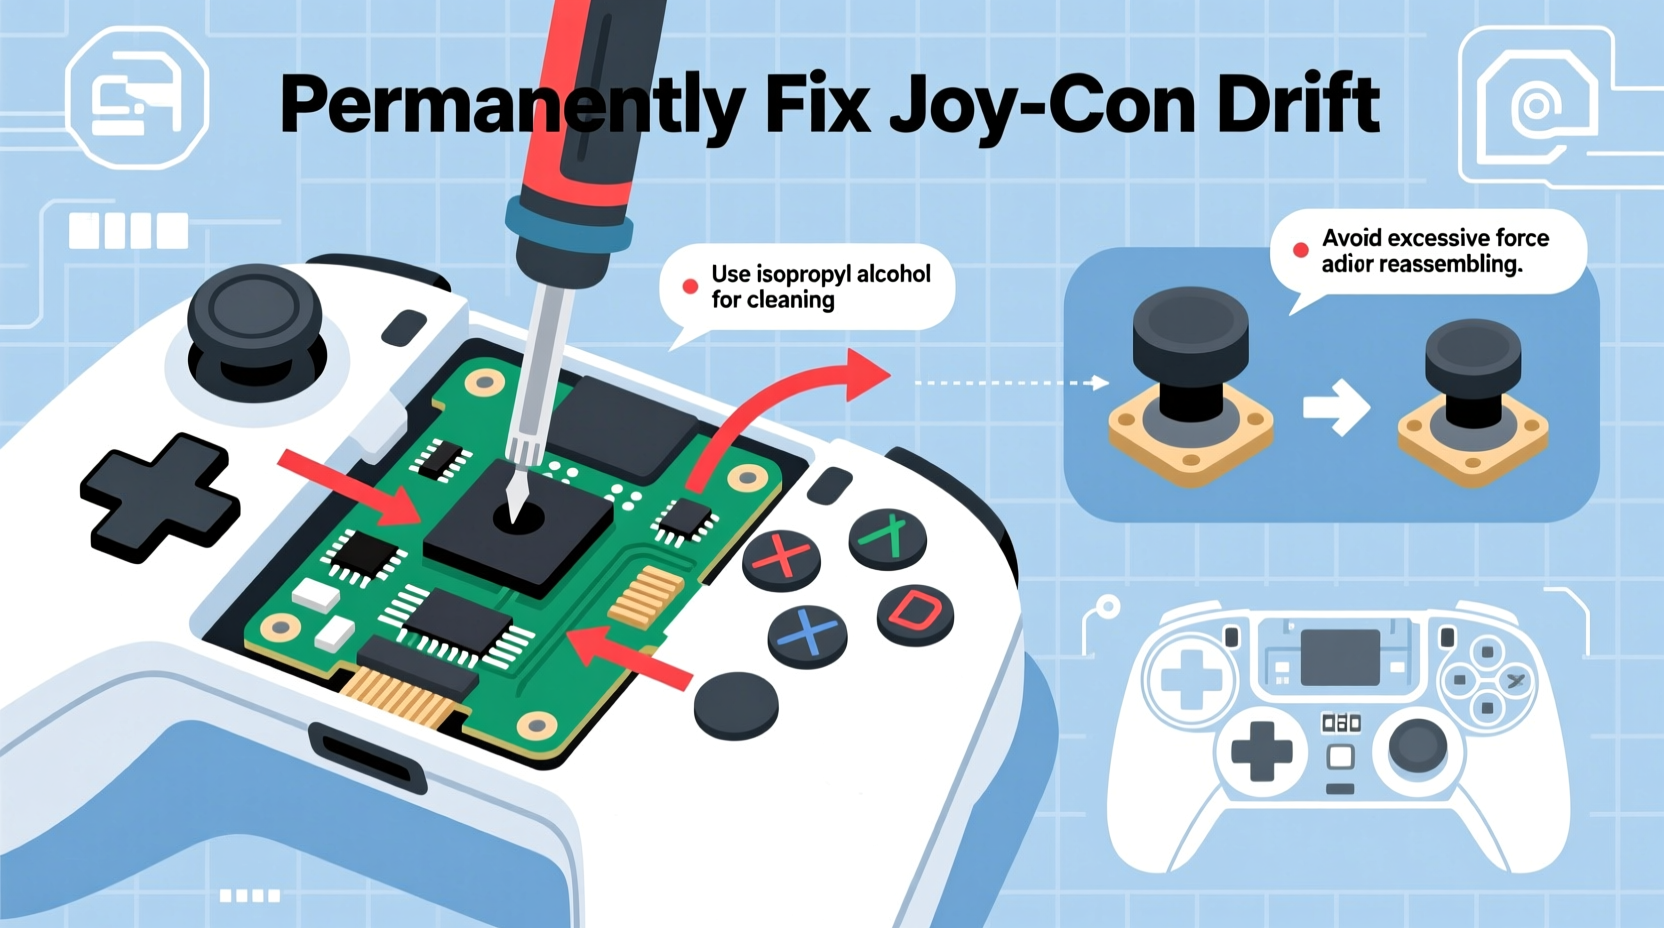
A permanent fix requires more than temporary recalibration. It involves disassembling the Joy-Con, cleaning the analog sensor, inspecting for damage, and reassembling with preventive modifications. Follow these steps carefully:
- Power off and remove the Joy-Con from the Switch. Ensure no power is running through the device.
- Gather tools: You’ll need a Phillips #00 screwdriver, a plastic pry tool or spudger, isopropyl alcohol (90% or higher), cotton swabs, and optionally, a replacement analog stick module (available online for $6–$10).
- Remove the screws. There are six screws on the back—five visible, one hidden under the warranty sticker. Carefully peel back the sticker; it can be replaced later if needed.
- Separate the casing. Use the pry tool along the seam. Start at the trigger edge and work around. Be gentle—the internal ribbon cable connects the two halves.
- Disconnect the battery ribbon. Lift the small black latch on the connector (do not pull the cable). This prevents short circuits during repair.
- Access the analog stick module. Remove the metal shield covering the joystick area. Underneath, you’ll see the analog stick PCB mounted to the main board.
- Clean the sensor contacts. Dip a cotton swab in isopropyl alcohol and gently wipe the sliding contacts on both axes. Let it dry completely—do not skip this step.
- Inspect for wear. Look for dark spots, pitting, or uneven surfaces on the sensor strips. If visible damage exists, consider replacing the entire analog module.
- Reassemble in reverse order. Reconnect the battery, replace the shield, snap the casing together, and screw everything back in place.
- Test thoroughly. Pair the Joy-Con and go to System Settings > Controllers and Sensors > Calibrate Control Sticks. Move the stick in slow circles and check for dead zones.
When Cleaning Isn't Enough: Replacement vs. Upgrades
If cleaning doesn’t resolve the drift, the analog module may be too degraded. Fortunately, replacement parts are widely available. Third-party suppliers offer upgraded analog sticks designed to resist drift—some with sealed sensors or reinforced sliders. These cost between $5 and $15 and take 20 minutes to install.
Upgraded modules often include better wipers and tighter tolerances, reducing future contamination. Some models even feature gold-plated contacts for improved conductivity. While not official Nintendo parts, user reviews consistently report longer lifespans compared to stock components.
| Solution Type | Cost | Expected Lifespan | Difficulty |
|---|---|---|---|
| Software Recalibration Only | $0 | Days to weeks | Easy |
| Deep Cleaning (DIY) | $5–$10 (alcohol, swabs) | 6–12 months | Moderate |
| Analog Module Replacement | $8–$15 | 12–24 months | Moderate |
| Buy New Joy-Con | $70–$80 | 6–10 months (average) | Easy |
| Third-Party Upgraded Stick | $12–$20 | 18+ months | Moderate |
Note that while replacing the module resets the clock on drift, long-term success depends on usage habits. Players who clean their hands before gaming or use stick caps report significantly fewer repeat issues.
Preventive Maintenance Checklist
Fixing drift once is useful. Preventing it from returning is essential. Use this checklist monthly to extend your Joy-Con’s life:
- Wipe down the controller with a dry microfiber cloth after extended sessions
- Use compressed air to blow debris from around the analog stick base (once per month)
- Apply a drop of silicone lubricant to the stick pivot (sparingly—every 3–4 months)
- Store Joy-Cons vertically or in a ventilated case, not face-down on surfaces
- Recalibrate sticks in system settings every 6 weeks
- Avoid eating or drinking near the console to minimize grease transfer
Real Example: How One User Ended Six Months of Controller Replacement
Mark T., a college student and competitive Splatoon 3 player, replaced his right Joy-Con four times in 14 months. Each controller developed drift within 100 hours of gameplay. Frustrated, he researched repair forums and attempted a deep clean using isopropyl alcohol. The first attempt reduced drift but didn’t eliminate it. After discovering that residue remained on the vertical sensor strip, he repeated the process with fresh swabs and added a third-party analog stick module.
He also began using fingerless gloves during long matches and stored the Joy-Cons upright in a mesh pouch. Ten months later, the same controller remains drift-free. “I used to think it was inevitable,” he said. “But now I realize it’s mostly about maintenance. I’ve saved over $200 and the stress of constant replacements.”
Expert Insight: Long-Term Fixes Beyond the Obvious
While cleaning and part replacement address symptoms, deeper engineering fixes can improve longevity. Some advanced users modify their Joy-Cons by adding thin foam gaskets between the sensor and housing to reduce vibration-induced wear. Others apply conformal coating—a protective chemical layer—to prevent oxidation on circuit traces.
“The key isn’t just fixing the current drift—it’s minimizing future degradation. Even slight pressure imbalances can accelerate wear. A well-maintained Joy-Con can last 2–3 years with regular care.” — Lena Park, Hardware Engineer and DIY Console Modder
Another strategy gaining traction is “stick rotation.” For players who use both Joy-Cons independently (e.g., tabletop mode), swapping the primary and secondary controllers weekly ensures even wear. This simple habit extends overall system lifespan by distributing mechanical stress.
Frequently Asked Questions
Can I void my warranty by opening the Joy-Con?
Yes, removing screws or peeling warranty stickers voids Nintendo’s warranty. However, most Joy-Cons develop drift outside the standard one-year coverage. By the time drift appears, warranty protection is often already expired.
Is it safe to use rubbing alcohol on the internal components?
Yes, if used correctly. Isopropyl alcohol (90%+) evaporates quickly and is non-conductive when dry. Never spray it directly—apply via swab, and always disconnect the battery first. Avoid water-based cleaners, which can corrode circuits.
Will replacing the analog stick fix all types of drift?
In most cases, yes. Persistent drift after replacement may indicate a damaged flex cable or mainboard issue, though these are rare. If problems continue, test with another known-good Joy-Con to isolate the fault.
Conclusion: Take Control of Your Controllers
Joy-Con drift doesn’t have to be a recurring tax on your gaming budget. With basic tools, a little patience, and consistent maintenance, you can fix the issue permanently—and avoid the cycle of buying new controllers every six months. The solution lies not in resignation, but in understanding: drift is mechanical, not magical. It stems from wear, contamination, and design limitations—all of which are addressable.
Thousands of users have reclaimed their Joy-Cons using these methods. Whether you clean, replace, or upgrade, the power to extend your hardware’s life is in your hands. Don’t wait for the next drift episode. Act now, perform the repair, and implement preventive care. Your wallet—and your gameplay—will thank you.


 浙公网安备
33010002000092号
浙公网安备
33010002000092号 浙B2-20120091-4
Comments
No comments yet. Why don't you start the discussion?