
Stick drift—when your controller’s analog stick moves the in-game character or camera without input—is one of the most frustrating issues gamers face. It undermines gameplay, ruins competitive sessions, and often signals the beginning of a controller’s decline. While manufacturers have been criticized for premature wear in analog sticks, the good news is that many cases of stick drift can be addressed—either temporarily or permanently—with the right approach. Whether you’re using a PlayStation DualSense, Xbox Wireless Controller, Nintendo Switch Joy-Con, or a third-party model, understanding the causes and solutions can extend your controller’s life and save you money.
Understanding Stick Drift: What Causes It?
Analog stick drift occurs when the controller registers movement even when the stick is at rest. This happens due to physical or electrical degradation within the stick mechanism. The primary components involved are the potentiometer (a small sensor that measures resistance to determine stick position) and the rubber cup beneath the stick that acts as a spring and contact point.
Over time, dust, debris, skin oils, and moisture infiltrate the stick housing. These contaminants interfere with the potentiometer’s ability to read neutral positions accurately. Additionally, repeated use wears down internal materials, especially the conductive pads inside the stick module. In some designs—like the Nintendo Switch Joy-Con—the potentiometers themselves are prone to early failure due to manufacturing limitations.
“Stick drift isn’t always about hardware failure—it’s often a combination of contamination, wear, and design flaws.” — Mark Tran, Electronics Repair Technician with 10+ years in consumer device servicing
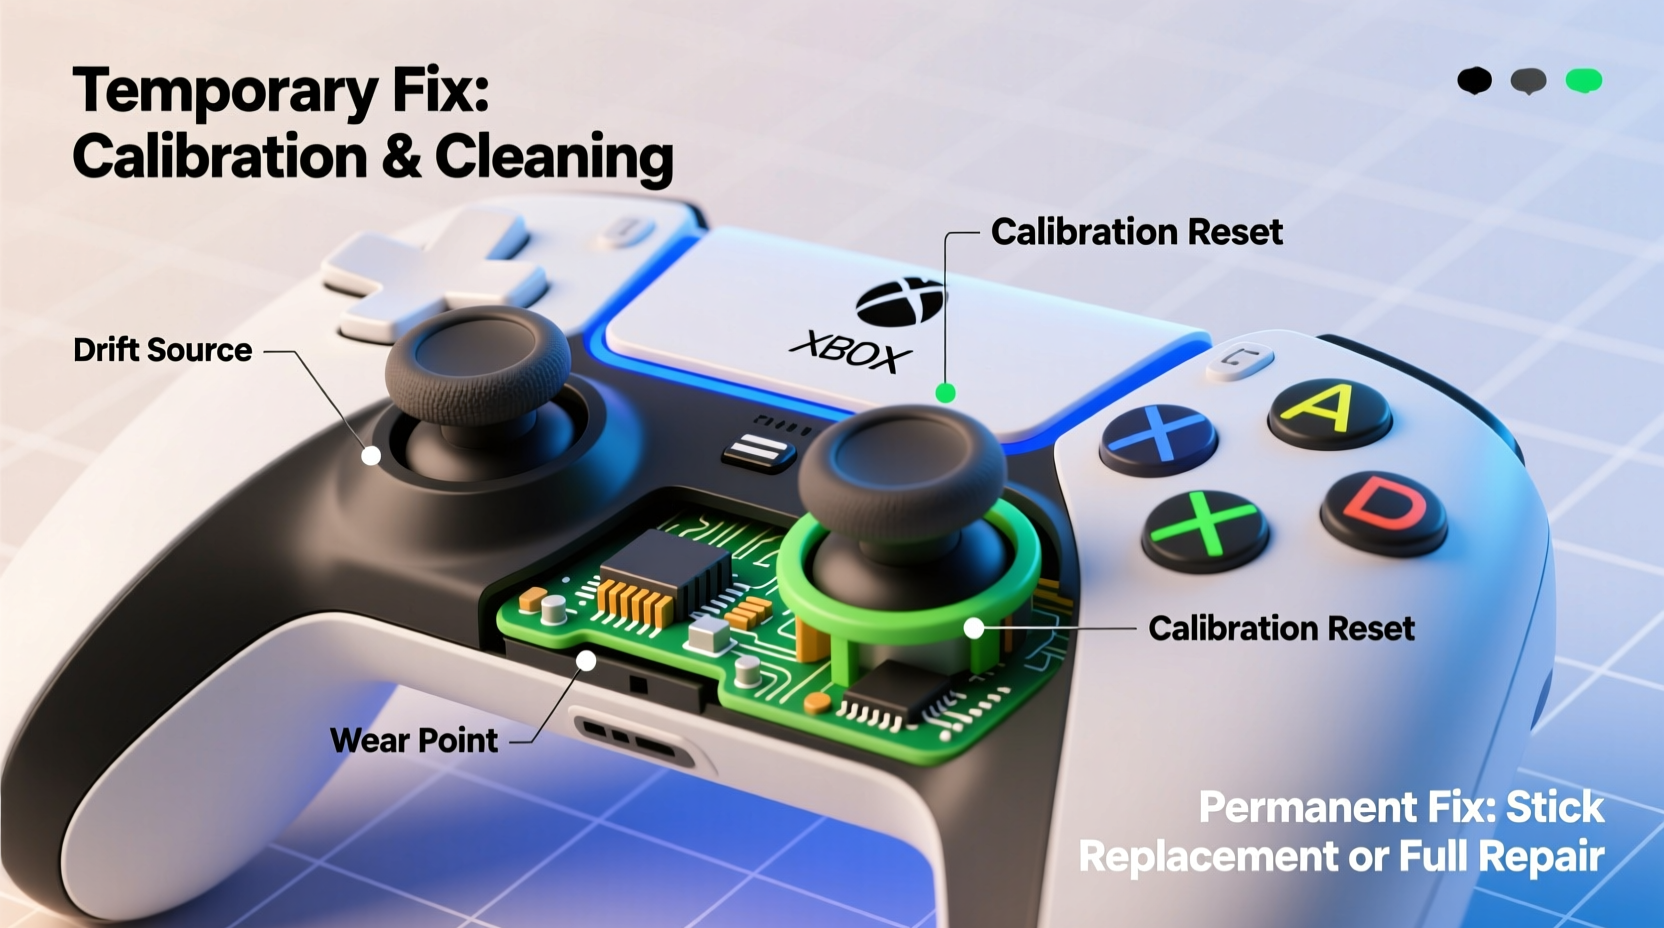
Temporary Fixes for Immediate Relief
If you're mid-session and stick drift starts acting up, several quick methods can help stabilize performance without tools or disassembly. These aren't long-term solutions but can buy time until a permanent fix is possible.
1. Controller Recalibration
Some systems allow you to recalibrate the analog sticks through built-in settings. For example:
- Nintendo Switch: Go to System Settings > Controllers and Sensors > Calibrate Control Sticks.
- PlayStation 5: Navigate to Settings > Accessories > Controllers > Adjust Analog Sticks.
- Xbox Series X|S: Use the Xbox Accessories app on Windows to test and calibrate inputs.
While this won’t fix physical wear, it can reset software thresholds and reduce false inputs.
2. Compressed Air Cleaning
Dust and debris trapped around the base of the stick are common culprits. Use a can of compressed air to blow out particles:
- Power off the controller.
- Hold the nozzle 1–2 inches from the stick base.
- Fire short bursts while gently rotating the stick to expose all sides.
- Repeat 3–4 times, then test the stick.
3. Stick Cycling Exercise
Moving the stick in slow, deliberate circles can temporarily reseat worn contacts. Perform this for 30–60 seconds:
- Move the stick in full clockwise circles 20 times.
- Repeat counterclockwise.
- Push gently into each cardinal direction (up, down, left, right) and hold for 3 seconds each.
This method doesn’t repair damage but may improve responsiveness by redistributing microscopic debris or realigning contacts.
Potential Risks of Ignoring Stick Drift
Leaving stick drift unaddressed can lead to more than just poor gameplay. Continued use exacerbates wear, potentially damaging other internal components like circuit boards or solder joints. Moreover, drifting inputs may register unintended actions—such as walking forward indefinitely—which can trigger anti-cheat systems in online games if misinterpreted as macros.
From a financial perspective, replacing controllers frequently adds up. A single Joy-Con costs over $60, while a new DualSense runs $70–$80. Learning to maintain and repair them is both economical and environmentally responsible.
Permanent Solutions: Repair and Replacement
For lasting results, physical intervention is required. Permanent fixes range from deep cleaning to component replacement. While they require more effort, they offer the best chance of restoring full functionality.
Step-by-Step Guide: Deep Cleaning the Analog Stick
This method works well for early-stage drift caused by grime buildup. You’ll need:
- Isopropyl alcohol (90% or higher)
- Cotton swabs or microfiber cloth
- Compressed air
- Small screwdriver set (usually Phillips #00)
- Plastic pry tool (optional)
- Disassemble the controller: Remove screws (often hidden under labels or rubber grips). Carefully separate the casing using a pry tool.
- Locate the joystick module: Found on either side of the PCB. It’s typically secured with clips or small screws.
- Remove the stick cap: Gently pull it straight up. Avoid twisting to prevent snapping.
- Clean the potentiometer shaft: Dip a cotton swab in isopropyl alcohol and clean around the rotating shaft. Rotate the inner spindle manually while wiping.
- Clean contact points: Wipe any visible carbon tracks or pads. Let dry completely for 10–15 minutes.
- Reassemble and test: Put everything back together and test sensitivity in a game or calibration menu.
This process removes conductive residue and restores consistent electrical contact. Success rates vary based on wear level, but many users report restored function lasting months or longer.
Replacing the Joystick Module
When cleaning fails, replacement is the next step. Replacement sticks are inexpensive—typically $5–$15 per unit—and widely available online for major consoles.
The procedure involves desoldering the old module and soldering in the new one. If you lack soldering experience, consider using pre-soldered modules with plug-and-play connectors (available for newer Xbox and PS5 controllers). For Joy-Cons, third-party kits include alignment tools to ensure proper fit.
“I’ve replaced over 200 joystick modules. In 90% of cases, drift returns within a year due to poor replacement part quality. Always go for branded or high-rated suppliers.” — Lin Zhao, Console Repair Shop Owner
Comparison of Fix Methods: Effectiveness and Longevity
| Method | Avg. Time Required | Cost | Effectiveness | Expected Duration |
|---|---|---|---|---|
| Recalibration | 2 minutes | $0 | Low | Minutes to hours |
| Compressed Air | 5 minutes | $10–$15 (can) | Medium | Days to weeks |
| Deep Cleaning | 30–45 minutes | $5 (alcohol, swabs) | High | 1–6 months |
| Joystick Replacement | 45–60 minutes | $10–$20 (parts) | Very High | 6 months to 2+ years |
| New Controller | 5 minutes | $60–$80 | Very High | 1–3 years |
Mini Case Study: Fixing a Drifting Joy-Con
Jamal, a competitive Super Smash Bros. Ultimate player, noticed his left Joy-Con drifting during tournaments. At first, he tried recalibrating and blowing air around the stick, which helped briefly. Within two weeks, the drift returned aggressively, making precise movements impossible.
He decided to open the Joy-Con using a precision screwdriver kit. After removing the casing, he found visible grime around the potentiometer. He cleaned it thoroughly with 99% isopropyl alcohol and let it dry overnight. Upon reassembly, the drift was gone—but after three months, it returned.
This time, he ordered a replacement joystick module. Following a YouTube tutorial, he carefully desoldered the old part and installed the new one. The fix lasted over 14 months, and he now cleans his controllers every few months as preventive maintenance.
Preventive Maintenance Checklist
To delay or avoid stick drift altogether, follow these best practices:
- ✅ Wash hands before gaming to reduce oil transfer.
- ✅ Store controllers in a dry, dust-free area.
- ✅ Use protective caps on analog sticks (silicone covers).
- ✅ Clean controller ports and stick bases monthly with dry cloth.
- ✅ Avoid eating or drinking near controllers.
- ✅ Limit aggressive stick rotation during gameplay.
- ✅ Recalibrate sticks every 2–3 months.
Frequently Asked Questions
Can stick drift be fixed without opening the controller?
Limited success is possible with recalibration and compressed air, but these are temporary. Without accessing internal components, you cannot address the root cause—contamination or worn contacts.
Is stick drift covered under warranty?
It depends on the manufacturer and region. Sony and Microsoft typically cover drift under warranty if reported early, though proof of normal use may be required. Nintendo has offered free repairs for Joy-Con drift in the U.S. and Canada, even beyond warranty, though availability varies.
Are third-party controllers less prone to stick drift?
Not necessarily. While some premium third-party controllers (like those from SCUF or Razer) use higher-grade components, budget models often use inferior sticks that fail faster. Research build quality before purchasing.
Conclusion: Take Control of Your Controller’s Lifespan
Stick drift doesn’t have to mean the end of your controller. With a mix of immediate troubleshooting and informed long-term repairs, you can regain precision and extend usability. Temporary fixes offer quick relief, but investing time in deep cleaning or component replacement pays off in durability and cost savings. As gaming hardware becomes increasingly expensive, mastering basic repair skills empowers players to take ownership of their gear.


 浙公网安备
33010002000092号
浙公网安备
33010002000092号 浙B2-20120091-4
Comments
No comments yet. Why don't you start the discussion?