
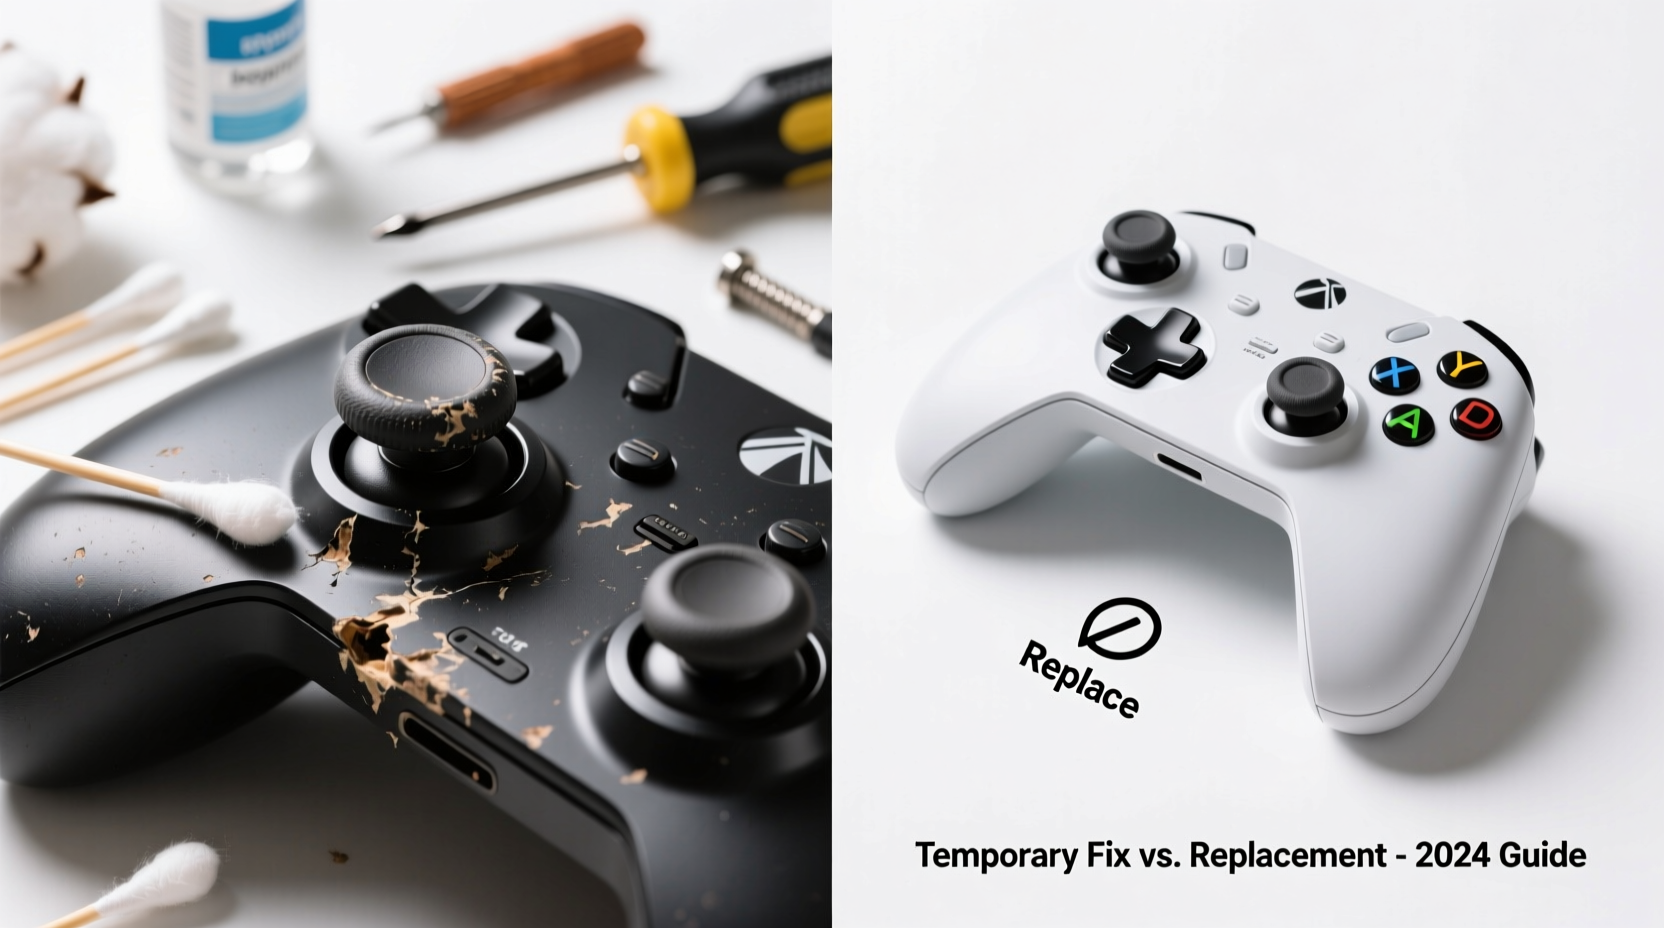
Stick drift is a frustrating issue that affects gamers across all major platforms—PlayStation, Xbox, Nintendo Switch, and PC. It occurs when the analog stick registers movement even when untouched, causing unintended character motion or camera drift during gameplay. While some manufacturers have addressed the issue in newer models, millions of players still rely on older controllers prone to this defect. Understanding both temporary fixes and long-term solutions can extend the life of your controller and save money—but knowing when to repair versus replace is key.
Understanding Stick Drift: The Root Cause
Analog sticks work by using potentiometers—small sensors that measure resistance as the stick moves across different directions. Over time, dust, grime, and normal wear degrade these components. The plastic nub at the base of the stick rubs against carbon contacts inside the sensor, and as it wears down unevenly, the controller misreads its resting position. This results in constant input signals, commonly known as \"drift.\"
Manufacturers like Sony and Microsoft have faced lawsuits over widespread stick drift issues, particularly with older DualShock 4 and Xbox One controllers. Even Nintendo’s Joy-Con has become infamous for early-onset drift, prompting class-action litigation and extended warranty programs. Despite improvements in firmware and design, no analog stick is immune to eventual degradation.
“Stick drift isn’t always a manufacturing flaw—it’s often accelerated by environmental factors and usage patterns.” — Jordan Lee, Electronics Repair Technician with 12 years of console experience
Temporary Fixes: Immediate Relief Without Tools
Before considering costly replacements, several non-invasive methods can reduce or temporarily eliminate stick drift. These are ideal for players who want quick relief without opening their device.
1. Recalibrate the Controller
Some systems allow recalibration through built-in settings:
- PS4/PS5: Go to Settings > Accessories > Controllers > Calibrate Bluetooth Device.
- Xbox Series X|S: No native calibration, but restarting the controller may reset sensor readings.
- Nintendo Switch: System Settings > Controllers and Sensors > Calibrate Control Sticks.
2. Clean Around the Base with Compressed Air
Dust and debris trapped under the rubber skirt of the stick can interfere with sensor alignment. Use short bursts of compressed air around the base while tilting the stick in all directions to dislodge particles. Avoid spraying liquid cleaners directly onto the controller.
3. Perform a Soft Reset or Re-Pairing
Wireless interference or software glitches can mimic drift symptoms. Turn off the controller completely, disconnect it from the system (unpair Bluetooth if necessary), then re-pair it after a two-minute wait. On Switch, remove the Joy-Con from the rail and reattach firmly.
4. Use In-Game Sensitivity Adjustments
Lowering deadzone settings in games like Fortnite, Apex Legends, or Call of Duty can mask minor drift by ignoring small unintended inputs. However, this doesn't fix the hardware issue and may affect precision.
Advanced Temporary Solutions: Controlled Cleaning and Adjustment
For more persistent drift, deeper cleaning techniques offer longer-lasting results. These require minimal tools but should be done carefully to avoid permanent damage.
Step-by-Step Guide: Deep Cleaning an Analog Stick
- Power off and disconnect the controller from all devices.
- Use a cotton swab dampened slightly with isopropyl alcohol (70% or higher).
- Gently wipe around the base of the analog stick while rotating it in full circles.
- Use compressed air again to dry the area and blow out loosened residue.
- Wait 10–15 minutes before powering back on.
- Test responsiveness in a menu or game.
This method works best for early-stage drift caused by surface contamination. If the problem returns within days, internal wear is likely too advanced for cleaning alone.
| Solution | Effectiveness | Risk Level | Expected Duration |
|---|---|---|---|
| Compressed Air Only | Moderate (early drift) | Low | Days to weeks |
| Alcohol Swab Cleaning | High (moderate buildup) | Medium | Weeks to months |
| Firmware Recalibration | Low to Moderate | None | Varies |
| Deadzone Adjustment | Masking Only | None | Ongoing workaround |
When Replacement Becomes Necessary
Temporary fixes are just that—temporary. Once the potentiometer or carbon contact pad is physically worn, no amount of cleaning will restore accurate input. At this stage, replacement parts or a new controller are the only reliable options.
Option 1: Replace the Analog Module
Skilled users can purchase replacement thumbstick modules online (e.g., $8–$15 per stick) and install them with basic tools. Kits often include soldering requirements, especially for Xbox and PS5 controllers. Nintendo Joy-Con repairs are notoriously delicate due to tiny screws and ribbon cables.
Success depends heavily on technical confidence. A single misplaced tool can sever a trace on the circuit board. For those uncomfortable with micro-soldering, professional repair services cost between $40 and $80, including labor and parts.
Option 2: Buy a New Controller
Brand-new OEM controllers range from $50 (Xbox) to $70 (DualSense) to $80 (Joy-Con individually). While expensive, they come with warranties and improved build quality. Some newer revisions have enhanced stick designs aimed at reducing drift:
- Sony’s updated DualSense (CFI-ZCT1W) features reinforced internal components.
- Nintendo now offers free Joy-Con repairs in many regions due to ongoing litigation.
- Microsoft has redesigned the Xbox Elite Series 2 sticks with anti-friction coating.
Option 3: Third-Party Alternatives
Aftermarket controllers from brands like SCUF, Razer, or GameSir offer modular sticks and customizable layouts. Though pricier ($100+), they’re built for durability and often use hall-effect joysticks—which rely on magnetic fields instead of physical contact, eliminating traditional wear-based drift.
Mini Case Study: Recovering a Drifting Switch Joy-Con
Alex, a college student and avid Mario Kart player, noticed his right Joy-Con drifting during races. Characters veered left uncontrollably, costing him wins. He first tried recalibrating via System Settings, which helped briefly. After two days, the drift returned worse than before.
Alex used a can of compressed air and gently rotated the stick while blowing around the base. No improvement. Next, he applied a small amount of isopropyl alcohol on a Q-tip and cleaned the perimeter. After drying, the stick responded better for about a week—but eventually failed again.
He researched repair kits and purchased a $12 replacement thumbstick set. With guidance from a YouTube tutorial, he opened the Joy-Con using a JIS screwdriver, desoldered the old module, and installed the new one. The fix lasted over six months, saving him the $80 cost of a new unit.
This case illustrates that while DIY repairs carry risk, they’re viable for motivated users with patience and steady hands.
Checklist: How to Diagnose and Address Stick Drift
- ✅ Confirm drift isn’t caused by software or connectivity issues.
- ✅ Try recalibration in system settings.
- ✅ Clean around the stick with compressed air and alcohol.
- ✅ Test deadzone adjustments in-game.
- ✅ Evaluate frequency and severity of drift.
- ✅ Decide: attempt repair, seek professional help, or replace.
- ✅ Consider long-term alternatives like hall-effect controllers.
FAQ: Common Questions About Stick Drift
Can stick drift be prevented?
Yes, to some extent. Avoid eating near your controller, store it in a low-dust environment, and clean the sticks monthly with dry cloths. Using protective caps can also reduce debris entry. However, mechanical wear is inevitable over time—especially with heavy use.
Is it worth repairing an old controller?
It depends. If the controller is out of warranty and replacement modules cost under $15, DIY repair makes financial sense. But if you lack tools or experience, paying for professional service may exceed the value of an older model. For frequently used primary controllers, investing in a high-quality replacement is often smarter.
Do all controllers suffer from stick drift?
Virtually all analog sticks with resistive potentiometers are susceptible. Mechanical wear is unavoidable after hundreds of hours of use. However, newer technologies like optical (hall-effect) sensors found in高端 gaming peripherals eliminate physical contact points, drastically reducing failure rates.
Conclusion: Balance Cost, Skill, and Long-Term Play
Stick drift is an unavoidable reality of modern gaming hardware, but it doesn’t have to end your controller’s life prematurely. Temporary fixes like cleaning and recalibration can restore functionality for weeks or even months, buying time until a more permanent solution is feasible. For technically inclined users, replacing the analog module offers a cost-effective alternative to purchasing new gear.
However, repeated failures signal that it’s time to upgrade. Consider transitioning to controllers with hall-effect sticks or modular designs built for longevity. Your gameplay deserves reliability, and your wallet deserves smart decisions.


 浙公网安备
33010002000092号
浙公网安备
33010002000092号 浙B2-20120091-4
Comments
No comments yet. Why don't you start the discussion?