
Sticky residue on a remote control is more than just annoying—it can interfere with functionality, attract dust, and shorten the device’s lifespan. Whether it's from spilled soda, greasy fingers, or dried adhesive from removed labels, the wrong cleaning method can damage rubber buttons, crack plastic casings, or even short-circuit electronics. The key is using safe, effective techniques that clean thoroughly without causing harm. This guide provides tested strategies, backed by electronics maintenance experts, to restore your remote to full working condition—without compromising its integrity.
Understanding the Causes of Sticky Residue
Before attempting any cleaning, it helps to identify what created the stickiness in the first place. Different substances require different approaches. Common culprits include:
- Sugary spills: Soda, juice, or coffee leave behind sugary films that harden over time.
- Oils and sweat: Natural skin oils accumulate, especially around frequently pressed buttons.
- Adhesive transfer: Removing price tags or stickers can leave behind glue residue.
- Degraded rubber: Over time, rubber buttons may break down chemically, creating a tacky surface.
- Dust and grime buildup: Particles combine with moisture and oils, forming a sticky paste.
Knowing the source guides your cleaning strategy. For example, water-based spills respond well to mild soapy solutions, while adhesives may need targeted solvents. However, all methods must avoid seeping liquid into the circuitry beneath the buttons.
Essential Tools and Materials for Safe Cleaning
Using the right tools prevents damage while maximizing cleaning efficiency. Avoid household cleaners like Windex or bleach, which can corrode plastics and ruin button textures. Instead, assemble a kit of safe, precise items:
| Tool/Material | Purpose | Safe Alternatives |
|---|---|---|
| Isopropyl alcohol (70% or higher) | Dissolves grease and sugar, evaporates quickly | Vinegar solution (50/50 with water) – less effective but safer for some plastics |
| Cotton swabs (Q-tips) | Reach tight spaces between buttons | Fine-tip makeup sponges or foam swabs |
| Microfiber cloth | Wipe surfaces without scratching | Lint-free glasses cleaning cloth |
| Plastic spudger or guitar pick | Gently lift debris without scratching | Old credit card corner (use carefully) |
| Compressed air | Blow out dust and loose particles | Manual air blower or straw (gentle puff) |
Avoid paper towels—they can leave lint and scratch surfaces. Also steer clear of acetone, nail polish remover, or strong solvents, which can melt plastic and degrade rubber buttons permanently.
“Electronics cleaning isn’t about scrubbing harder—it’s about precision and chemistry. A little alcohol on a swab does more than soaking in dish soap.” — David Lin, Consumer Electronics Repair Technician with 12 years of field experience
Step-by-Step Guide to Remove Sticky Residue Safely
Follow this sequence to clean your remote without risking damage. This method works for most remotes, including TV, soundbar, gaming console, and air conditioner models.
- Power off and remove batteries. This prevents accidental activation and protects against electrical shorts during cleaning.
- Shake out loose debris. Turn the remote upside down and gently tap it. Use compressed air to blow between buttons and along edges.
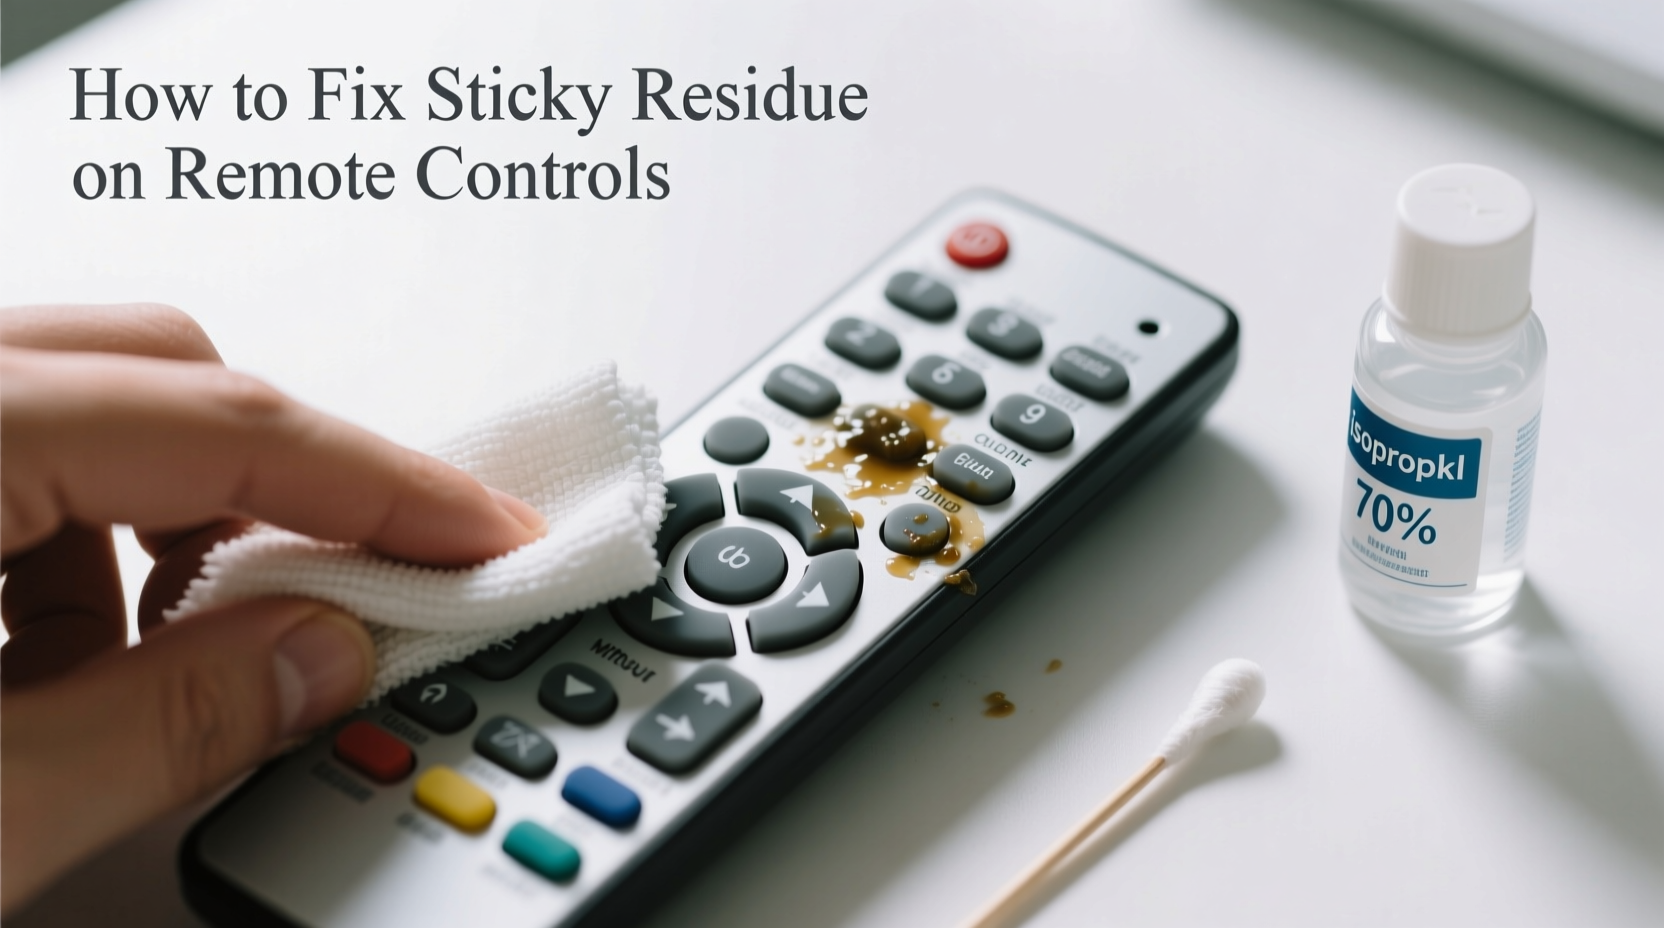
- Dampen a microfiber cloth with isopropyl alcohol. Do not soak it—just enough to feel slightly moist. Wipe the entire surface, focusing on sticky areas.
- Clean between buttons with cotton swabs. Dip a swab lightly in alcohol and twist gently between keys. Replace swabs as they collect grime.
- Tackle stubborn residue with gentle agitation. For thick, gummy spots, use a dry plastic spudger to lift residue upward. Do not scrape aggressively.
- Allow to air dry completely. Place the remote on a clean towel in a well-ventilated area for at least 30 minutes. Never use heat sources like hairdryers.
- Reinsert batteries and test functionality. Press each button to ensure responsiveness and check for lingering stickiness.
If residue persists after one round, repeat steps 3–6. Multiple light cleanings are safer than one aggressive attempt.
When Not to Open the Remote: Risks and Exceptions
Some online tutorials suggest disassembling the remote to clean under the buttons. While tempting, this carries significant risks unless you’re experienced.
Most consumer remotes use a rubber keypad bonded to a membrane switch. Prying open the casing can:
- Break plastic clips holding the shell together
- Damage conductive carbon pads on the circuit layer
- Expose sensitive electronics to moisture or static discharge
- Void manufacturer warranties
Disassembly should only be attempted if:
- The remote is no longer under warranty
- You have a replacement on hand
- You’re comfortable handling small electronic components
Even then, avoid washing any internal parts. Instead, use a dry or alcohol-dampened swab sparingly on the membrane surface. Reassemble only when fully dry.
Real Example: Recovering a Child-Spilled Juice Remote
A parent in Ohio reported a sticky Apple TV remote after their toddler spilled grape juice into the side buttons. After trying water and dish soap (which made it worse), they followed the alcohol-swab method outlined here. Using 70% isopropyl alcohol and cotton swabs, they cleaned around the volume and Siri buttons over two sessions. Within 45 minutes, the stickiness disappeared, and full function returned. No disassembly was needed. “I was ready to buy a new one,” they said. “But this saved me $80.”
Prevention Tips to Keep Remotes Clean Long-Term
Once your remote is clean, maintain it with simple habits:
- Wash hands before use: Reduces oil and dirt transfer.
- Keep drinks away: Designate a zone free of beverages near seating areas.
- Use a protective cover: Silicone skins are available for many models and act as washable barriers.
- Monthly wipe-downs: A quick alcohol swipe prevents buildup.
- Store properly: Don’t toss remotes into couch cushions where crumbs and moisture accumulate.
In households with children or frequent snacking, consider assigning a weekly “remote check” as part of general cleaning routines.
“Most remote failures I see aren’t from age—they’re from neglect. A 30-second wipe every few weeks can extend usability by years.” — Maria Tran, Home Electronics Maintenance Consultant
FAQ: Common Questions About Cleaning Sticky Remotes
Can I use baby wipes to clean my remote?
No. Most baby wipes contain moisturizers, fragrances, and mild soaps that leave behind residues and can degrade plastic over time. They also introduce excess moisture. Stick to dry microfiber cloths or alcohol-dampened swabs instead.
What if the buttons still feel sticky after cleaning?
If stickiness remains, the rubber buttons may be chemically degraded. This happens in older remotes exposed to UV light or ozone. In such cases, cleaning won’t help—the material itself has broken down. Replacement or a protective cover is the best solution.
Is it safe to use vinegar on remotes?
Vinegar is mildly acidic and can be used in a diluted form (50% water, 50% vinegar) on non-porous surfaces. However, it evaporates slower than alcohol and may corrode metal contacts over time. It’s better suited for exterior plastic than areas near buttons. Alcohol remains the preferred choice for reliability and safety.
Checklist: How to Fix Sticky Residue Without Ruining Buttons
- ✅ Remove batteries before starting
- ✅ Use isopropyl alcohol (70% or higher) on a microfiber cloth
- ✅ Clean between buttons with cotton swabs—never metal tools
- ✅ Avoid soaking the remote or letting liquid pool
- ✅ Allow at least 30 minutes of drying time
- ✅ Test all buttons after reassembly
- ✅ Perform monthly maintenance to prevent recurrence
Conclusion: Restore Functionality with Confidence
A sticky remote doesn’t have to mean a trip to the store or an expensive replacement. With careful technique and the right materials, most residue can be removed safely and effectively. The process isn’t complicated—just methodical. By respecting the delicate nature of electronic interfaces and avoiding common pitfalls like over-wetting or harsh chemicals, you preserve both appearance and performance. Thousands of people extend the life of their devices every year using these same principles. Take a few minutes today to clean your remote properly, and enjoy seamless control for months—or even years—to come.


 浙公网安备
33010002000092号
浙公网安备
33010002000092号 浙B2-20120091-4
Comments
No comments yet. Why don't you start the discussion?