
Natural light reveals everything—fine lines, texture, and most tellingly, flaws in your eyeshadow application. What looks seamlessly blended under bathroom lighting can suddenly appear patchy, muddy, or streaky when you step outside. For makeup artists and beauty enthusiasts alike, mastering the art of blending under natural light isn’t just about aesthetics—it’s about creating a look that holds up in real life. The good news? Uneven blending isn’t a permanent flaw. With the right tools, techniques, and understanding of light behavior, you can correct and prevent it consistently.
The challenge lies in how natural light interacts with pigment, skin tone, and product texture. Unlike artificial lighting, which often flattens contrast and softens edges, daylight is dynamic. It shifts throughout the day and highlights inconsistencies in color transitions, saturation, and depth. This article breaks down the exact methods professionals use to achieve smooth, even eyeshadow blends—regardless of the time of day or environment.
Why Natural Light Exposes Blending Flaws
Natural daylight provides a balanced spectrum of light, making it the most accurate way to assess makeup. It emphasizes contrast, dimension, and color fidelity. Under its illumination, subtle differences in pigment density become glaringly obvious. A harsh transition between two shades, a buildup of fallout, or an overblended area that's lost definition will all stand out.
Indoor lighting—especially warm-toned bulbs—can mask these imperfections by casting a yellow hue that dulls contrast and blurs edges. Cooler LED lights may wash out colors entirely. But sunlight doesn’t lie. It shows your makeup exactly as others see it: no filters, no forgiving glows.
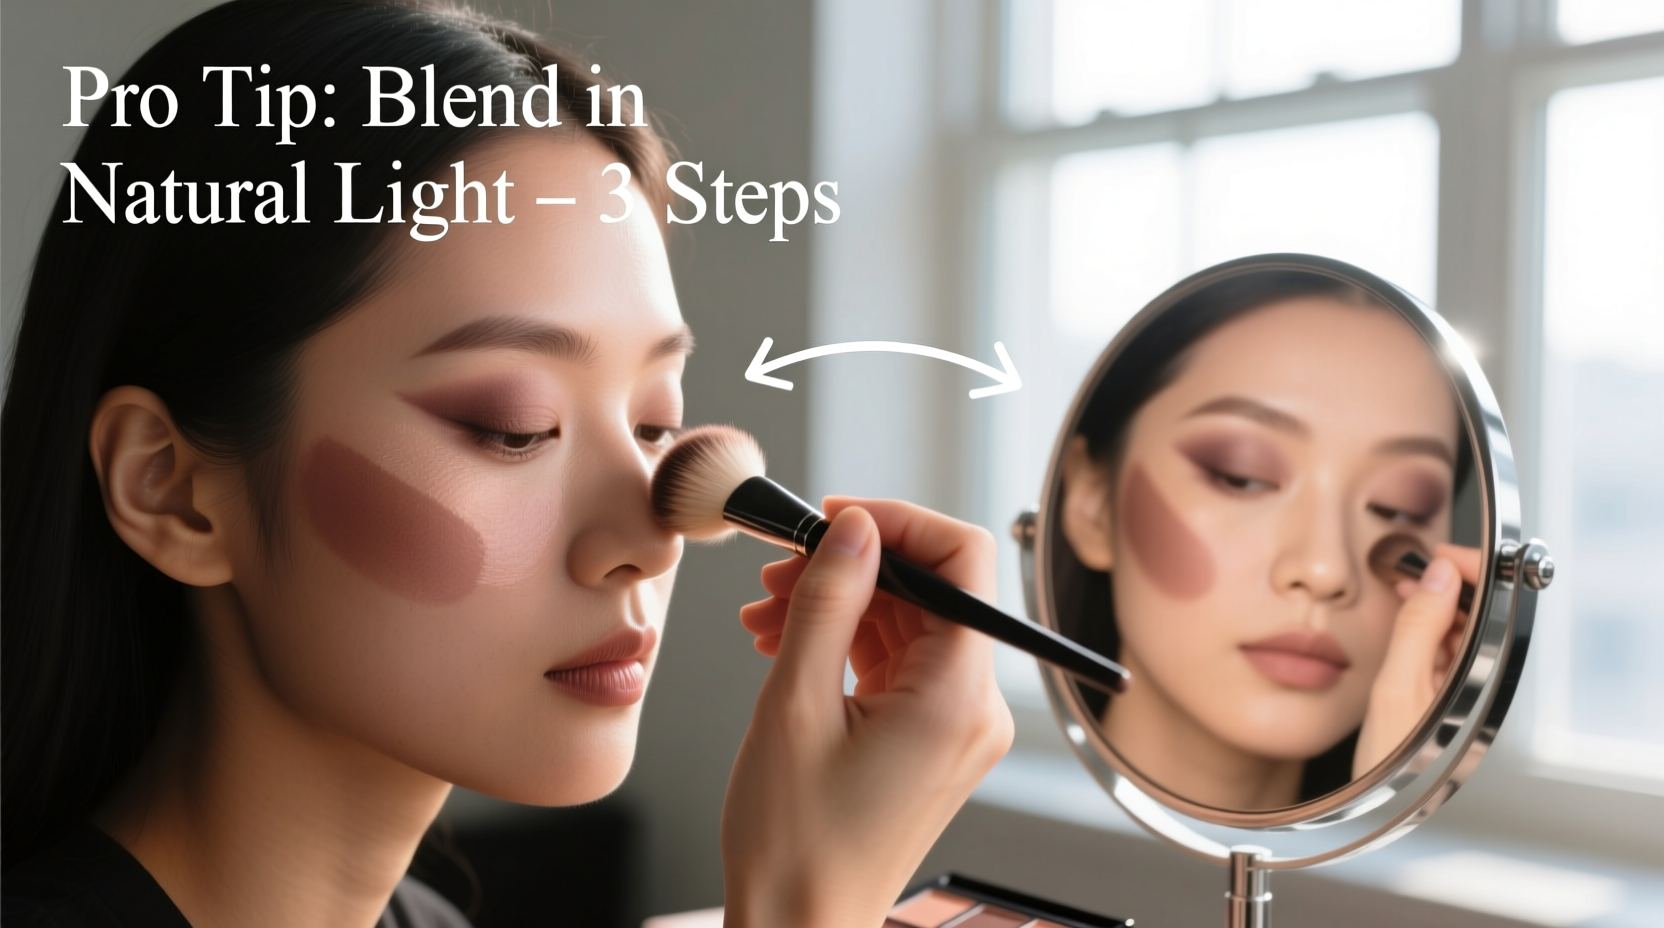
This is why professional makeup artists insist on doing final checks near windows or outdoors. As celebrity MUA Lena Tran explains:
“Natural light is the ultimate truth-teller. If your eyeshadow looks flawless there, it’ll look great anywhere.” — Lena Tran, Celebrity Makeup Artist
Step-by-Step Guide to Correcting Uneven Blending
When you notice patchiness or harsh lines after stepping into daylight, don’t panic. Follow this structured approach to refine your blend without starting over.
- Pause and Assess: Step into indirect natural light—near a window or shaded outdoor area. Avoid direct sun, which creates glare and false shadows.
- Identify Problem Zones: Look for areas where color appears too dense, too sheer, or lacks gradient flow. Common culprits are the outer V, crease edges, and lower lash line.
- Clean Your Brush: Use a clean, fluffy blending brush (preferably dome-shaped) to avoid depositing more product than needed.
- Use Circular Motions: Gently buff the transition shade (a mid-tone close to your skin tone) along the edge where two colors meet. Small, circular motions diffuse harsh lines.
- Dab, Don’t Drag: If a section is too dark, lightly tap a clean fingertip or sponge to lift excess pigment. Dragging spreads muddiness.
- Rebuild Gradually: Add thin layers of lighter shades to balance intensity. Build opacity slowly to maintain control.
- Final Check at Eye Level: Tilt your head slightly forward and recheck in natural light. This mimics how others view your eyes.
Pro Techniques for Seamless Daylight Blending
Professionals don’t just fix mistakes—they prevent them. These strategies are used on film sets, fashion shoots, and bridal trials where lighting conditions change rapidly.
1. Work in Layers, Not Blocks
Instead of packing on color in one go, apply eyeshadow in thin, buildable layers. Let each layer set briefly before adding the next. This prevents over-saturation and gives you time to adjust transitions while the pigment is still workable.
2. Use Transition Shades That Match Your Undertone
A neutral brown might look right on the palette but clash with your skin’s undertone, creating a grayish band. Warm undertones benefit from peachy taupes; cool undertones need ashy greiges. Test swatches on your crease, not your arm.
3. Blend Before You Think You Need To
Begin blending as soon as you place the first accent color. Don’t wait until all shades are down. Early blending creates a gradient foundation that integrates subsequent layers smoothly.
4. Leverage Skin Texture and Primer
Oily lids can cause shadow to slide and gather in patches. Use a matte eyeshadow primer tailored to your skin type. For dryness, hydrate lids first with a light balm, then blot excess before priming.
5. Mirror Natural Light Conditions During Application
If you’re doing your makeup indoors, position yourself facing a large window. Use daylight-balanced bulbs (5000K–6500K) if natural light isn’t available. This minimizes surprises later.
Do’s and Don’ts: Eyeshadow Blending in Natural Light
| Do | Don't |
|---|---|
| Use a clean brush for final blending passes | Reuse a dirty brush that carries mixed pigments |
| Blend with light pressure and small motions | Press hard or swipe aggressively across the lid |
| Choose matte transition shades for smoother gradients | Rely solely on shimmery shades to blend (they highlight texture) |
| Check your work every few minutes in changing light | Apply all color then walk outside for the first check |
| Keep a damp cotton swab to erase minor smudges | Use dry wipes that spread pigment further |
Real Example: Bridal Touch-Up in Daylight
Sophia, a freelance makeup artist, was doing a bride’s trial in a softly lit bedroom. The smokey eye looked perfect—deep plum in the outer corner, blended into a warm taupe. But when they moved to the garden for photos, the bride gasped. “It looks so harsh!”
Sophia immediately recognized the issue: the transition wasn’t soft enough for bright morning light. She took out a clean MAC 217 brush, dabbed it in a matte beige shade matching the bride’s complexion, and gently circled it along the upper crease. In under two minutes, the sharp edge dissolved into a seamless gradient. The bride smiled. “Now it looks like my eyes, but better.”
This moment underscores a key principle: what works indoors may not translate outdoors. Pros anticipate this by simulating real-world conditions during application.
Essential Tools for Daylight-Perfect Blending
The right tools make correction faster and more precise. Here’s what top artists keep in their kits:
- Fluffy Blending Brushes: Dome-shaped, tapered brushes (like the Sigma E40 or Morphe M433) are ideal for diffusing edges.
- Mini Concealers and Correctors: A tiny pot of flesh-toned cream concealer allows you to mute overly intense areas without removing all pigment.
- Precision Sponges: Dampened corners of a makeup sponge can lift excess shimmer or correct fallout under the brow.
- Matte Transition Palette: A compact with three matte shades (light, medium, deep) in neutral tones offers quick fixes for any skin tone.
- Portable Daylight Lamp: Foldable LED panels with daylight settings let you simulate outdoor conditions anywhere.
Frequently Asked Questions
Why does my eyeshadow look patchy only in sunlight?
Sunlight enhances contrast and reveals texture differences. Patchiness often stems from applying too much product in one area or using a brush that’s too stiff. It may also indicate poor adhesion due to oily lids or lack of primer.
Can I fix uneven blending without removing my entire look?
Yes. Use a clean brush with a transition shade to soften edges. For overly dark areas, lightly dab with a concealer stick, then re-blend. Avoid adding more dark pigment—build from lighter tones upward.
How do I prevent fallout from ruining my blending?
Tap excess shadow off your brush before applying. Do eye makeup before foundation to allow easy cleanup. For intense pigments, apply tape or a shield under the eye, or use a sticky base like eyeshadow primer applied thickly and left tacky.
Checklist: Achieving Flawless Blending in Natural Light
Use this checklist before leaving the house or stepping into daylight:
- ☑ Applied a long-wear, matte eyeshadow primer suited to my skin type
- ☑ Built color in thin, layered applications
- ☑ Used a transition shade that matches my skin’s undertone
- ☑ Blended edges progressively, not just at the end
- ☑ Checked my work in natural light at least once during application
- ☑ Cleaned or switched brushes before final blending
- ☑ Corrected any harsh lines with a matte mid-tone and circular motions
- ☑ Verified symmetry by comparing both eyes at eye level
Mastery Comes From Observation and Adjustment
The difference between amateur and professional eyeshadow application isn’t talent—it’s adaptability. Pros aren’t immune to mistakes. They simply know how to read light, respond to changes, and correct imperfections with precision. Natural light isn’t the enemy of good makeup; it’s the benchmark.
Start treating daylight as your ally. Practice your routine near a window. Take selfies at different times of day. Notice how morning light differs from afternoon sun. Train your eyes to spot transitions before they become problems. Over time, you’ll develop an intuitive sense of how color behaves on your lids under honest illumination.
Remember: even the most polished artists carry a blending brush in their touch-up kit. Perfection isn’t about getting it right the first time—it’s about knowing how to make it right when the light changes.


 浙公网安备
33010002000092号
浙公网安备
33010002000092号 浙B2-20120091-4
Comments
No comments yet. Why don't you start the discussion?