
Installing laminate flooring is one of the most effective ways to refresh a space—offering durability, style, and relatively simple installation. However, a flawless finish depends heavily on the condition of the subfloor. When existing ceramic or stone tiles are uneven, cracked, or improperly set, they create an unstable base that can lead to squeaking, warping, or premature failure of your new laminate surface. Before laying down a single plank, it’s essential to assess and correct any irregularities in the tile layer beneath. This guide walks through the full process of diagnosing and fixing uneven floor tiles so you can install your new laminate flooring with confidence.
Why Uneven Tile Floors Are a Problem for Laminate
Laminate flooring is designed to float over a flat, stable substrate. Unlike hardwood, which can sometimes conform slightly to minor imperfections, laminate planks are rigid and interlock tightly. Any deviation in the underlying surface will transfer directly to the finished floor. High spots cause lippage—the edges of adjacent planks don’t align properly—while low areas may leave gaps underneath, leading to movement and noise underfoot.
Moreover, moisture trapped beneath poorly adhered tiles can compromise adhesives and promote mold growth, especially in basements or ground-level rooms. An uneven tile floor isn't just cosmetic; it's structural. Addressing these issues before installation prevents costly repairs later and ensures a long-lasting, professional-looking result.
“Even a 1/8-inch variation across a 4-foot span can ruin a laminate floor within months.” — James Ralston, Certified Flooring Contractor (CFC), National Wood Flooring Association
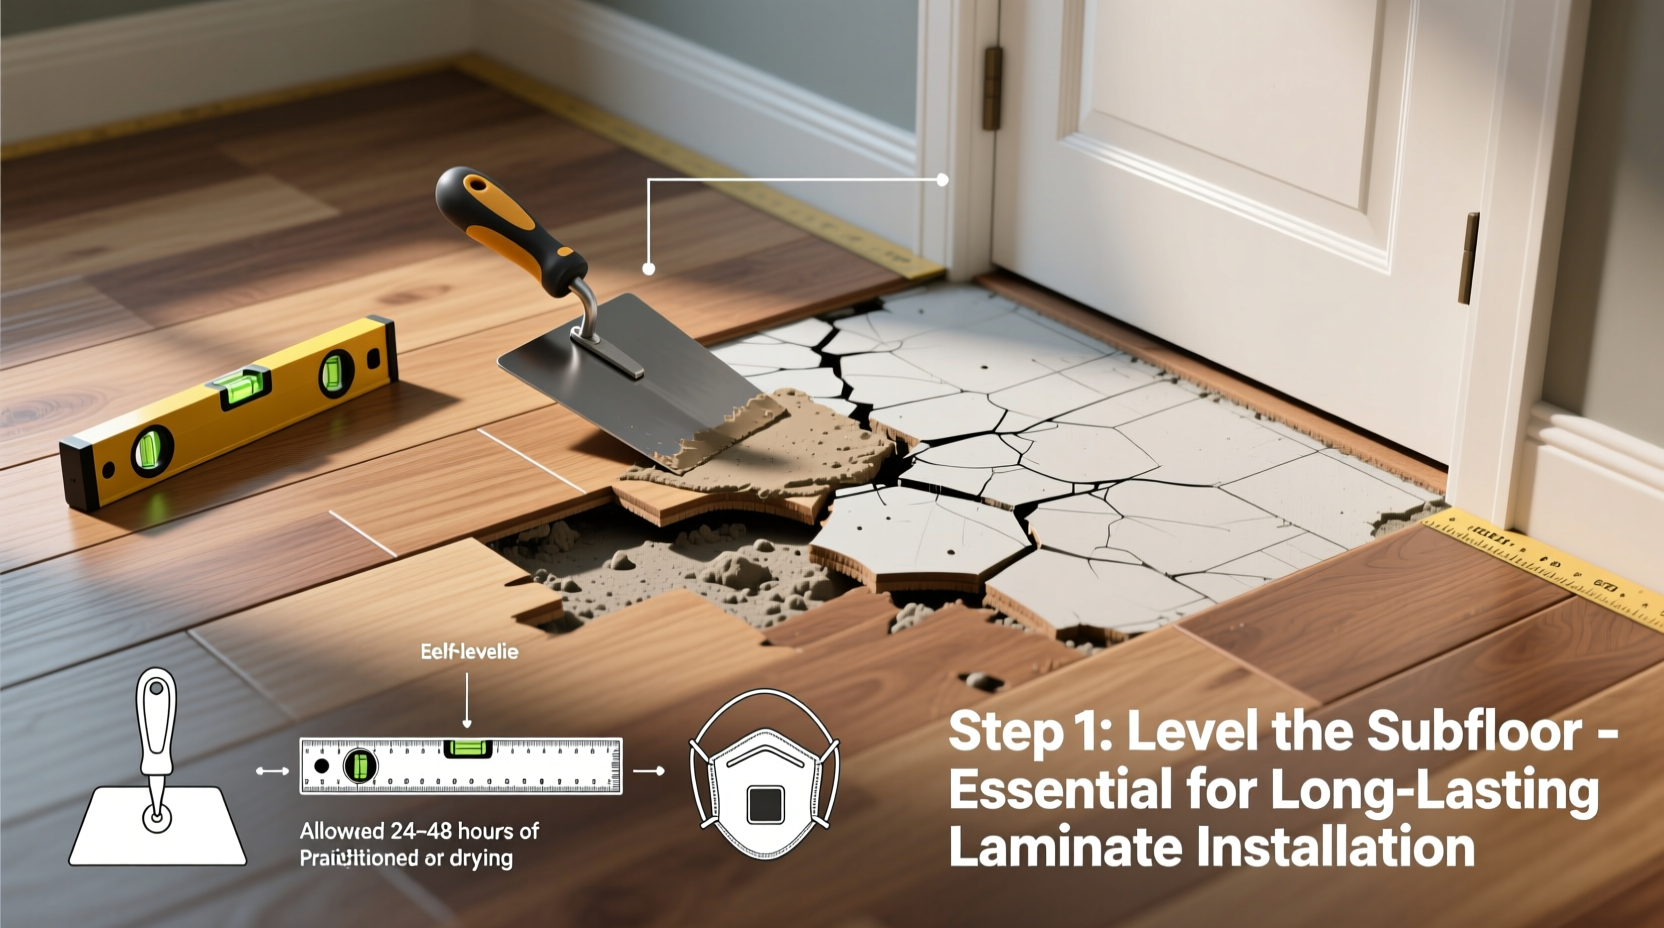
Step-by-Step Guide: Preparing and Repairing Uneven Tile Floors
Fixing uneven tiles involves inspection, repair, leveling, and final preparation. Follow this sequence carefully to avoid skipping critical steps.
- Clear and Clean the Area
Remove all furniture, rugs, and baseboards. Sweep thoroughly and mop with a degreasing cleaner to eliminate wax, dust, or adhesive residue. A clean surface allows accurate assessment and better bonding if patching compounds are used. - Inspect for Damage and Movement
Kneel on the floor and press down firmly on each tile, especially near walls and transitions. Listen for hollow sounds or feel for movement. Use a putty knife to test grout integrity. Cracked, loose, or hollow-sounding tiles must be addressed. - Repair Loose or Damaged Tiles
If only a few tiles are compromised, remove them carefully using a cold chisel and hammer. Scrape off old thinset mortar completely. Reinstall using high-quality modified thinset, pressing firmly into place. Allow 24–48 hours to cure before proceeding. - Grind Down High Spots
Use a handheld angle grinder with a diamond grinding pad to flatten raised tiles or excess grout ridges. Work slowly in overlapping passes, wearing safety goggles and a respirator. Check progress frequently with a 4-foot level. - Fill Low Areas and Cracks
Apply a cement-based self-leveling compound or vinyl-reinforced patching material to depressions and joints wider than 1/8 inch. Feather edges smoothly into surrounding areas. Let dry according to manufacturer instructions—typically 24 hours. - Sweep and Prime (Optional)
After sanding down rough patches, vacuum thoroughly. In damp-prone areas, apply a penetrating concrete primer to seal pores and improve adhesion of underlayment materials.
When to Remove Old Tiles Entirely
In cases where more than 20% of the tile field shows damage, delamination, or significant height variation, complete removal may be more cost-effective than repair. While labor-intensive, removing old tiles gives you direct access to the subfloor, allowing for full inspection and correction of structural issues like sagging joists or water-damaged plywood.
To remove tiles:
- Protect doorways and HVAC vents from dust with plastic sheeting.
- Break tiles using a demolition hammer or heavy-duty chisel.
- Scrape away remaining thinset with a floor scraper.
- Inspect the subfloor for rot, warping, or soft spots. Replace damaged sections with 3/4-inch exterior-grade plywood or OSB.
- Ensure the subfloor is flat within 3/16 inch over 10 feet, as per most laminate manufacturers’ standards.
While time-consuming, total tile removal often results in a superior base for floating floors and eliminates future liability from hidden defects.
Do’s and Don’ts When Preparing Tile for Laminate
| Do’s | Don’ts |
|---|---|
| Check flatness with a long straightedge and feeler gauge | Assume grout lines are insignificant—they can telegraph through laminate |
| Use a moisture meter to detect hidden dampness in tiles or grout | <Install laminate over visibly cracked or lifting tiles |
| Apply a decoupling membrane if minor cracks persist | Use wood-based patching compounds on tile—they won’t adhere well |
| Allow all repair materials to fully cure before testing or installing | Rush the drying process with heat guns or forced air without ventilation |
| Follow the laminate manufacturer’s prep guidelines exactly | Ignore expansion gap requirements at walls and fixtures |
Real-World Example: Basement Renovation in Chicago
A homeowner in Chicago’s Logan Square neighborhood decided to update their basement rec room with warm, oak-look laminate. The existing 1980s-era ceramic tile had settled unevenly due to minor foundation shifts, with some tiles 1/4 inch higher than others. Initial attempts to lay laminate resulted in loud creaking and visible lippage after just two weeks.
They consulted a flooring specialist who recommended grinding down high points and applying a 1/8-inch layer of self-leveling underlayment formulated for tile substrates. After repairing three loose tiles and sealing the entire floor with a moisture barrier, the second installation was silent and smooth. Two years later, there have been no issues—a testament to proper prep work.
This case illustrates that even experienced DIYers can underestimate subtle floor variations. Professional tools and materials made the difference between a failed project and a lasting upgrade.
Alternative Solutions: Underlayment Options for Slight Imperfections
If the tile floor is structurally sound but has minor undulations (within 1/8 inch over 3 feet), consider specialized underlayments designed to bridge small gaps:
- Foam with Attached Vapor Barrier: Affordable and easy to install, suitable for minor smoothing.
- Cork Underlayment: Naturally compresses to fill tiny voids and adds thermal insulation.
- Composite Panels (e.g., HardieBacker Lite): Rigid boards screwed over tile to create a new, flat plane. Ideal when dealing with inconsistent grout depth.
Note: These are not substitutes for major repairs. They compensate for micro-irregularities, not structural flaws. Always verify compatibility with your chosen laminate product.
Essential Tools and Materials Checklist
Before starting, gather the following equipment and supplies:
- 4-foot or 6-foot aluminum level
- Dust mask and safety goggles
- Angle grinder with diamond cup wheel
- Putty knife and floor scraper
- Self-leveling underlayment (tile-rated)
- Mixing paddle and drill
- Moisture meter
- Vacuum and tack cloth
- Notched trowel (for patching compound)
- Long straightedge or laser level (optional but helpful)
Having everything ready prevents mid-job delays and keeps momentum during time-sensitive stages like pouring leveling compound.
Frequently Asked Questions
Can I install laminate directly over existing tile?
Yes, but only if the tile is flat, securely bonded, and free of major cracks or height differences. Most manufacturers require the floor to be within 3/16 inch over 10 feet. Always check your product’s warranty terms—some void coverage if installed over non-approved substrates.
How do I know if my tile floor is too uneven?
Place a 4-foot level across various sections of the floor. If you can slide a quarter or dime under the edge anywhere, the floor exceeds acceptable variance. Also, run your hand over grout lines—if they feel sharp or pronounced, they’ll likely show through the laminate.
Is it worth repairing old tiles instead of removing them?
It depends on the extent of damage. For isolated issues affecting less than 15% of the floor, repair is usually sufficient. But if tiles are widely cracked, hollow, or installed over greenboard or inadequate backer, removal and replacement of the entire system may be safer and more economical in the long term.
Final Steps and Installation Readiness
Once repairs are complete and the floor is dry, conduct a final sweep and visual inspection. Run your hand across the surface to detect subtle ridges. Tap suspected hollow areas again. Acclimate your laminate planks according to the manufacturer’s instructions—usually 48 hours in the room where they’ll be installed.
Lay a test row in a discreet corner. Step on it firmly and listen for movement or cracking. If satisfied, proceed with full installation, maintaining a 1/4-inch expansion gap around all fixed objects.
“The success of any floating floor lies not in the product itself, but in the preparation beneath it.” — National Association of Home Builders, Remodeling Guidelines
Take Action: Build a Foundation You Can Trust
Fixing uneven floor tiles before installing laminate isn’t just a precaution—it’s a necessity for performance and longevity. Whether you’re tackling minor grout ridges or rebuilding entire sections of compromised tile, every hour invested upfront saves days of frustration later. With careful assessment, the right tools, and attention to detail, you can transform an unstable base into a perfectly prepared platform for beautiful, durable flooring. Start your project confidently, knowing that a level foundation leads to lasting results.


 浙公网安备
33010002000092号
浙公网安备
33010002000092号 浙B2-20120091-4
Comments
No comments yet. Why don't you start the discussion?