
A wobbly dining chair is more than just an annoyance—it can be a safety hazard and a sign of structural weakness. Many people assume that tightening joints or reinforcing legs requires screwdrivers, wrenches, or wood glue with clamps. But what if you don’t have tools on hand? Or worse—what if it’s 9 PM on a Sunday, dinner guests are over, and one chair keeps tipping?
The good news is that you can stabilize a shaky dining chair quickly and effectively using only everyday household items and clever techniques. No tools, no hardware stores, no waiting for glue to dry under pressure. This guide walks through proven, practical methods that anyone can apply immediately, whether you live in an apartment, rent your home, or simply prefer non-invasive fixes.
Understanding Why Chairs Wobble
Before diving into solutions, it helps to understand the root causes of instability. Most dining chairs wobble due to one or more of the following:
- Loose joints: Over time, wood expands and contracts, causing mortise-and-tenon or dowel joints to loosen.
- Uneven legs: One leg may be slightly shorter due to wear, warping, or uneven flooring.
- Floor interaction: Carpet, rugs, or uneven tiles can create imbalance even if the chair is structurally sound.
- Worn finishes or cracks: Surface degradation around connection points reduces grip and stability.
Traditional repairs involve disassembling the joint, applying wood glue, and clamping—but that’s not always possible or necessary. In many cases, the frame is still strong; it just needs better load distribution or minor alignment correction.
“Most wobbles aren’t caused by broken parts but by micro-movements at stress points. Addressing those shifts often restores full function.” — Daniel Reeves, Furniture Restoration Specialist with 20+ years in antique repair
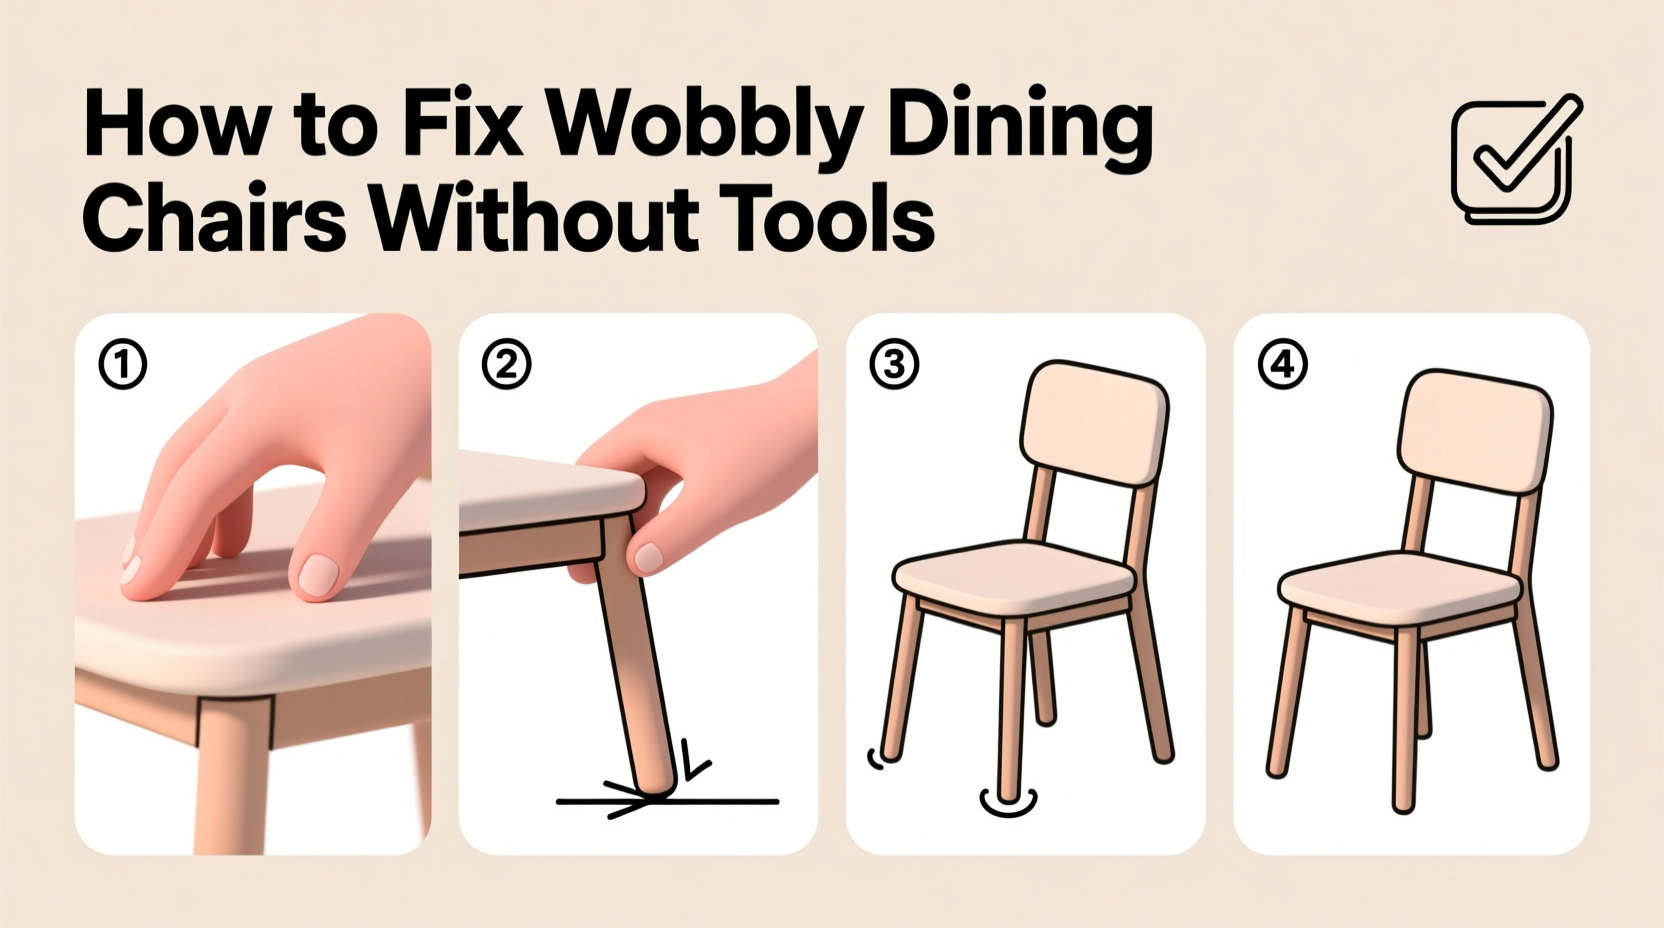
Step-by-Step: Stabilizing a Chair Without Tools
Follow this timeline-based approach to diagnose and correct instability in under 15 minutes.
- Identify the direction of wobble (30 seconds): Sit gently and rock the chair forward-backward, then side-to-side. Note which axis feels loose.
- Lift and inspect each leg (1 minute): Check for visible gaps between leg and seat frame. Wiggle each leg individually.
- Test on a hard surface (1 minute): Move the chair from carpet to tile or hardwood. If the wobble disappears, the issue is floor-related.
- Apply temporary shims or padding (2–5 minutes): Use folded paper, cardboard, or adhesive felt pads under short legs.
- Reinforce joints with tension tricks (5 minutes):strong>
Method 1: The Rubber Band Tension Lock
Rubber bands aren’t just for office supplies—they can act as mini-tension devices for wooden frames.
Wrap heavy-duty rubber bands tightly around the chair’s front and back legs, just below the seat. Cross them diagonally between legs to form an “X” shape underneath. The elasticity creates inward pressure that pulls loose joints closer together, reducing lateral movement.
This works especially well on ladder-back or spindle-leg chairs where side rails connect vertical posts. The constant tension mimics clamping force, stabilizing the structure without altering the wood.
Method 2: The Coin Wedge Fix
If one leg is shorter than the others, use coins as precision height adjusters.
Place a penny or dime between the chair leg and the floor. For carpeted floors, tuck the coin inside a small piece of cloth or tape it lightly to the bottom of the leg. Test the stability, adding another coin if needed. Once balanced, secure the stack with double-sided tape or reusable mounting putty (like poster tack).
This method allows micro-adjustments without permanent modification. Coins are dense, flat, and corrosion-resistant—ideal for hidden leveling.
Daily Prevention & Maintenance Checklist
Preventing wobble is easier than fixing it. Incorporate these habits into your routine:
- Rotate chair positions weekly to distribute wear evenly.
- Clean under seats monthly to remove dust buildup that masks developing issues.
- Avoid dragging chairs across floors—lift when moving.
- Check leg contact with the floor every two weeks, especially after seasonal humidity changes.
- Use felt pads on all legs to reduce friction and protect both furniture and flooring.
Do’s and Don’ts: What Works (and What Doesn’t)
| Do | Don’t |
|---|---|
| Use folded cardstock to level legs on hard floors | Stack thick books or magazines under legs—they compress unevenly |
| Wrap wide elastic bands around leg pairs for tension support | Use duct tape directly on wood—it leaves residue and weakens finish |
| Place a folded washcloth beneath the chair on slippery surfaces | Insert metal washers or screws without proper tools—they can split wood |
| Apply reusable adhesive putty to hold shims in place | Lean heavily on a known wobbly chair while attempting fixes |
| Flip the chair upside down periodically to inspect joint integrity | Ignore squeaks or creaks—they often precede visible wobbling |
Real Example: The Dinner Party Rescue
Sarah hosted a Friday night dinner for six. As guests arrived, she noticed her favorite oak dining chair rocked dangerously to the right. She didn’t own any tools, and the local hardware store was closed.
Instead of removing the chair, she flipped it over and discovered the front-right leg had settled about 1/8 inch lower than the others—likely due to recent humidity changes. She tore a strip of cardboard from a cereal box, folded it twice, and slid it under the high opposite corner (back-left) to counterbalance the tilt. Then, she wrapped two thick rubber bands around the front and rear leg pairs, crossing them underneath to create stabilizing tension.
The chair stopped wobbling instantly. Her guests never noticed anything was wrong. Two days later, she replaced the cardboard with a self-adhesive felt pad, but the immediate fix lasted through three meals without slipping.
Alternative Household Materials That Work
You don’t need specialty products to stabilize furniture. Common household items can serve as effective substitutes:
- Old credit cards: Cut into thin strips to use as rigid shims between joints or under legs.
- Rolls of masking tape: Place vertically under a short leg on carpet—it compresses evenly and grips fabric.
- Wooden clothespins: Clip onto loose side rails to apply light clamping pressure (remove before sitting).
- Bread ties or zip ties: Loop tightly around leg pairs to prevent splaying (best for metal or plastic chairs).
- Bar soap: Rubbing a dry bar on wooden tenons can temporarily swell fibers and tighten fit (use sparingly).
These materials are accessible, low-cost, and reversible—perfect for renters or temporary fixes.
When to Accept Limits—and When to Upgrade
Not all wobbles can be fixed without tools, especially if there’s visible cracking, splitting, or complete joint separation. If the chair makes cracking sounds when sat on, or if a leg moves more than half an inch in any direction, it may be unsafe to use even with stabilization tricks.
In such cases, consider:
- Replacing only the damaged part (many manufacturers sell individual legs or rails).
- Using the chair decoratively—remove the seat and turn it into a plant stand or coat rack.
- Donating it for upcycling projects—woodworkers often repurpose solid frames.
But for the vast majority of minor instabilities, non-tool fixes provide reliable, long-term results when applied consistently.
FAQ
Can I use tape to fix a wobbly chair?
Yes, but selectively. Duct tape should be avoided on wood finishes. Instead, use double-sided mounting tape or painter’s tape to secure shims or felt pads. Never rely on tape alone to hold structural components—it lacks shear strength.
Will these methods damage my floor?
No, most solutions are designed to protect flooring. Felt pads, rubber bands, and paper/cardboard shims are all floor-safe. Just avoid adhesives that leave residue, and always test sticky products on a small area first.
How long do no-tool fixes last?
With proper materials, they can last months or even years. A rubber band tension system typically lasts 3–6 months before losing elasticity. Cardboard shims may compress faster on soft flooring but perform well on hardwood. Recheck stability every 4–6 weeks for best results.
Conclusion: Stability Is Within Reach
A wobbly dining chair doesn’t have to mean a trip to the repair shop or a new purchase. With a little observation and resourcefulness, you can restore balance and confidence to your furniture using only what’s already in your home. These no-tool techniques emphasize smart physics over brute force, working with the chair’s existing design rather than against it.
Start today: inspect your chairs, gather simple materials, and apply one of the methods above. You’ll gain not just stable seating, but also a deeper understanding of how everyday objects respond to stress and adjustment. And next time someone complains about a shaky seat at your table, you’ll know exactly how to make it steady—in silence, without a single tool.


 浙公网安备
33010002000092号
浙公网安备
33010002000092号 浙B2-20120091-4
Comments
No comments yet. Why don't you start the discussion?