
Folding a fitted sheet is one of those household tasks that seems simple in theory but often ends in frustration. Unlike flat sheets, fitted sheets come with elastic corners and an irregular shape, making them prone to crumpling, twisting, and stubborn creases. Yet mastering this skill can transform your linen closet from chaotic to crisp and organized. The good news? With the right method, folding a fitted sheet neatly is not only possible—it’s repeatable and surprisingly satisfying. This guide breaks down the process into clear, manageable steps, shares pro tips, and equips you with the knowledge to store your linens like a hotel professional.
Why Proper Sheet Folding Matters
A neatly folded fitted sheet isn’t just about appearances. It has practical benefits that extend beyond aesthetics. When stored properly, sheets are less likely to develop permanent wrinkles, collect dust, or tangle with other linens. This makes them easier to access, reduces wear over time, and helps preserve fabric integrity. Additionally, consistent folding saves space—critical in smaller closets or shared storage areas.
Hotels and high-end laundries achieve that polished look not through magic, but through standardized techniques. These methods prioritize symmetry, tension control, and corner alignment. By adopting the same principles at home, you can replicate that level of precision without special tools or training.
The Step-by-Step Method: Folding a Fitted Sheet Like a Pro
The key to success lies in controlling the elastic edges and aligning the corners systematically. Follow this sequence carefully, and you’ll produce a compact, rectangular fold every time.
- Hold the sheet inside-out. Start by grasping two adjacent corners of the short edge (the side with the elastic) with both hands. Turn the sheet so the elastic edges face inward. This hides the messy seams and creates a cleaner outer surface for storage.
- Match the first two corners. Pinch the top two corners of one short end between your fingers, ensuring the elastic bands are nested together. Hold them firmly so they don’t separate during the next steps.
- Locate the opposite corners. Keeping your grip on the first pair, reach inside the sheet with your free hand and find the two corners on the opposite short end. Pull them outward until all four corners are aligned in one hand, with two sets nested together.
- Flip right-side out. Once all corners are matched and held together, gently turn the sheet right-side out. You should now have a bundle where all four corners are aligned, and the elastic edges form a neat double layer on each side.
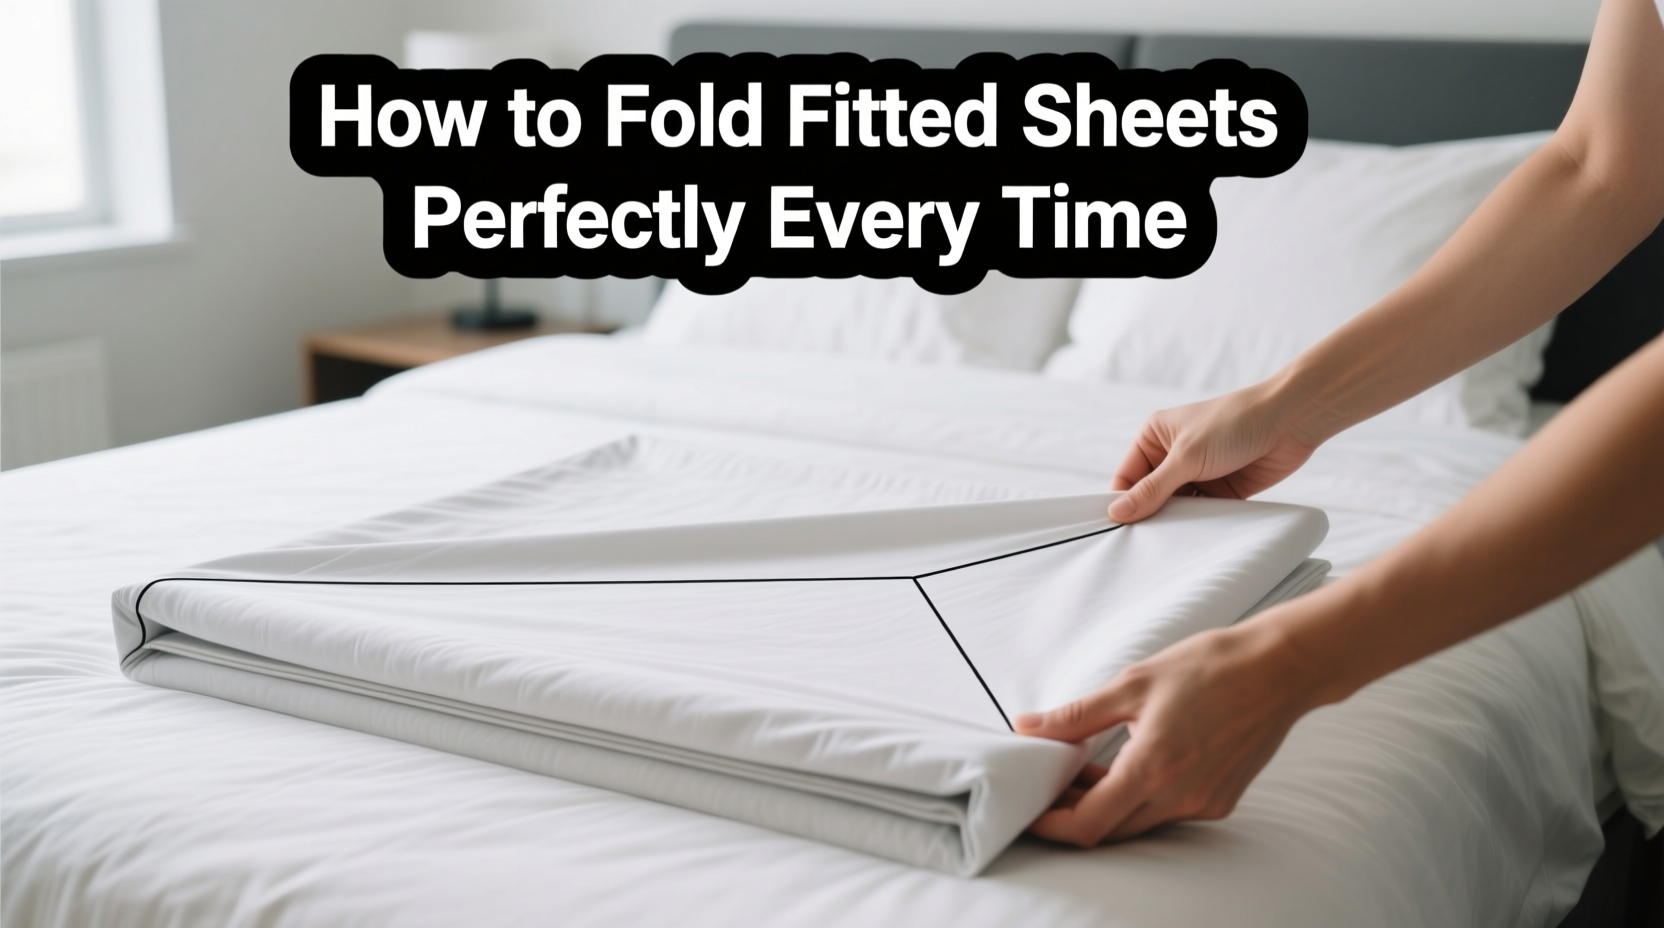
- Lay flat and smooth. Place the sheet on a bed or table with the elastic edges facing up. Smooth out any wrinkles using your palms, working from the center outward. Ensure the sides are straight and the fabric lies evenly.
- Fold lengthwise. Bring one long edge toward the center, folding about one-third of the way across. Repeat with the opposite side so both folded edges meet in the middle. Press lightly to set the crease.
- Fold into thirds or quarters. Starting from one short end, fold the sheet toward the other end in increments. For larger sheets (king or queen), fold once, then again. For twin or full, three folds may suffice. Aim for a compact rectangle roughly the size of a standard pillowcase.
- Store immediately. Place the folded sheet in your linen closet, ideally stacked with its matching flat sheet and pillowcases. This keeps sets together and prevents mismatched bedding.
Visualizing the Process Without Images
Since no visual aids are used here, focus on tactile feedback. As you hold the corners, feel for symmetry. If one side feels bulkier or uneven, recheck corner alignment. The final product should lie flat without puckering or loose fabric flaps. Practice with a clean, dry sheet when you’re not rushed—muscle memory develops quickly with repetition.
Common Mistakes That Ruin the Fold
Even with instructions, many people fall into predictable traps. Recognizing these errors can save time and improve results.
| Mistake | Why It’s a Problem | Solution |
|---|---|---|
| Folding while still damp | Moisture causes wrinkling and mildew; fabric resists clean creases | Dry completely before folding |
| Not matching corners precisely | Leads to lopsided folds and bulky edges | Double-check corner pairs before proceeding |
| Rushing the smoothing step | Trapped air and wrinkles prevent tight folding | Smooth thoroughly with both hands |
| Storing loosely instead of folding | Takes more space and encourages tangling | Commit to folding immediately post-dryer |
| Using excessive force | Stretches elastic and distorts fabric alignment | Use gentle, controlled movements |
Expert Insight: What Professionals Do Differently
Hotel housekeeping staff fold hundreds of sheets weekly. Their efficiency comes from consistency and adherence to protocol. According to Maria Thompson, a hospitality operations manager with over 15 years of experience:
“Time and again, we see that the biggest difference between amateur and expert folding is patience. Guests rarely notice a perfectly folded sheet, but they *always* notice wrinkled, bunched-up bedding. We train our team to handle each sheet as if it’s being presented to a VIP. That mindset changes everything.” — Maria Thompson, Hospitality Operations Manager
Thompson emphasizes that repetition builds confidence. “New hires struggle at first,” she adds, “but within two weeks, most can fold a king-sized fitted sheet in under 90 seconds. It’s not talent—it’s practice.”
Real-Life Example: From Chaos to Closet Confidence
Jessica R., a mother of three in Portland, Oregon, used to stuff her fitted sheets into a drawer haphazardly. “I’d pull one out and spend five minutes untangling it,” she recalls. “Sometimes I’d give up and just grab a towel instead.” After watching a video tutorial based on this method, she decided to try it consistently for one week.
She began folding each sheet immediately after laundry day, using her dining table for workspace. By the third attempt, her folds were noticeably neater. Within ten days, she had trained her teenage daughter to do the same. “Now our linen closet looks like something out of a catalog,” Jessica says. “And I actually enjoy opening it.”
This small change reduced stress during busy mornings and made guest preparation effortless. More importantly, her sheets lasted longer—fewer snags and tears from constant pulling and knotting.
Pro Tips for Long-Term Success
Beyond the folding technique itself, several habits support lasting organization and fabric care.
- Designate a folding zone. Choose a large, flat surface like a bed or dining table. Avoid narrow counters or cluttered spaces.
- Fold in natural light. Better visibility helps spot misalignments and ensures clean edges.
- Pair sets before storing. Tuck the folded fitted sheet inside the matching flat sheet, then add pillowcases. This keeps complete sets together and simplifies rotation.
- Rotate stock regularly. Use older sheets first to prevent prolonged storage damage, such as fiber degradation or musty odors.
- Avoid plastic bins. While airtight containers seem protective, they can trap moisture. Opt for breathable cotton bags or open shelves instead.
Frequently Asked Questions
Can I machine-wash fitted sheets with other laundry?
Yes, but with caution. Wash fitted sheets separately or with similar items (like flat sheets) to prevent tangling. Overloading the washer can cause knots and uneven cleaning. Use a gentle cycle and avoid high heat in the dryer to protect elasticity.
What if my fitted sheet has deep pockets or extra elastic?
Deeper pockets require slightly more attention to corner alignment. The method remains the same—nest corners and smooth carefully. You may need an extra smoothing pass to flatten gathered fabric along the sides.
Is there a faster way for frequent laundry days?
Some people use the “burrito roll” method—rolling the sheet tightly from one end to the other—but this often leads to creasing and takes longer to unfold. The step-by-step fold described here is more reliable and produces better storage results, especially for long-term organization.
Checklist: Perfect Fitted Sheet Folding Routine
Follow this checklist each time you fold a fitted sheet to ensure consistency:
- ✅ Remove sheet from dryer promptly
- ✅ Identify short edges with elastic
- ✅ Grasp two adjacent corners and turn inside-out
- ✅ Match and nest opposite corners
- ✅ Flip right-side out
- ✅ Lay flat and smooth out wrinkles
- ✅ Fold lengthwise into thirds
- ✅ Fold crosswise into compact rectangle
- ✅ Store with matching set components
- ✅ Inspect fold for symmetry before putting away
Conclusion: Transform a Small Task Into Lasting Order
Folding a fitted sheet perfectly isn’t about perfectionism—it’s about reclaiming control over a tiny but recurring part of daily life. Each successful fold reinforces a habit that compounds over time: less clutter, quicker access, and greater satisfaction in maintaining your home. The technique outlined here is proven, accessible, and requires no special skills—only attention and repetition.


 浙公网安备
33010002000092号
浙公网安备
33010002000092号 浙B2-20120091-4
Comments
No comments yet. Why don't you start the discussion?