
Nothing disrupts the peace of your kitchen quite like the lingering scent of something burnt in the microwave. Whether it's overheated popcorn, a forgotten soup, or a splattered sauce, that acrid odor can cling to the interior for days. While commercial cleaners promise results, many contain harsh chemicals that leave their own residue—and scent. The good news? You don’t need synthetic sprays or expensive products. With common household items like vinegar, lemon, and baking soda, you can eliminate stubborn burnt smells quickly, safely, and effectively.
Natural cleaning methods are not only eco-friendly but also gentle on surfaces and safe around food prep areas. These ingredients break down grease, neutralize odors, and disinfect without leaving behind toxic fumes. This guide walks you through proven techniques, backed by chemistry and real-world use, to restore freshness to your microwave in under 30 minutes.
The Science Behind Natural Odor Removal
Burnt smells in microwaves are caused by carbonized food particles releasing volatile organic compounds (VOCs) into the air. These molecules adhere to plastic, glass, and metal surfaces inside the appliance. To remove them, you need more than just masking agents—you need neutralization and breakdown.
Vinegar (acetic acid), lemon juice (citric acid), and baking soda (sodium bicarbonate) each play a unique role:
- Vinegar dissolves grease and kills bacteria while its acidity breaks down odor-causing compounds.
- Lemon juice adds a fresh citrus scent while enhancing the antimicrobial effect due to its low pH.
- Baking soda is a mild alkali that absorbs odors rather than just covering them up.
When used together or individually, these ingredients create a powerful, non-toxic cleaning system. Steam amplifies their effectiveness by loosening stuck-on grime and carrying aromatic vapors deep into crevices.
“Natural acids like vinegar and lemon juice are excellent at breaking down organic residues without damaging microwave interiors.” — Dr. Lena Peterson, Environmental Health Scientist
Step-by-Step Guide: Fast Microwave Deodorizing Methods
You can eliminate most burnt odors within 15–30 minutes using one of the following steam-based techniques. All require minimal prep and leave your microwave sanitized and smelling clean.
Method 1: Vinegar and Water Steam (Most Effective)
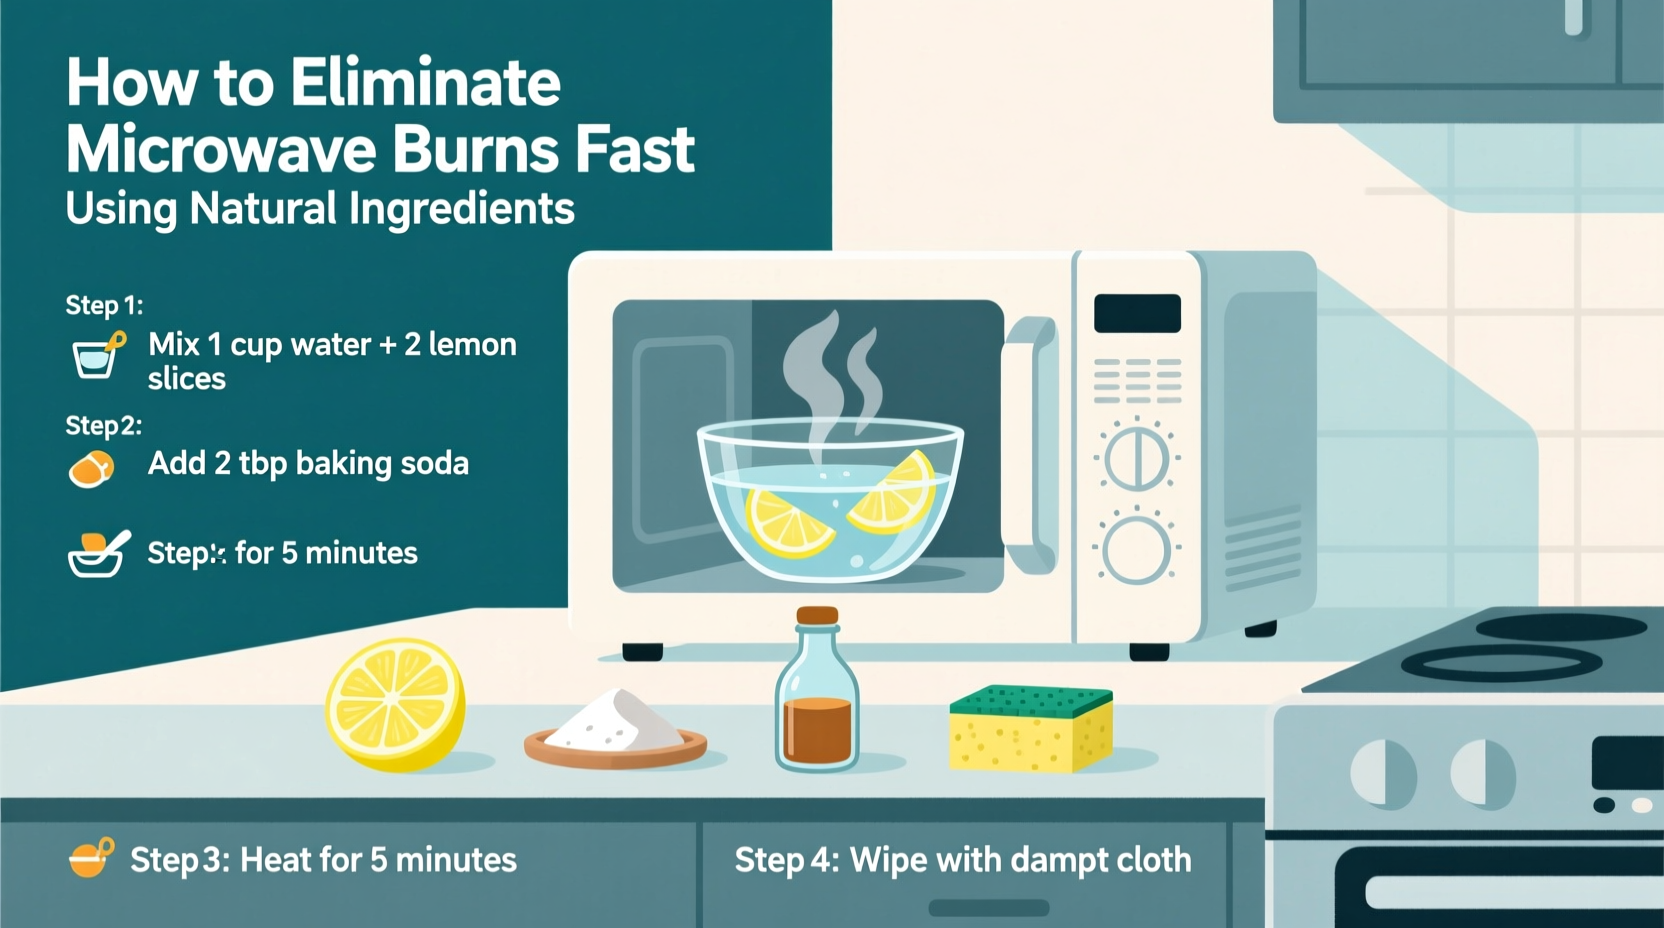
- Mix 1 cup of water with 1/2 cup of white distilled vinegar in a microwave-safe bowl.
- Place the bowl in the center of the microwave.
- Heat on high for 5 minutes, or until the mixture boils and produces steady steam.
- Leave the door closed for an additional 5–10 minutes to allow condensation to soften residue.
- Carefully remove the bowl (it will be hot).
- Wipe down all interior surfaces with a soft cloth or sponge.
- Dry with a clean towel.
Method 2: Lemon and Water Steam (Fresh Scent Option)
- Slice one lemon and place the pieces in a bowl with 1 cup of water.
- Add the juice from the squeezed lemon for extra potency.
- Microwave on high for 4–5 minutes until steaming.
- Let sit for 10 minutes with the door closed.
- Remove the bowl and wipe the walls, ceiling, turntable, and door seal.
- Rinse the cloth frequently to avoid spreading grime.
The citric acid cuts through film, while limonene—a compound in lemon peel—acts as a natural degreaser and deodorizer. This method leaves a bright, clean scent without artificial fragrances.
Method 3: Baking Soda Paste (For Stubborn Residue)
If visible charred spots remain after steaming, follow up with a baking soda paste:
- Mix 2 tablespoons of baking soda with 1 tablespoon of water to form a thick paste.
- Apply directly to scorched areas using a damp cloth or fingers.
- Gently scrub in circular motions—do not use abrasive pads.
- Wipe clean with a damp sponge.
- Rinse thoroughly to remove any powder residue.
This method works especially well on discolored patches near the top or corners of the microwave where heat concentrates.
Do’s and Don’ts: Avoiding Common Mistakes
Even with natural ingredients, improper technique can reduce effectiveness or damage your appliance. Follow this table to stay on track:
| Do | Don’t |
|---|---|
| Use distilled white vinegar or fresh lemon juice | Use bleach or ammonia-based cleaners |
| Let the steam condense before wiping | Scrub immediately after heating—surfaces may be too hot |
| Clean the turntable and roller ring separately | Forget to check under the turntable for hidden spills |
| Dry all surfaces completely after cleaning | Leave moisture inside, which can lead to mold or electrical issues |
| Ventilate the kitchen during and after cleaning | Mix vinegar with hydrogen peroxide or bleach—this creates harmful fumes |
Real Example: How One Home Cook Fixed a Week-Long Smell
Sarah, a home cook from Portland, accidentally left a container of mac and cheese in the microwave too long. The plastic warped, and the smell seeped into every corner of her kitchen. “I opened the door and gagged,” she said. “It smelled like burnt plastic and old cheese had fused into one nightmare.”
She tried airing it out, lighting candles, and even placing coffee grounds inside overnight—but nothing worked. On day three, she tried the vinegar steam method. After five minutes of boiling and ten minutes of sitting, she wiped the interior and was shocked at the amount of greasy film that came off. “The smell wasn’t gone, but it was way better. I repeated it the next day with lemon, and by evening, it smelled like my kitchen again.”
Sarah now keeps a small bottle of vinegar in her pantry specifically for appliance emergencies. “It’s cheaper than replacing a microwave—and faster than waiting for the smell to fade on its own.”
Prevention Checklist: Keep Your Microwave Fresh
Once you’ve eliminated the current odor, prevent future problems with consistent habits. Use this checklist weekly:
- ✅ Cover food with a microwave-safe lid or paper towel to minimize splatters
- ✅ Wipe spills immediately after cooking—even small droplets bake onto surfaces
- ✅ Clean the interior with a damp cloth once a week
- ✅ Remove and wash the turntable and ring monthly
- ✅ Run a quick vinegar steam cycle monthly as maintenance
- ✅ Avoid overheating foods; use shorter intervals and stir when possible
- ✅ Check expiration dates on leftovers—old food burns more easily
Consistent light cleaning takes less time than a single deep clean and prevents buildup before it starts.
Frequently Asked Questions
Can I use apple cider vinegar instead of white vinegar?
Yes, but white distilled vinegar is preferred. Apple cider vinegar contains pigments and sugars that may leave a sticky residue or discolor plastic over time. Its odor-neutralizing power is similar, but the risk of staining makes it less ideal for appliances.
How long does the vinegar smell last after cleaning?
The sharp vinegar scent usually dissipates within 15–30 minutes. If it lingers, run a second cycle with lemon water or leave the door open for ventilation. The smell fades much faster than burnt food odors.
Is it safe to use baking soda on stainless steel interiors?
Yes. Baking soda is non-abrasive enough for stainless steel when mixed into a paste and applied gently. Always rinse thoroughly to prevent dulling. Avoid dry powder scrubbing, which can cause micro-scratches over time.
Alternative Techniques and When to Use Them
While vinegar, lemon, and baking soda are the gold standard, other natural options exist for specific situations:
- Vanilla extract: Add 1 teaspoon to a bowl of water and microwave for 1 minute. Helps mask residual odors after cleaning but doesn’t break down grime.
- Herbs and spices: Simmer cinnamon sticks or cloves in water to add a warm, inviting scent post-cleaning.
- Hydrogen peroxide (3%): Can be used sparingly on stains—spray and wait 5 minutes before wiping. Do not mix with vinegar.
These should complement—not replace—the primary cleaning process. They work best as finishing touches.
Conclusion: A Cleaner Kitchen Starts with Smart Habits
Dealing with a burnt smell in your microwave doesn’t require toxic chemicals or costly repairs. With simple ingredients already in your cupboard, you can restore cleanliness and confidence in your kitchen in under half an hour. Vinegar, lemon, and baking soda offer a trifecta of cleaning power—dissolving residue, killing bacteria, and erasing odors naturally.
But the real victory lies in prevention. By adopting quick daily wipes, covering food properly, and scheduling monthly steam cleans, you’ll avoid the frustration of deep-seated smells altogether. Treat your microwave like any other essential tool: maintain it regularly, and it will serve you reliably for years.


 浙公网安备
33010002000092号
浙公网安备
33010002000092号 浙B2-20120091-4
Comments
No comments yet. Why don't you start the discussion?