
Having an online presence doesn’t require advanced coding skills or expensive web hosting. With Google Sites, you can create a professional-looking website in minutes—completely free and accessible from any device with internet access. Whether you're promoting a personal brand, launching a small business, or organizing a community project, Google Sites offers an intuitive platform that integrates seamlessly with other Google Workspace tools like Drive, Calendar, and Gmail.
This guide walks through the entire process of setting up your own Google page, from account setup to publishing and beyond. You’ll learn how to structure your site, customize its appearance, add essential content, and optimize it for usability—all without writing a single line of code.
Step 1: Set Up Your Google Account and Access Google Sites
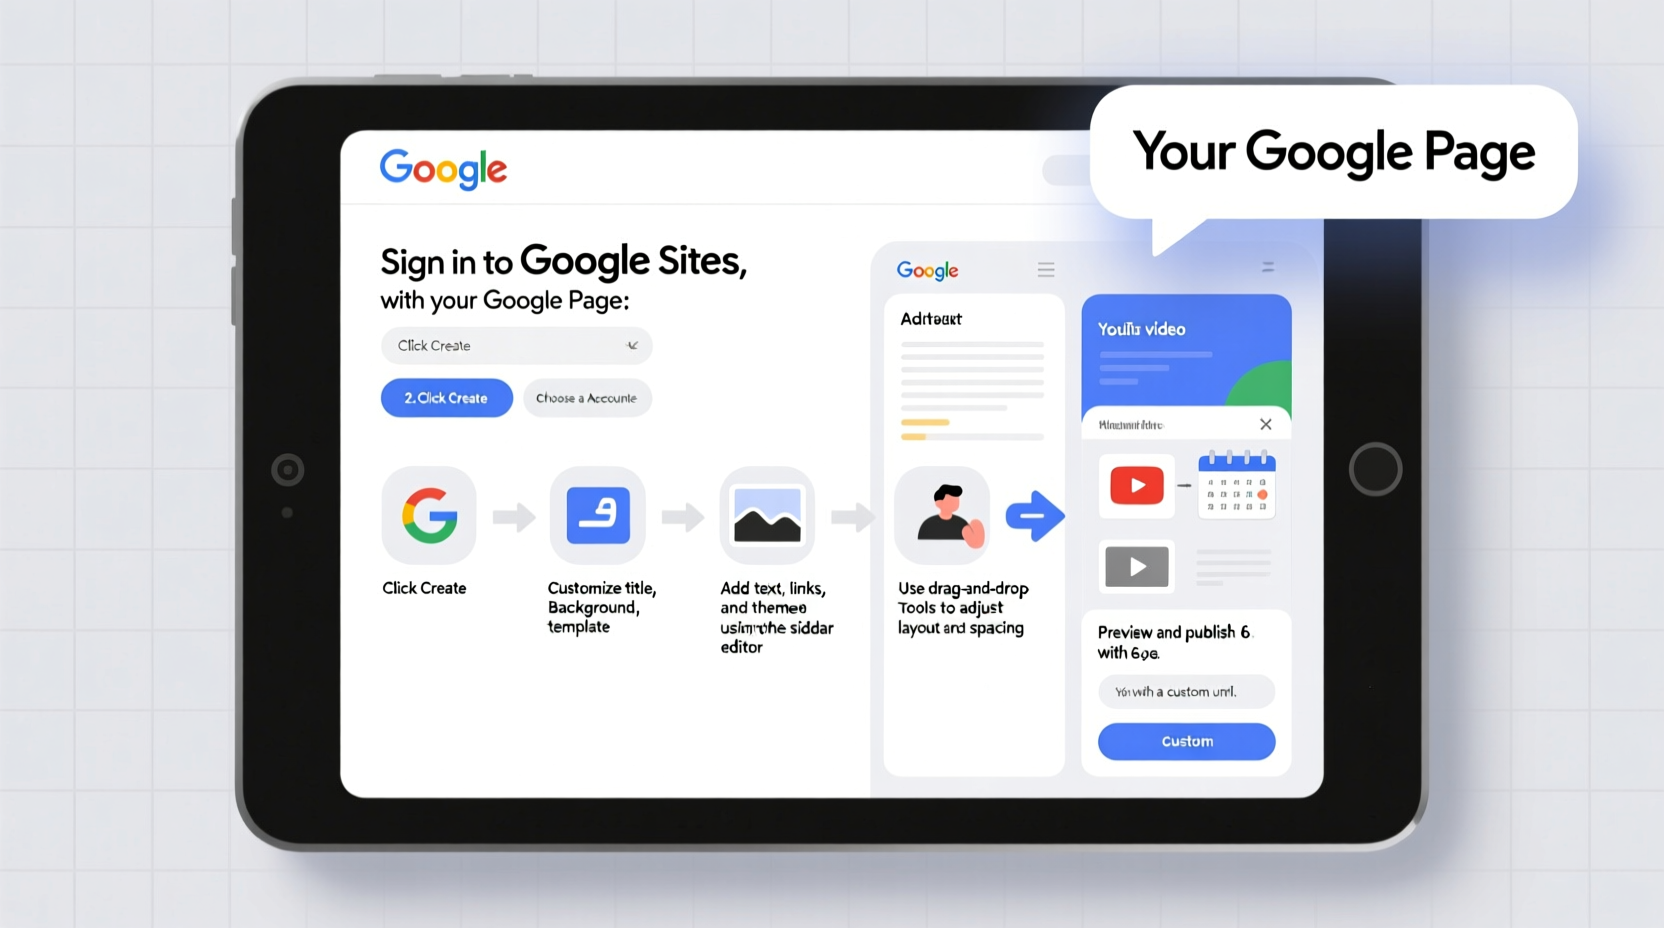
If you don’t already have a Google account (Gmail), start by creating one at accounts.google.com/signup. Once logged in, navigate to Google Sites at sites.google.com.
Click on the “+” button to create a new site. You’ll be prompted to choose between starting from a blank template or using one of Google’s pre-designed themes. For beginners, selecting a theme is recommended—it provides a solid layout foundation and saves time during design.
Step 2: Structure and Plan Your Site Content
Before diving into design, outline what your site needs to accomplish. Most effective websites include core pages such as:
- Home – A welcoming overview with key messages
- About – Your story, mission, or background
- Services/Products – What you offer
- Contact – How visitors can reach you
- Blog/Resources – Optional, but great for engagement
Name each page clearly and keep navigation simple. Avoid cluttering your menu with too many options; five main tabs are usually enough.
“Clarity trumps creativity when it comes to website navigation.” — Sarah Lin, UX Designer at WebFlow Insights
Step 3: Customize Design and Branding
Google Sites allows full customization of fonts, colors, headers, and layouts. To maintain professionalism:
- Choose a clean, readable font (Google defaults like Roboto or Open Sans work well).
- Select a color scheme aligned with your brand identity. Stick to 2–3 primary colors.
- Upload a high-quality logo or header image via the theme editor.
- Ensure mobile responsiveness—preview your site on different devices using the built-in preview tool.
You can drag and drop elements like text boxes, images, buttons, and embedded files directly onto the page. Use sections to divide content logically and improve readability.
| Element | Best Practice | Avoid |
|---|---|---|
| Header Image | High-resolution, relevant to purpose | Low-quality or unrelated stock photos |
| Text Blocks | Short paragraphs, bullet points, clear headings | Walls of text or overly technical language |
| Buttons | Labeled clearly (e.g., “Contact Me”, “Download Now”) | Vague labels like “Click Here” |
Step 4: Add Functional Elements and Integrations
One of Google Sites’ biggest strengths is integration with other Google services. Enhance functionality by embedding:
- Google Calendar – Display upcoming events or booking availability
- Google Forms – Collect inquiries, RSVPs, or feedback
- YouTube Videos – Showcase testimonials or product demos
- Google Drive Files – Share downloadable brochures or portfolios
To embed, click the “Insert” button while editing a page and select the appropriate option. For example, embedding a contact form ensures all submissions go straight to your Gmail or Sheets, automating data collection.
Step 5: Publish and Share Your Google Page
Once your site looks complete, click “Publish” in the top-right corner. You’ll be asked to assign a web address. By default, your site will have a URL like:
https://sites.google.com/view/your-site-name
You can customize “your-site-name” to something memorable and relevant. If you own a custom domain (e.g., www.yourname.com), you can connect it later through Google Workspace, though this requires a paid subscription.
After publishing, share your site via social media, email signatures, or QR codes. Adjust sharing settings under “Settings” > “Sharing” to control visibility:
- Anyone with the link – Best for public sites
- Specific people – Ideal for private team sites
- Restricted to your organization – Useful for internal projects
Mini Case Study: Building a Portfolio for Freelance Photography
Maya, a freelance photographer based in Portland, wanted a simple way to showcase her work without spending hundreds on a developer. She created a Google Site titled “Maya Lens | Photography Portfolio.” Using a clean theme, she uploaded high-res images into gallery-style pages labeled “Weddings,” “Portraits,” and “Nature.”
She embedded a Google Form for booking inquiries and linked her Instagram feed using a third-party embed tool. Within two days, she received three client leads. The site now ranks on the first page of Google searches for “Portland wedding photographer” thanks to clear titles and descriptive text.
Essential Checklist Before Going Live
Use this checklist to ensure your Google page is polished and functional:
- ✅ All pages are spelled correctly and easy to read
- ✅ Navigation menu works across all devices
- ✅ Contact form or email link is active
- ✅ Embedded content loads properly
- ✅ Site title and description reflect your purpose
- ✅ Privacy settings match your audience needs
- ✅ Mobile preview looks clean and organized
Frequently Asked Questions
Can I get a custom domain for my Google Site?
Yes, but only if you subscribe to Google Workspace (starting at $6/user/month). This allows you to replace the default “sites.google.com/view/...” URL with your own, like www.yourbrand.com.
Is Google Sites SEO-friendly?
It has basic SEO capabilities. While not as robust as WordPress, you can still improve search visibility by using descriptive page titles, adding alt text to images, and including keyword-rich content in your paragraphs.
Can multiple people edit the site?
Absolutely. Under sharing settings, you can invite collaborators with “Editor” access. This is useful for teams managing business sites or school projects.
Conclusion
Creating your own Google page is one of the fastest, most cost-effective ways to establish an online presence. From initial setup to publishing, the entire process can take less than an hour—and you retain full control over content, design, and audience access. As your needs grow, you can expand your site with blogs, e-commerce features (via integrations), or multilingual support.


 浙公网安备
33010002000092号
浙公网安备
33010002000092号 浙B2-20120091-4
Comments
No comments yet. Why don't you start the discussion?