
Grilling tri tip doesn’t have to be complicated. When done right, this triangular cut from the bottom sirloin delivers rich beef flavor, tender texture, and a satisfying crust that makes it a favorite among home cooks and pitmasters alike. Yet many people end up with dry, tough results—often because they skip key steps like proper seasoning, temperature control, or slicing against the grain. This guide breaks down everything you need to know to achieve consistently juicy, restaurant-quality tri tip every time you fire up the grill.
Understanding Tri Tip: The Cut That Cooks Fast and Serves Many
Tri tip comes from the bottom sirloin of the cow and typically weighs between 1.5 and 3 pounds. It’s lean but marbled enough to stay moist when cooked correctly. Because it’s relatively thin, it responds well to high-heat searing followed by indirect cooking—a method known as two-zone grilling. Its shape lends itself to even slicing, making it ideal for feeding crowds at barbecues or family dinners.
One common mistake is treating tri tip like a brisket or chuck roast—slow-cooking it for hours. That approach dries it out. Instead, think of it more like a steak: best served medium-rare to medium, then rested and sliced thinly. Overcooking is the fastest route to disappointment.
The Right Tools and Setup for Grilling Success
Before you season or light the grill, ensure your equipment supports precision. You don’t need a high-end setup, but having the basics in place makes all the difference.
- A charcoal or gas grill with adjustable heat zones
- Instant-read meat thermometer (critical for accuracy)
- Tongs and a meat fork (avoid piercing the meat)
- Aluminum foil for resting
- Wire rack (optional, for airflow during rest)
Set up a two-zone fire: one side hot for searing, the other cooler for indirect cooking. On a gas grill, turn on one burner fully and leave the others off. For charcoal, pile coals on one side. This gives you control over the cooking process and prevents burning.
“Temperature control separates good grilled tri tip from great. Never rely on guesswork—use a reliable thermometer.” — Carlos Mendez, BBQ Pitmaster & Culinary Instructor
Step-by-Step Guide to Grilling Tri Tip
Follow this proven sequence to go from raw cut to juicy centerpiece in under an hour.
- Pat Dry and Trim Excess Fat: Use paper towels to dry the surface thoroughly—this helps form a better crust. Trim large fat pockets, but leave a thin layer to enhance flavor.
- Season Generously: Apply a dry rub or simple mix of kosher salt, coarse black pepper, garlic powder, and smoked paprika. Let sit at room temperature for 30–45 minutes before grilling.
- Preheat the Grill: Heat the direct side to 450–500°F. Clean and oil the grates to prevent sticking.
- Sear Both Sides: Place tri tip over direct heat. Sear 4–5 minutes per side until a deep brown crust forms. Rotate slightly halfway through each side for crosshatch marks if desired.
- Move to Indirect Heat: Transfer to the cooler side of the grill. Close the lid and cook until the internal temperature reaches 125–130°F for medium-rare (about 8–12 minutes depending on thickness).
- Monitor Temperature: Insert the thermometer into the thickest part without touching fat or bone. Remove the meat at 125°F—you’ll account for carryover cooking during rest.
- Rest Before Slicing: Tent loosely with foil and let rest for 10–15 minutes. This allows juices to redistribute.
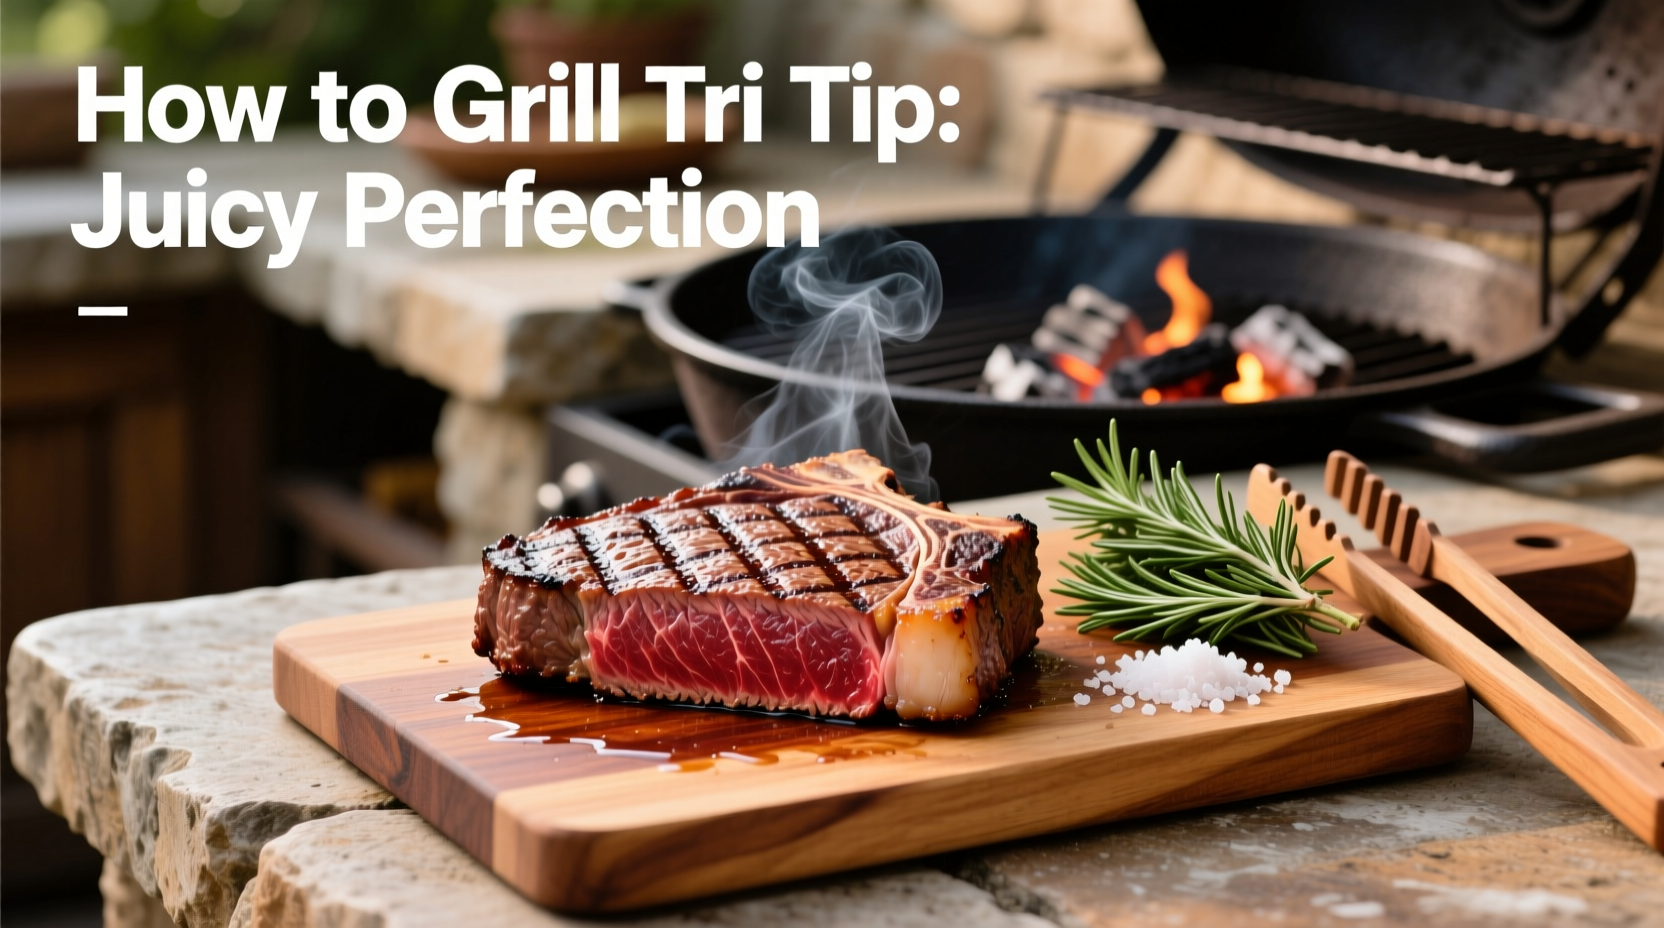
- Slice Against the Grain: Identify the direction of the muscle fibers and cut perpendicular to them in ¼-inch slices. This ensures tenderness.
Dos and Don’ts of Grilling Tri Tip
| Do | Don’t |
|---|---|
| Use a meat thermometer for precision | Guess doneness by touch or time alone |
| Let the meat come to room temp before grilling | Throw cold meat directly on a hot grill |
| Rest the meat for at least 10 minutes | Cut into it immediately after cooking |
| Slice thinly and against the grain | Slice with the grain or too thickly |
| Trim excess fat, not all fat | Leave a thick, inedible fat cap |
Real Example: A Weekend Family BBQ Turned Perfect
Jamal, a home cook in Sacramento, used to struggle with dry tri tip despite following online recipes. One summer weekend, he decided to slow down and follow a structured method. He bought a well-marbled 2.2-pound cut, seasoned it with sea salt, cracked pepper, and a hint of rosemary, then let it sit out for 40 minutes. On his gas grill, he created two zones, seared both sides for 5 minutes, then moved the meat to indirect heat. Using an instant-read thermometer, he pulled it at 127°F and rested it for 12 minutes. When he sliced it against the grain, the result was rosy pink throughout, juicy, and packed with flavor. His family declared it the best grilled meat they’d ever had at home. The difference? Precision and patience.
Frequently Asked Questions
Can I marinate tri tip instead of using a dry rub?
Yes. A marinade with acid (like vinegar or citrus), oil, and seasonings can add flavor and help tenderize the meat. Marinate for 4–12 hours in the refrigerator. Just remember to pat it dry before grilling to ensure a good sear.
What’s the ideal internal temperature for tri tip?
For medium-rare, remove the tri tip from the grill at 125–127°F. It will rise to 130–135°F during rest. Medium is 135–140°F (remove at 130–132°F). Avoid going above 145°F to prevent toughness.
Can I grill tri tip on a pellet grill or smoker?
Absolutely. Set your pellet grill to 225°F for a smoke session (30–45 minutes), then increase to 450°F and sear. Or use the reverse sear method: smoke low and slow first, then finish over high heat. Just monitor the internal temp closely.
Final Tips for Consistent Results
- Salt early: Seasoning 1–2 hours before cooking (or even overnight) improves flavor penetration and surface texture.
- Don’t overcrowd the grill: Cook one tri tip at a time for consistent heat and airflow.
- Keep it simple: Often, salt, pepper, and garlic are all you need—let the beef shine.
- Save leftovers: Thinly sliced tri tip reheats well in a skillet or makes excellent tacos, sandwiches, or salads the next day.
Conclusion: Master Your Grill, One Tri Tip at a Time
Grilling tri tip to juicy perfection isn’t about fancy gear or secret ingredients. It’s about understanding the cut, respecting the process, and applying straightforward techniques with care. Whether you’re hosting a backyard gathering or cooking for two, this method delivers impressive results without stress. Now that you’ve learned how to select, season, sear, and slice with confidence, fire up your grill and put these steps into practice. The reward is tender, flavorful beef that earns compliments and keeps people coming back for seconds.


 浙公网安备
33010002000092号
浙公网安备
33010002000092号 浙B2-20120091-4
Comments
No comments yet. Why don't you start the discussion?