
Growing your own food doesn’t require a sprawling backyard. In fact, one of the most rewarding crops you can grow in limited space is garlic. Known for its pungent flavor and health benefits, garlic thrives even on sunny windowsills, apartment balconies, or compact patios. The best part? It demands little attention once planted. With just a few cloves from the grocery store and a small container, you can cultivate fresh, homegrown garlic with minimal effort. This guide walks you through every practical step—from choosing the right variety to harvesting your first bulb—so you can enjoy organic garlic without stepping foot outside your home.
Why Grow Garlic Indoors or in Small Spaces?
Garlic is an ideal crop for urban dwellers and those with restricted outdoor access. Unlike vegetables that need deep soil or full sun all day, garlic adapts well to containers and partial sunlight. It’s also naturally pest-resistant, rarely requiring chemical treatments. Once planted, it grows quietly over several months with only occasional watering. Beyond convenience, homegrown garlic often tastes fresher and more robust than store-bought alternatives, which may have been stored for months.
Additionally, growing garlic supports sustainable living. You reduce plastic packaging waste and transportation emissions while gaining control over what goes into your food. Even if you’ve never gardened before, garlic offers a forgiving entry point. Its slow growth cycle means mistakes are less costly, and success is almost guaranteed with basic care.
Selecting the Right Garlic Variety for Containers
Not all garlic grows the same way. Two main types exist: hardneck and softneck. Your choice affects yield, taste, and suitability for small-space growing.
- Softneck garlic – Best for indoor or container gardening. It has multiple smaller cloves wrapped tightly together and stores longer (up to 12 months). Softnecks thrive in milder climates and adapt well to pots due to their shallow root system.
- Hardneck garlic – Produces fewer but larger cloves and a central flower stalk (scape). It prefers colder winters and deeper soil, making it slightly less ideal for tiny containers unless you live in a cool climate or can simulate winter conditions.
For apartment growers or those in warm zones, stick with softneck varieties like ‘Silverskin’ or ‘Artichoke’. These are commonly found in supermarkets and perform reliably in confined spaces. If you're experimenting with hardnecks, choose shorter-season cultivars such as ‘Chesnok Red’ and use deeper pots (at least 10 inches).
“Garlic grown in containers performs best when given the right variety match—not just any clove will thrive indoors.” — Dr. Lena Torres, Urban Horticulturist, GreenSpace Research Institute
Step-by-Step Guide to Planting Garlic in Pots
You don’t need a green thumb to grow garlic successfully. Follow this straightforward timeline to get started, even during off-seasons.
- Choose a Container (October–November)
Select a pot at least 6–8 inches deep with drainage holes. Wider pots allow multiple cloves to grow side by side without overcrowding. Terracotta, plastic, or fabric grow bags all work well. - Prepare the Soil (Same Day)
Fill the container with loose, well-draining potting mix. A blend of 60% compost and 40% perlite or coco coir ensures good moisture retention without waterlogging. Avoid garden soil, which compacts easily in containers. - Break and Select Cloves (Within 24 Hours of Planting)
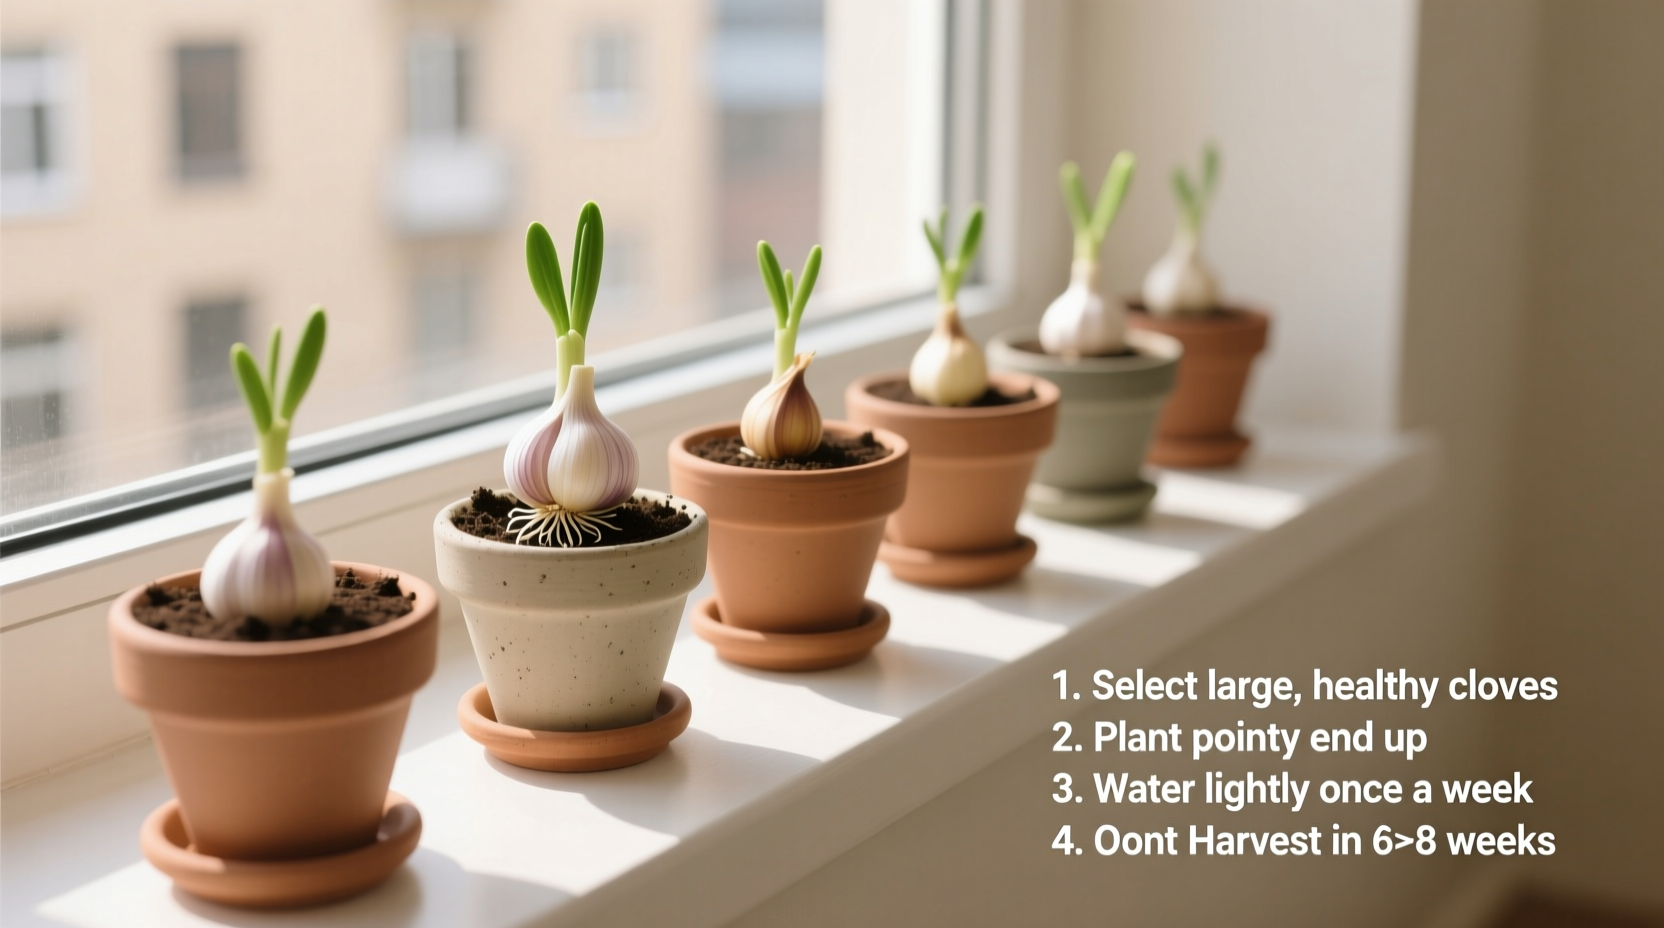
Take a whole garlic bulb and separate it into individual cloves. Choose the largest, healthiest ones—discard any that are shriveled or moldy. Larger cloves produce bigger bulbs. - Plant the Cloves (Late Fall or Early Winter Equivalent)
Place each clove root-side down (pointy end up) about 2 inches deep and 4–5 inches apart. Gently press soil over them and water lightly until moist but not soggy. - Position the Pot (After Planting)
Set the container in a location that receives at least 4–6 hours of direct sunlight daily. South-facing windows, balconies, or rooftop corners are ideal. If natural light is limited, supplement with a simple LED grow light for 8–10 hours per day. - Care Through Winter and Spring
Water only when the top inch of soil feels dry. Overwatering causes rot. No fertilizer is needed initially, though a diluted liquid seaweed feed every 6 weeks boosts growth. - Harvest Time (Late Spring to Early Summer)
When the lower leaves turn brown and the top three remain green (about 7–9 months after planting), your garlic is ready. Carefully lift bulbs with a trowel, avoiding cuts or bruises.
Container Gardening Do’s and Don’ts
To maximize your chances of success, refer to this comparison table outlining common practices among beginner garlic growers.
| Do | Don’t |
|---|---|
| Use organic, untreated garlic cloves | Use supermarket garlic labeled \"treated\" or irradiated |
| Keep soil consistently moist, not wet | Let pots sit in standing water or let soil dry completely |
| Provide at least 4–6 hours of sunlight | Place in dark corners or shaded areas with no light exposure |
| Allow space between cloves (4+ inches) | Crowd cloves too closely together |
| Cure harvested bulbs in a dry, airy place for 2–3 weeks | Store wet bulbs directly in the fridge or pantry |
Real Example: Growing Garlic on a 4th-Floor Balcony
Maria Lopez, a resident of downtown Austin, Texas, transformed her 4x6-foot balcony into a mini edible oasis. With no yard and limited time due to her nursing job, she wanted low-maintenance plants that delivered real kitchen value. She started with two 8-inch ceramic pots filled with organic potting mix and planted six cloves of silverskin garlic purchased from a local farmers market.
She placed the pots near the railing where they received morning sun and used a $15 timer-controlled grow light during unusually cloudy weeks. She watered once or twice a week, depending on rainfall, and ignored the plants otherwise. By May, the tops began yellowing. She pulled the bulbs, cured them under her awning for three weeks, and ended up with five usable bulbs—each nearly the size of those she’d bought originally.
“I didn’t expect much,” Maria said. “But now I’m saving cloves to replant this fall. It cost me under $15 to start, and I’ve already saved money on groceries.” Her experience proves that consistent, minimal input leads to tangible results—even in tight urban environments.
Minimal-Effort Maintenance Tips
The appeal of growing garlic lies in its self-sufficiency. However, a few smart habits ensure better yields without increasing workload.
- Label your pot – Mark it with the planting date so you know when to expect harvest.
- Use mulch sparingly – A thin layer of straw or shredded leaves helps retain moisture and regulate temperature, especially on exposed balconies.
- Ignore pests – Garlic naturally repels most insects. Rare issues like aphids can be wiped off by hand or rinsed gently with water—no pesticides required.
- Rotate locations – If reusing the same pot next season, replace at least half the soil to prevent nutrient depletion.
- Grow green garlic scallions instead – For faster returns, harvest young shoots earlier (around 2–3 months) for use like chives or stir-fry garnish. This reduces waiting time and still delivers flavor.
Frequently Asked Questions
Can I grow garlic from supermarket cloves?
Yes, but only if they’re organic. Non-organic garlic is often treated with sprout inhibitors. Organic cloves have a higher chance of germinating successfully. That said, for long-term reliability, consider sourcing seed garlic from reputable nurseries.
How long does it take to grow garlic in a pot?
From planting to harvest, expect 7 to 9 months. Growth slows in winter, then accelerates in spring. If growing green garlic (immature shoots), you can begin harvesting in as little as 8 weeks.
Do I need to fertilize my garlic?
Not necessarily. Good-quality potting mix contains enough nutrients for modest growth. However, applying a balanced liquid fertilizer (like fish emulsion) every 5–6 weeks can improve bulb size, especially in reused soil.
Checklist: Start-to-Finish Garlic Growing Plan
Follow this concise checklist to grow garlic successfully with minimal effort:
- ☐ Obtain organic garlic bulbs (or seed garlic)
- ☐ Prepare a container with drainage (6–8” deep minimum)
- ☐ Fill with well-draining potting mix (compost + perlite)
- ☐ Separate cloves, selecting the largest ones
- ☐ Plant cloves 2” deep, pointy end up, 4–5” apart
- ☐ Place pot in sunny spot (4–6 hrs direct light/day)
- ☐ Water lightly after planting, then only when soil dries
- ☐ Monitor growth monthly; ignore minor fluctuations
- ☐ Harvest when lower leaves brown (7–9 months later)
- ☐ Cure bulbs for 2–3 weeks in dry, ventilated area
- ☐ Store in mesh bag or basket at room temperature
- ☐ Save largest cloves for next season’s planting
Conclusion: Fresh Flavor Within Reach
Growing garlic at home in small spaces isn’t just possible—it’s practical, economical, and deeply satisfying. Whether you're nurturing a single pot on a fire escape or managing a cluster of containers on a sunlit sill, the process demands little time or expertise. Yet the payoff is substantial: fresh, potent garlic that enhances meals and promotes healthier eating.
You don’t need perfect conditions or advanced tools. Start with what you have—a clove, a pot, and a patch of light. Let nature do the rest. As thousands of urban gardeners have discovered, some of the most powerful flavors come from the smallest efforts.


 浙公网安备
33010002000092号
浙公网安备
33010002000092号 浙B2-20120091-4
Comments
No comments yet. Why don't you start the discussion?