
Green onions are a staple in kitchens around the world, adding sharp freshness and color to everything from stir-fries to soups. But instead of tossing the root ends after chopping them, you can turn those scraps into a continuous supply of homegrown greens—right on your windowsill. Growing green onions in water is one of the simplest and most rewarding forms of indoor gardening. It requires no soil, minimal tools, and delivers results in days. This guide walks you through every stage, from selecting the right scraps to harvesting your second and third crops, all using nothing more than a glass of water and sunlight.
Why Grow Green Onions in Water?
Regrowing green onions in water isn’t just a clever kitchen hack—it’s a sustainable practice that reduces food waste and ensures access to fresh herbs year-round. Unlike many other vegetables, green onions (also known as scallions) have a high regrowth potential when their root base remains intact. The process leverages their natural ability to regenerate foliage when given moisture and light.
This method is ideal for urban dwellers, apartment renters, or anyone without outdoor space. It also serves as an excellent introduction to gardening for children or beginners. Because the growth cycle is fast—visible progress within 24 to 48 hours—motivation stays high. Plus, there's no risk of overwatering or dealing with pests, two common challenges in traditional gardening.
Step-by-Step Guide to Regrowing Green Onions in Water
The process of growing green onions from scraps in water is straightforward, but attention to detail ensures success. Follow these steps carefully for consistent, healthy regrowth.
- Select Fresh Green Onions with Intact Roots
Choose firm, crisp green onions with white roots still attached. Avoid limp or slimy stalks. Cut off the green tops, leaving about 1 to 2 inches above the root base. This portion contains the meristem tissue responsible for new growth. - Prepare a Container
Use a small glass, jar, or cup—anything transparent works best so you can monitor root development and water levels. A shot glass or spice jar is ideal for single stems; a wider container holds multiple scraps. - Add Water Correctly
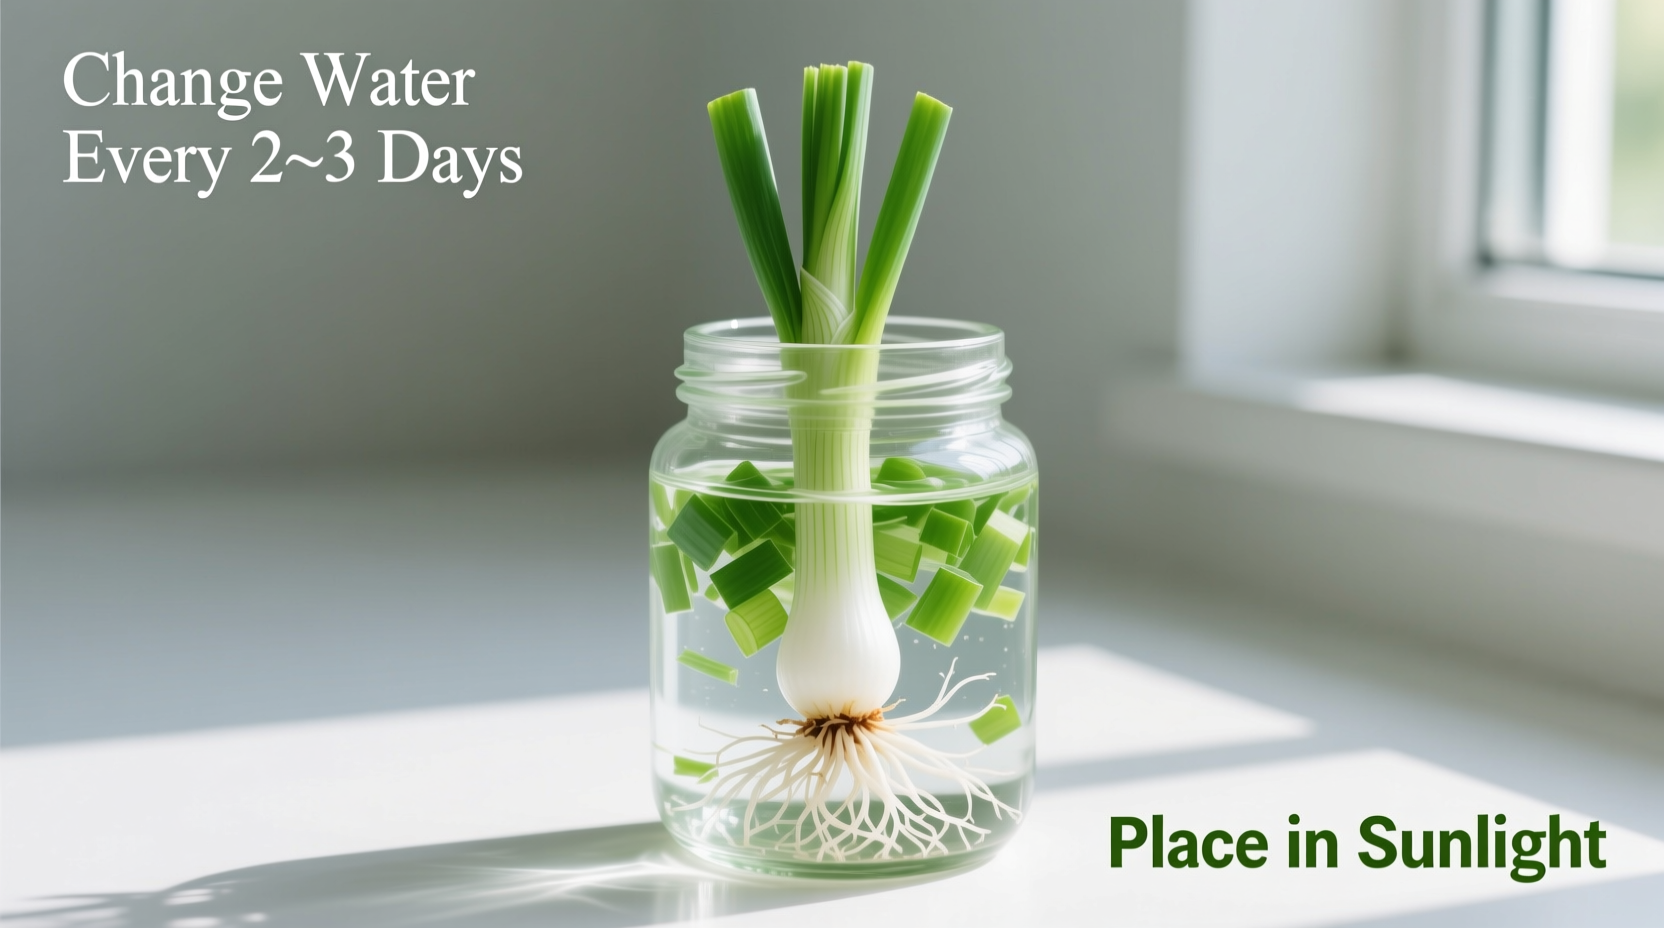
Pour clean tap water into the container until it reaches just below the cut end of the onion base. The roots should be submerged, but the white bulb and any remaining stem must stay dry to prevent rot. Aim for about ½ inch of water. - Place in Sunlight
Set the container on a sunny windowsill that receives at least 4–6 hours of indirect sunlight daily. South- or east-facing windows work best. If natural light is limited, a fluorescent or LED grow light placed 6–12 inches away can substitute. - Maintain and Monitor
Change the water every 2–3 days to prevent stagnation and bacterial growth. Top up with fresh water if levels drop, but always replace entirely on schedule. Within 12–24 hours, you’ll notice tiny roots extending into the water. New green shoots typically emerge within 2–3 days. - Harvest When Ready
Once the green shoots reach 4–6 inches tall, they’re ready to harvest. Snip what you need with scissors, leaving at least 1 inch above the bulb to encourage further growth. Never pull the entire plant unless ending the cycle. - Repeat the Cycle
With proper care, each scrap can regenerate 3–5 times before productivity declines. After several harvests, the bulb may weaken or begin to rot. At that point, compost it and start anew with fresh scraps.
What Success Looks Like: Signs of Healthy Growth
- White, thread-like roots spreading into the water within 1–2 days
- Firm, upright white bulbs without mushiness or discoloration
- Vibrant green shoots emerging from the center of the base
- Continued growth after multiple harvests
Common Mistakes and How to Avoid Them
While this method is forgiving, certain missteps can hinder growth or lead to failure. Being aware of these pitfalls improves long-term results.
| Problem | Cause | Solution |
|---|---|---|
| No new growth after 5 days | Damaged root base or poor-quality scrap | Use fresher onions with intact roots; ensure adequate light |
| Rotting bulb or foul odor | Water level too high, submerging the bulb | Adjust water so only roots are submerged; change water regularly |
| Yellowing or wilting leaves | Insufficient light or old bulb | Move to brighter location; consider restarting with new scrap |
| Stunted or thin growth | Nutrient depletion over time | Add a drop of liquid fertilizer monthly or transition to soil |
| Algae forming in water | Excess light exposure to water | Use opaque containers or wrap glass with paper; change water frequently |
Maximizing Longevity: Tips for Continuous Harvests
To get the most out of each green onion scrap, adopt practices that support sustained regrowth. While water alone provides hydration, long-term vitality benefits from minor enhancements.
- Use filtered or dechlorinated water if your tap water is heavily chlorinated, as chlorine can inhibit root development over time.
- Trim roots occasionally if they become excessively long (over 3 inches). This encourages branching and better nutrient uptake.
- Introduce mild nutrients after the second harvest. A diluted liquid houseplant fertilizer (¼ strength) added once a month replenishes essential minerals.
- Label multiple jars if growing several batches. Note the date started to track performance and rotation.
- Keep backups growing. Start a new jar every week so you always have mature onions ready while others regenerate.
“Regrowing kitchen scraps like green onions teaches people that sustainability doesn’t require a backyard. It starts with observation, consistency, and respect for nature’s cycles.” — Dr. Lena Patel, Urban Horticulturist & Food Waste Researcher
Real Example: A Kitchen Experiment That Became a Habit
Sarah, a software developer living in a Chicago high-rise, began regrowing green onions during a winter grocery shortage. She placed three onion bases in reused jam jars on her kitchen windowsill, changing the water every three days. Within two days, she noticed fine roots forming. By day five, green shoots were visible.
Intrigued, she started labeling each jar with dates and tracking growth. After two weeks, she harvested her first batch for scrambled eggs. Encouraged by the flavor and freshness, she expanded to growing garlic sprouts and celery bases. Over six months, she estimates saving over $30 on herbs and reducing kitchen waste significantly. What began as a curiosity became a weekly ritual—and a conversation starter with neighbors who now trade tips on indoor regrowth techniques.
When to Transition to Soil
While water regrowth is convenient, it has limits. After repeated harvests, the onion bulb exhausts its stored energy. Growth slows, leaves thin out, and the base may split or decay. At this stage, transplanting into soil can extend the plant’s life dramatically.
To transition:
- Fill a small pot with well-draining potting mix.
- Plant the regrown base about 1 inch deep, roots down.
- Water lightly and place in sunlight.
- Within a week, stronger, thicker stalks will emerge.
In soil, green onions can thrive for months and even produce small flowers. They’ll also develop a more robust flavor compared to water-grown versions.
FAQ: Frequently Asked Questions
Can I grow green onions in water indefinitely?
No, not indefinitely. Most scraps provide 3–5 harvests in water before energy reserves deplete. For long-term growth, transplant to soil after the third harvest for best results.
Do I need special equipment?
No. Any clean container and tap water will work. Reused glasses, baby food jars, or spice bottles are perfect. No pumps, lights, or fertilizers are required for basic regrowth.
Why aren’t my green onions growing taller after the first harvest?
This usually indicates depleted energy stores or insufficient light. Try moving the container to a brighter spot or starting with a fresher scrap. Adding a drop of balanced liquid fertilizer monthly can help boost growth.
Checklist: Your Green Onion Regrowth Routine
Follow this simple checklist to maintain a steady supply:
- ☑ Save onion bases with at least 1 inch of stem and intact roots
- ☑ Use a clean container with clear sides for monitoring
- ☑ Fill with water so only roots are submerged
- ☑ Place in bright, indirect sunlight (4–6 hours/day)
- ☑ Change water every 2–3 days
- ☑ Harvest when shoots reach 4–6 inches
- ☑ Leave 1 inch of stem when cutting
- ☑ Start new jars weekly for continuous supply
- ☑ Consider soil transplant after 2–3 harvests
Conclusion: Turn Waste Into Wonder
Growing green onions from scraps in water is more than a frugal trick—it’s a small act of mindfulness in a throwaway culture. With almost no investment, you gain fresh flavor, reduce grocery trips, and participate in a cycle of renewal that connects you to your food. Whether you're reviving one onion in a recycled bottle or managing a full windowsill farm, the principles remain the same: observe, nurture, and reuse.


 浙公网安备
33010002000092号
浙公网安备
33010002000092号 浙B2-20120091-4
Comments
No comments yet. Why don't you start the discussion?