
Floating shelves add sleek, modern appeal to any room—whether it’s a minimalist living space, a clutter-free bathroom, or an organized home office. But what if you can’t find a stud where you want to mount them? Many homeowners hesitate to drill into walls without hitting solid framing, fearing collapse or damage. The good news: you don’t need to hit a stud to install secure, load-bearing floating shelves. With the right tools, hardware, and technique, you can confidently hang shelves on drywall, plaster, or even tile.
This guide walks through practical, tested strategies that eliminate the need for studs while ensuring your shelves remain stable, level, and capable of supporting everyday items—from books and decor to kitchen supplies and electronics.
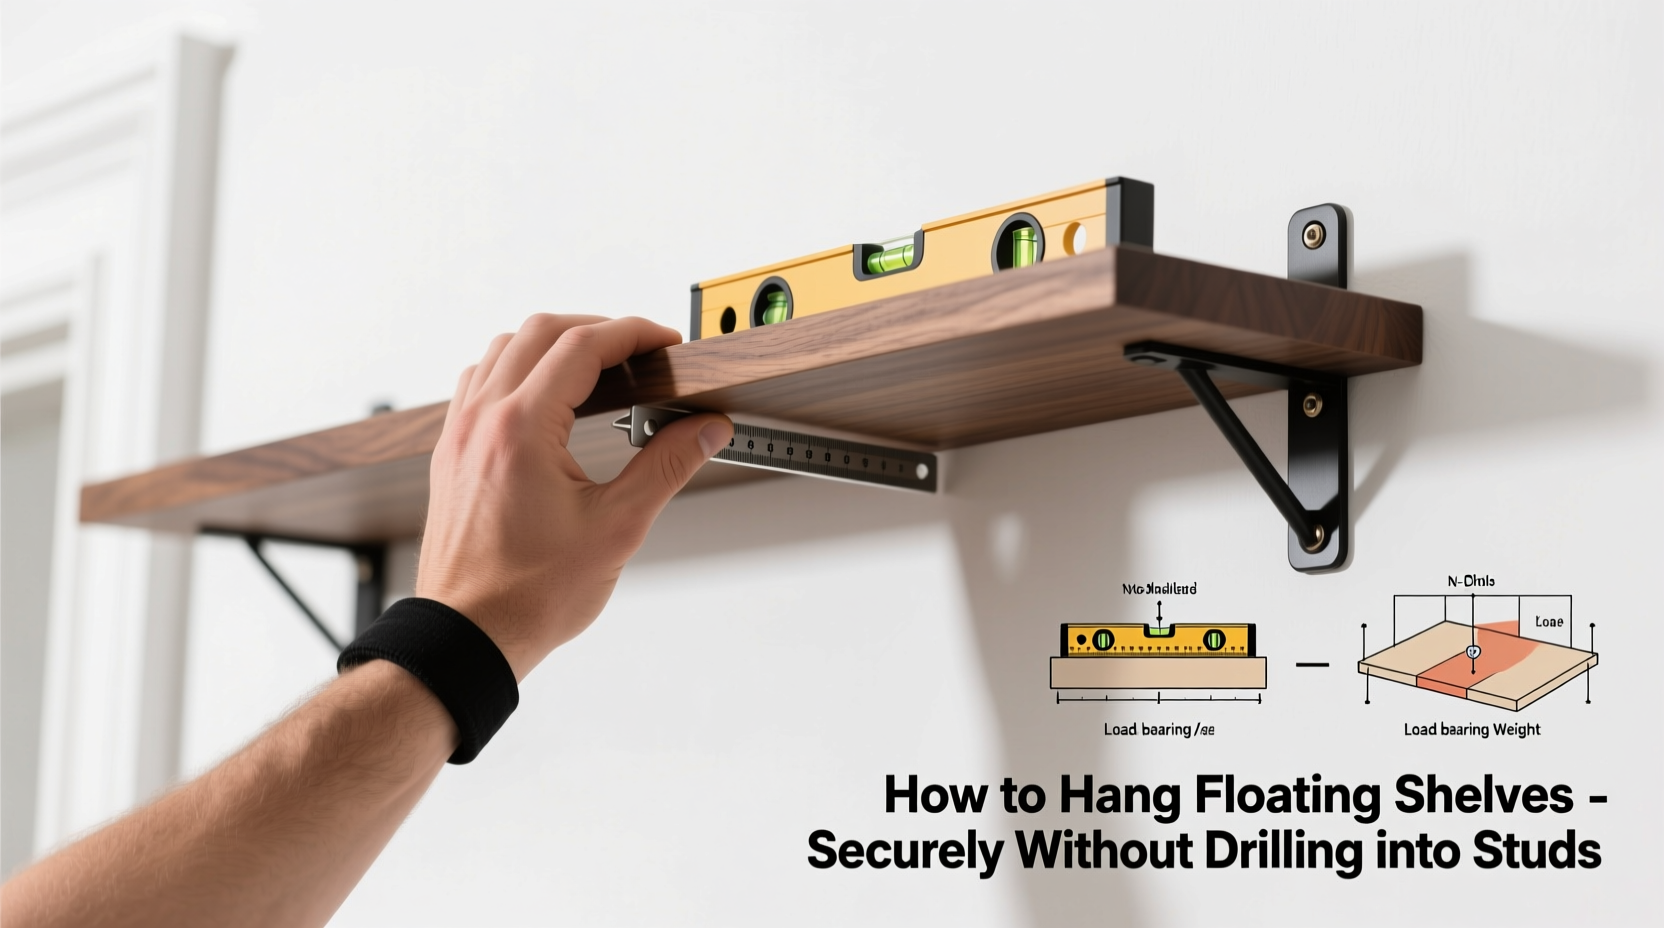
Why Studs Aren't Always Necessary
Traditional shelving relies on wall studs because wood framing provides unmatched structural integrity. However, standard spacing (usually 16 inches apart) means ideal shelf locations often fall between studs. Drilling into drywall alone seems risky, but modern anchoring systems and adhesives have closed the strength gap significantly.
The key is understanding load distribution and choosing hardware engineered for high pull-out resistance. Drywall itself can support up to 50 pounds per square foot when reinforced correctly. That’s more than enough for most floating shelves, especially when weight is spread across multiple anchor points.
“With today’s toggle bolts and heavy-duty mounting tapes, properly installed non-stud shelves can be just as reliable as stud-mounted ones.” — Marcus Lin, Residential Construction Consultant
Best Non-Stud Mounting Methods
There are several effective ways to hang floating shelves without studs. Each has strengths depending on shelf size, wall type, and expected load. Below are the top three methods ranked by holding power and ease of installation.
1. Toggle Bolts (Snap & Spring Types)
Toggle bolts expand behind the wall surface, distributing weight across a broader area. They’re ideal for heavier loads and permanent installations.
- Snap toggles: Feature spring-loaded wings that snap open once inserted. Hold up to 50 lbs each in half-inch drywall.
- Spring toggles (e.g., Snaptoggle): More robust; allow multiple reuses and precise positioning. Rated for 75+ lbs.
2. Heavy-Duty Adhesive Strips & Mounting Tapes
For lightweight shelves (under 10–15 lbs), industrial-grade double-sided tape offers a no-damage solution. Brands like 3M VHB (Very High Bond) use acrylic foam technology that bonds permanently to smooth surfaces.
These work best on painted drywall, glass, metal, or tile. Avoid using on textured walls or in high-moisture areas unless specified.
3. Hollow-Wall Anchors (Plastic & Metal Expansion Types)
Common plastic anchors are weak for shelves, but all-metal hollow-wall anchors like molly bolts or self-drilling anchors provide superior grip. Molly bolts clamp against the back of the drywall when tightened, creating a secure hold.
| Method | Max Load (per unit) | Wall Compatibility | Removal Difficulty |
|---|---|---|---|
| Snaptoggle | 75 lbs | Drywall, Plaster | High (requires patching) |
| 3M VHB Tape | 15 lbs (continuous) | Smooth Painted, Tile, Metal | Very High (damages paint) |
| Molly Bolt | 50 lbs | Drywall, Hollow Panels | Medium |
| Plastic Anchor | 25 lbs | Drywall only | Low |
Step-by-Step Guide: Installing Floating Shelves Without Studs
Follow this timeline to ensure a secure, professional-looking result.
- Assess Shelf Weight and Dimensions
Measure total expected load including shelf material and contents. A typical pine shelf (36” long) with books may weigh 20–30 lbs. Use this to determine number and type of anchors needed. - Choose Appropriate Hardware
For loads over 20 lbs, use at least two toggle bolts or molly bolts. For lighter decorative shelves, VHB tape may suffice. - Mark Mounting Points
Hold shelf bracket against wall and use a level to draw horizontal lines. Mark screw holes precisely. If using toggles, allow extra clearance for wing expansion. - Drill Holes (if applicable)
Use a drill bit matching anchor specifications. For Snaptoggles, use a 1/2” bit in 1/2” drywall. Vacuum out dust afterward for better grip. - Insert Anchors or Apply Adhesive
For mechanical anchors, insert and tighten until snug. For adhesive, clean wall thoroughly with isopropyl alcohol, apply tape to bracket back, press firmly for 30 seconds. - Attach Brackets and Test Stability
Screw brackets fully into anchors. Gently tug downward to test resistance. Re-tighten if movement occurs. - Mount Shelf Deck
Slide wooden or laminate shelf onto brackets. Some models require screws from above; others lock magnetically or with set screws. - Wait Before Loading (Critical!)
If using adhesive, wait 24 hours before placing any weight. Mechanical anchors can bear load immediately.
“Always err on the side of over-engineering. One extra anchor costs $2 but prevents $200 in water damage from a collapsing bathroom shelf.” — Lena Patel, Interior Renovation Specialist
Weight Distribution & Design Tips
Even with strong anchors, poor weight placement can cause failure. Follow these principles to maximize safety:
- Use longer shelves to spread load across more anchor points.
- Avoid concentrating heavy items at the front edge; keep dense objects near the wall.
- Install L-brackets beneath the shelf if aesthetics allow, adding secondary support.
- Consider split-depth designs: a thinner upper shelf for decor, deeper lower one anchored separately.
Real Example: Bathroom Towel Shelf Installation
In a 2023 renovation project, homeowner Julia R. wanted a floating oak shelf above her bathtub to store towels and toiletries. The desired location fell entirely between studs on a tiled bathroom wall. She opted for two Snaptoggle bolts rated for 75 lbs each.
She removed tiles carefully at anchor points (later replaced with matching grout), drilled 1/2” holes through tile and drywall, and installed the toggles. After securing steel Z-brackets, she mounted a 24” walnut-finish shelf. Over two years later, the shelf holds daily use—including stacked towels and glass bottles—without shifting or damage.
This case illustrates that with proper planning and quality hardware, even wet environments can support non-stud installations safely.
Do’s and Don’ts Summary
| Do | Don’t |
|---|---|
| Use a stud finder first—even if you plan to go without studs—to map wall structure | Assume all drywall is equally thick; verify with a small test hole |
| Clean wall surface with alcohol before adhesive application | Use standard picture hangers for shelves—they fail under shear stress |
| Pre-assemble shelf and bracket to check fit before final mounting | Over-tighten screws into drywall anchors; this strips the hold |
| Paint touch-ups after installation to hide minor imperfections | Hang shelves above radiators or near heat sources if using adhesives |
FAQ
Can I hang a TV on floating shelves without studs?
Not recommended. TVs create dynamic loads and vibration risks. Even with heavy-duty toggles, long-term safety isn’t guaranteed. Always mount TVs into studs or use a dedicated wall plate secured to framing.
Will adhesive shelves damage my paint when removed?
Yes, often. Industrial tapes like VHB form permanent bonds. Removal typically peels paint or leaves residue. Use only in low-visibility areas or when repainting soon after.
How do I know if my wall is too weak for non-stud mounting?
Test with a small nail. If it slides in easily beyond 1/2”, the drywall may be thin or deteriorated. Crumbling texture or spongy feel indicates moisture damage—repair before hanging anything.
Checklist: Secure Non-Stud Shelf Installation
- ☐ Measure total shelf + load weight
- ☐ Select appropriate anchors or adhesive
- ☐ Locate and mark bracket positions with level
- ☐ Drill correct-sized pilot holes
- ☐ Insert toggles or apply cleaning agent for tape
- ☐ Install and tighten brackets securely
- ☐ Allow 24-hour cure time for adhesives
- ☐ Gradually add weight, starting with light items
Final Thoughts
Hanging floating shelves without studs is not only possible—it’s a smart, flexible solution for modern interiors where design matters as much as function. Advances in hardware engineering mean you’re no longer limited by stud placement. Whether you choose mechanical anchors for strength or adhesive systems for invisibility, success lies in preparation, precision, and respecting weight limits.
By applying the methods outlined here—using quality materials, distributing loads wisely, and testing stability—you’ll enjoy beautiful, functional shelving that enhances your space without compromising safety.


 浙公网安备
33010002000092号
浙公网安备
33010002000092号 浙B2-20120091-4
Comments
No comments yet. Why don't you start the discussion?