
Balcony lighting can transform an ordinary outdoor space into a cozy retreat. Whether you're aiming for romantic ambiance or just want to extend your evening enjoyment, string lights are a popular choice. But if you live in a condominium, apartment, or community governed by a homeowners association (HOA), or if you're renting under a lease agreement, installing permanent fixtures—even decorative ones—can trigger violations. The good news: you don’t need nails, screws, or hardwiring to achieve the look you want. With thoughtful planning and non-permanent methods, you can enjoy beautiful lighting while staying compliant.
Understand Your Restrictions First
Before purchasing any lights or hardware, take time to review your lease agreement or HOA guidelines. Many restrictions focus on permanent modifications, visible wiring, structural alterations, or fire hazards. However, most rules do not prohibit temporary, removable decor—as long as it doesn't damage surfaces or create safety issues.
Common red flags include:
- Drilling into railings or walls
- Using nails, staples, or adhesives that leave residue
- Overloading electrical outlets
- Installing lights that obstruct emergency exits or views
- Using non-UL-listed or indoor-only lights outdoors
“Most HOAs aren’t against aesthetics—they’re against permanence and risk. If your installation is removable and safe, you’re likely in the clear.” — Daniel Reyes, Property Management Consultant with over 12 years in urban housing compliance
Choose the Right Type of Lights
Not all string lights are created equal—especially when it comes to outdoor use and compliance. Selecting the right kind ensures longevity, safety, and adherence to building standards.
Weather Resistance and Certification
Always opt for lights labeled “outdoor-rated” and certified by UL (Underwriters Laboratories) or ETL. These meet electrical safety standards and resist moisture, UV exposure, and temperature shifts. Avoid indoor-only strings, which degrade quickly and may pose fire risks.
Power Source Options
Consider how your lights will be powered. Each option has pros and cons depending on your balcony’s layout and access to outlets.
| Power Type | Pros | Cons | Compliance-Friendly? |
|---|---|---|---|
| Plug-in (USB or standard) | Bright, consistent light; easy to control | Requires outlet access; cord visibility | Yes, if cord is secured and outlet isn’t overloaded |
| Battery-operated | No cords; fully portable; no outlet needed | Batteries need frequent replacement; dimmer output | Highly compliant—ideal for rentals |
| Solar-powered | Eco-friendly; no electricity cost; automatic on/off | Needs direct sun; unreliable in shaded areas | Yes, if panels are placed appropriately |
For maximum flexibility and compliance, many renters combine battery-powered fairy lights along the railing with a single plug-in strand connected via a discreetly routed cord through the door or window.
Non-Damaging Hanging Methods That Work
The key to hanging lights without violating rules is using attachment methods that leave zero trace. These techniques protect surfaces, maintain rental security deposits, and satisfy HOA inspectors.
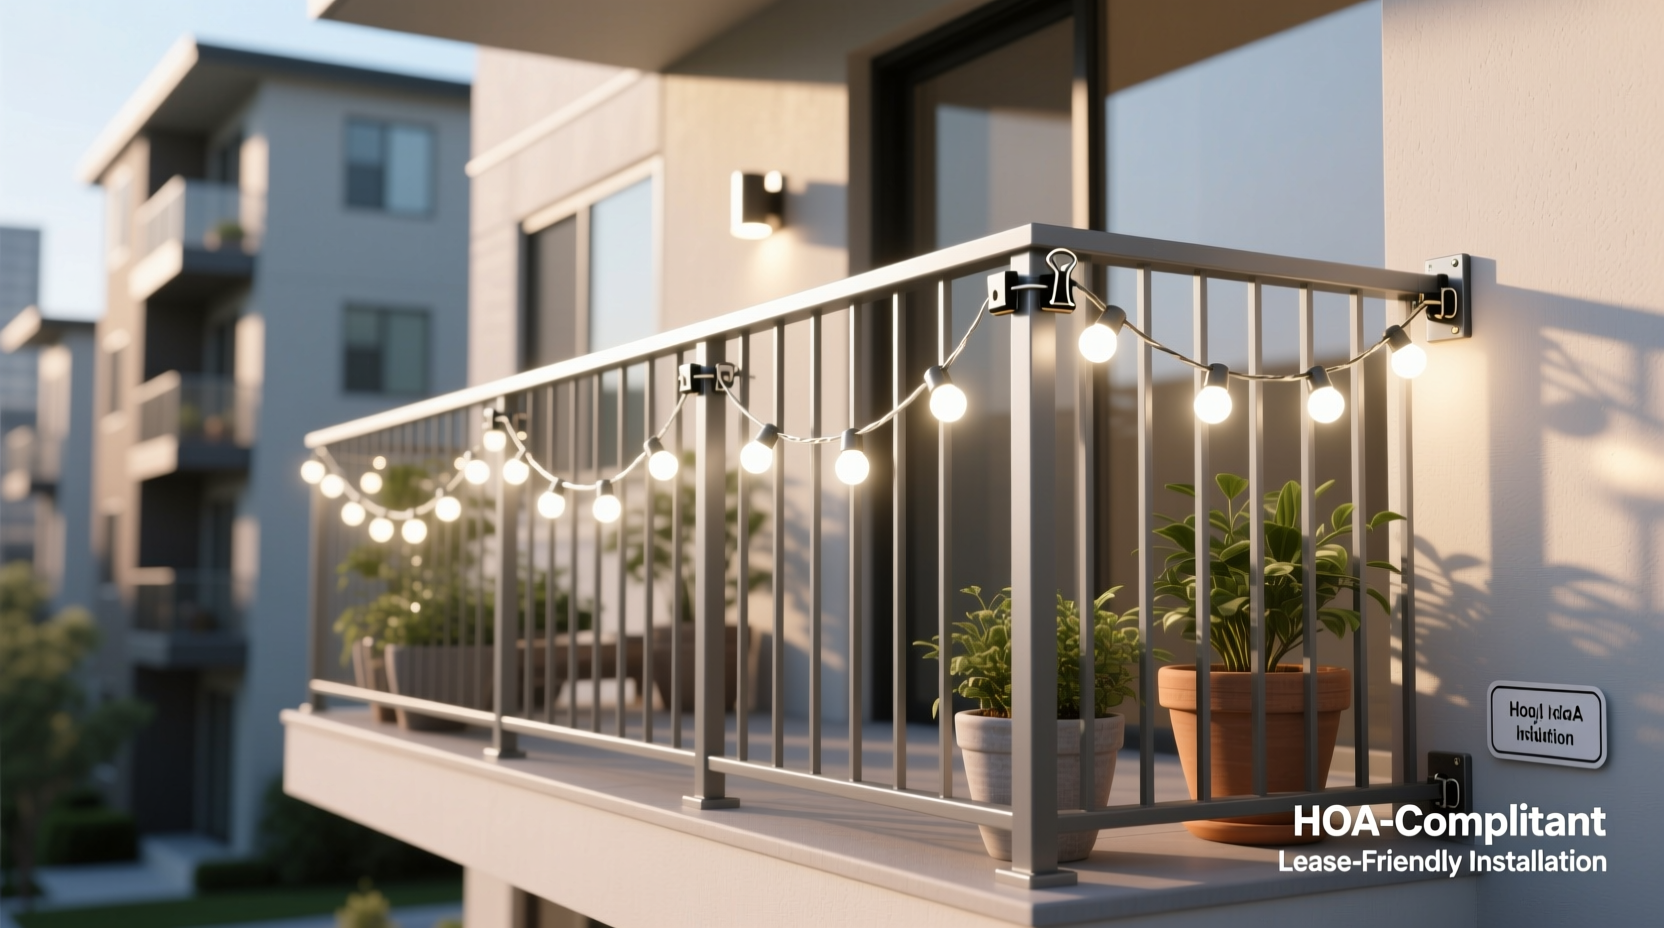
1. Use Railing Clips Designed for String Lights
Plastic or silicone clips snap onto railings without tools. They’re inexpensive, reusable, and available in clear or black to blend with most railings. Simply hook the light socket into the clip’s opening.
2. Adhesive Hooks (Removable Type Only)
Choose hooks labeled “damage-free” or “removable,” such as 3M Command™ Outdoor Hooks. These use advanced adhesive strips that come off cleanly with a pull tab. Never use permanent glue-based hooks.
3. Fabric Straps or Hook-and-Loop Ties
Soft nylon straps or Velcro zip ties wrap around railings and secure light cords without scratching. They’re ideal for metal, wood, or composite railings and can be tightened snugly without tools.
4. Magnetic Hangers (for Metal Railings)
If your balcony has a steel railing, small magnetic hangers can hold lightweight strands. Pair them with micro LED string lights for a floating effect. Avoid using strong magnets on painted surfaces—they can chip the finish.
5. Drape Over Instead of Attach
In some cases, simply draping lights over the top rail works—especially if they’re weighted slightly at the ends. This method avoids attachments entirely but works best in low-wind areas.
Step-by-Step: Installing Compliant Balcony Lights
Follow this timeline to install your lights safely and legally in under two hours.
- Week Before – Review Rules & Plan Layout (30 min)
Read your lease or HOA document. Sketch a simple diagram of your balcony showing where lights will go and where power will come from. - Day Before – Purchase Supplies (1 hr)
Buy outdoor-rated lights, removable clips or hooks, and a surge-protected extension cord if needed. Choose neutral-colored cords to reduce visibility. - Installation Day – Set Up (45–60 min)
- Wipe down railing with rubbing alcohol to improve adhesive grip (if using hooks).
- Attach clips or hooks every 12–18 inches along the railing edge.
- Unravel lights and test them before mounting.
- Secure each bulb or cord section into the clips, avoiding tension or sagging.
- Route the power cord along the floor or wall using removable cord clips, leading it indoors through a closed window or door with a gap seal.
- After Installation – Safety Check (15 min)
Ensure lights don’t block exits, interfere with railings, or create tripping hazards. Confirm the outlet isn’t overloaded—avoid daisy-chaining multiple strands unless rated for it.
Real Example: A Renter’s Balcony Transformation
Maria Lopez, a tenant in a Chicago high-rise with strict HOA rules, wanted to add warmth to her small concrete balcony. Her lease prohibited any alterations, including drilling or adhesives that could stain. After researching options, she chose 50-foot battery-operated fairy lights with copper wire construction for flexibility.
She used silicone railing clips spaced evenly along the wrought iron railing and tucked the battery pack into a small waterproof pouch clipped beneath the rail. The entire setup took 20 minutes, cost under $35, and was praised by neighbors. When she moved out six months later, she removed everything with no trace left behind—and received her full security deposit.
Maria’s success came from prioritizing removability, discretion, and safety—proving that even highly regulated spaces can be personalized beautifully.
Do’s and Don’ts at a Glance
| Action | Do | Don’t |
|---|---|---|
| Attaching Lights | Use snap-on clips or removable adhesive hooks | Drill holes or use tape that damages paint |
| Power Management | Use surge-protected outlets and outdoor-rated cords | Daisy-chain more than three strands unless approved |
| Light Selection | Pick UL-listed, weather-resistant models | Use indoor lights outside |
| Cord Routing | Run cords through windows with gap seals; use cord covers | Leave cords dangling or exposed to pooling water |
| Storage | Coil lights gently and store in labeled container | Leave lights up year-round in harsh climates |
Frequently Asked Questions
Can I hang string lights on a vinyl or composite railing?
Yes, but avoid adhesives that may discolor the surface. Instead, use soft fabric ties or railing clips that grip without clamping too tightly. Vinyl can crack under pressure, so check fit before securing.
Will my landlord or HOA notice if I hang lights temporarily?
They might—but that’s not the issue. The real concern is potential damage or fire code violations. Even if unnoticed, unsafe installations can lead to liability. Always prioritize safety and policy alignment, not just stealth.
How do I hide the cord running into my apartment?
Use a door stopper or window gap seal to hold the cord in place without propping the door open. Choose a dark-colored cord and route it along baseboards. Removable cord clips keep it tidy and prevent tripping.
Final Checklist Before You Hang
- ✅ Reviewed lease/HOA rules on outdoor modifications
- ✅ Selected outdoor-rated, UL-listed lights
- ✅ Chosen non-damaging attachment method (clips, hooks, ties)
- ✅ Confirmed power source availability and safety
- ✅ Planned cord path to minimize visibility and hazard
- ✅ Tested lights before installation
- ✅ Scheduled seasonal removal or storage plan
Conclusion: Light Up Responsibly
A well-lit balcony doesn’t have to come at the cost of compliance. By understanding your limitations and choosing smart, removable solutions, you can create a welcoming space that reflects your style—without risking fines or lost deposits. The goal isn’t to bypass rules, but to work within them creatively and respectfully. With the right approach, even the most restricted balcony can glow with charm and personality.


 浙公网安备
33010002000092号
浙公网安备
33010002000092号 浙B2-20120091-4
Comments
No comments yet. Why don't you start the discussion?