
A cluttered workspace doesn’t just look unprofessional—it can also reduce focus, increase stress, and make troubleshooting technical issues more difficult. One of the most common sources of desktop chaos is tangled cords: power cables, USB connections, monitor leads, charging wires, and Ethernet lines all competing for space behind your desk. The good news? With thoughtful planning and the right tools, you can conceal these cords effectively and create a sleek, organized workspace that supports both productivity and peace of mind.
This guide walks through practical, tested methods to hide cords behind your desk using accessible materials and smart techniques. Whether you're working from home, managing a shared office, or upgrading your executive workstation, these strategies will help you achieve a minimalist aesthetic without sacrificing functionality.
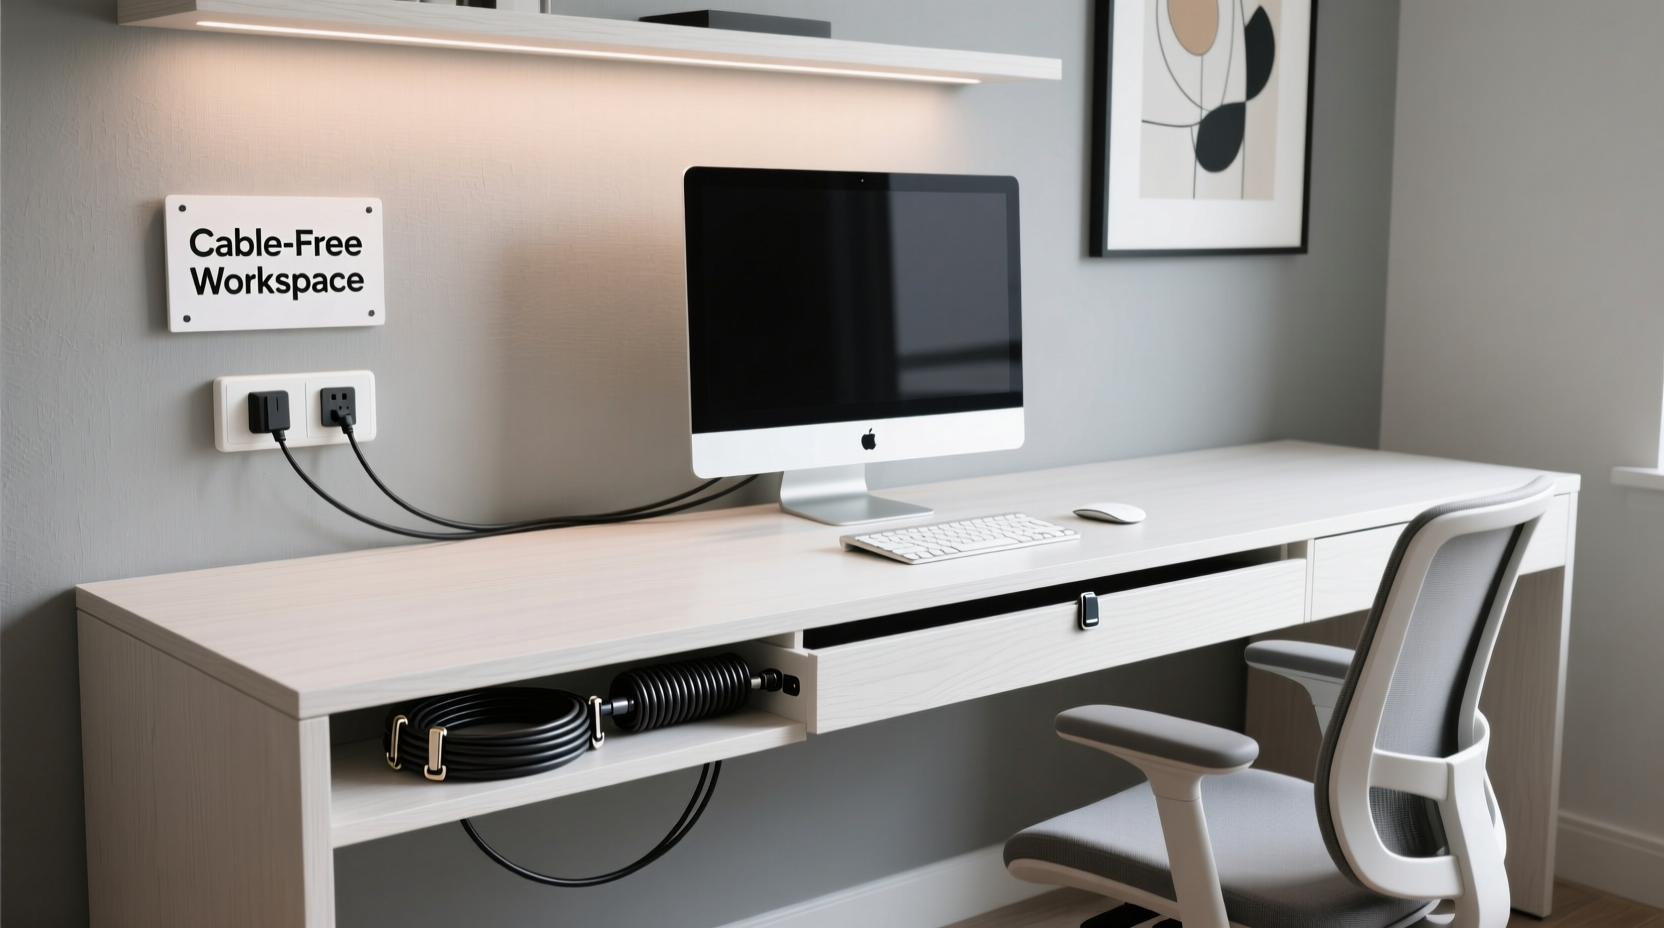
Why Cord Management Matters
At first glance, cord clutter might seem like a minor inconvenience. But disorganized wiring affects more than just appearance. Studies show that visual clutter increases cognitive load, making it harder to concentrate and process information efficiently. A 2021 University of California study found that workers in tidy environments completed tasks 15% faster than those surrounded by mess.
Beyond productivity, poor cable management poses real safety risks. Loose cords can become tripping hazards, especially in high-traffic areas. They’re also more prone to wear and tear when dragged across floors or pinched under furniture. Over time, frayed insulation or damaged connectors can lead to electrical faults or device failure.
“Professionalism starts with presentation. A clean desk signals attention to detail—both to yourself and others.” — David Lin, Interior Designer & Workspace Consultant
Effective cord hiding isn’t about perfection; it’s about control. When every wire has a designated path and purpose, your setup becomes easier to maintain, upgrade, and troubleshoot.
Step-by-Step Guide to Hiding Cords Behind Your Desk
Follow this structured approach to transform a chaotic back panel into a streamlined system.
- Unplug and Assess: Turn off and disconnect all devices. Lay out each cord and identify its function (monitor, laptop charger, lamp, etc.). Label them temporarily with masking tape if needed.
- Measure Available Space: Check the gap between your desk and wall, as well as any access points (grommets, rear cutouts). This determines which concealment method will work best.
- Group Cords by Function: Bundle related cables together—e.g., computer peripherals, display connections, power strips. Use Velcro ties or reusable twist wraps to keep them organized.
- Choose a Concealment Method: Based on your desk type and layout, select one or more of the following solutions.
- Install and Route Cables Neatly: Run grouped cords along chosen paths, avoiding sharp bends or tension points.
- Secure and Test: Fasten everything in place, plug devices back in, and test functionality before finalizing.
Top 5 Cord-Hiding Solutions Compared
Different desks and setups call for different approaches. Here's a comparison of the most effective cord management systems:
| Solution | Best For | Installation | Cost | Visibility After Setup |
|---|---|---|---|---|
| Cable Raceway Kit | Wall-mounted desks, minimal floor clearance | Moderate (adhesive or screws) | $15–$30 | Nearly invisible |
| Under-Desk Cable Tray | Standing desks, frequent reconfiguration | Easy (clamps or brackets) | $20–$40 | Hidden from front view |
| Cord Sleeves with Zip Ties | Temporary fixes, renters | Very easy (wrapping) | $8–$15 | Visible but tidy |
| Floor-to-Desk Grommet System | Permanent home offices, built-in desks | Difficult (requires drilling) | $50–$120 | Completely hidden |
| Magnetic Cable Clips | Metal desks, lightweight cords | Instant (stick-on) | $10–$18 | Minimal visibility |
Real Example: Transforming a Home Office Setup
Jamie, a freelance graphic designer, worked from a corner desk in her living room. Her dual-monitor rig, drawing tablet, external hard drive, and wireless router created a jungle of cords snaking down the back of the desk and across the baseboard. Guests often commented on the mess, and she frequently unplugged something by accident while vacuuming.
She decided to reorganize using a combination of solutions: a plastic raceway mounted vertically along the wall behind the desk, an under-desk cable tray for active device cords, and color-coded Velcro straps to group similar cables. She also replaced her bulky power strip with a slim, right-angle model that fit flush against the wall.
The result? A completely transformed workspace. From the front, nothing suggested the complexity beneath. More importantly, Jamie reported feeling “more in control” during client video calls and noted fewer distractions while working. The project took two hours and cost $37 in supplies.
Do’s and Don’ts of Cord Management
Avoid common pitfalls with this quick-reference guide:
| Do | Don't |
|---|---|
| Use modular power strips with angled plugs | Stack multiple thick adapters in one outlet |
| Label each cord at both ends | Rely solely on memory to identify cables |
| Leave service loops for flexibility | Pull cords taut between devices and outlets |
| Check for heat buildup around bundled wires | Bundle live power cables tightly in insulated sleeves |
| Update cable organization quarterly | Ignore frayed or overheating cords |
Essential Tools and Supplies Checklist
Before starting your cord-hiding project, gather these items:
- Measuring tape
- Velcro cable ties (reusable, not plastic zip ties)
- Cable raceway kit (plastic or metal channel)
- Under-desk cable management tray
- Right-angle power strip or surge protector
- Label maker or masking tape and pen
- Adhesive mounts or screws (depending on raceway type)
- Wire connectors or terminal blocks (for permanent installations)
- Flashlight (to see behind tight spaces)
- Safety gloves (when handling older wiring)
Having everything ready ensures a smooth workflow and prevents mid-project delays. Keep spare Velcro ties and clips on hand for future additions.
Advanced Tips for Long-Term Cleanliness
Once your cords are hidden, maintain the results with proactive habits:
- Adopt a “one in, one out” rule: When adding a new device, remove an old or unused one to prevent cable creep.
- Go wireless where possible: Bluetooth keyboards, mice, and speakers reduce physical connections significantly.
- Use a docking station: For laptops, a single USB-C or Thunderbolt dock can replace up to six separate cables.
- Install a power outlet behind the desk: If renovating or building custom furniture, consider embedding an outlet strip into the wall cavity for seamless integration.
- Inspect monthly: Feel for warm spots in bundles, check for loose connections, and verify that nothing has shifted.
“Cable management isn’t a one-time fix—it’s part of ongoing workspace hygiene.” — Lena Torres, Ergonomic Design Specialist
FAQ
Can I paint a cable raceway to match my wall?
Yes. Most plastic raceways accept latex paint after light sanding and priming. For best results, use a matte finish to avoid glare. Alternatively, choose white or gray models that blend naturally with most interiors.
What should I do if my desk has no grommets or rear openings?
You don’t need built-in features to manage cords. Use adhesive-backed raceways along the back edge of the desk or run cables down the side legs. Magnetic clips work well on metal-framed desks. Avoid drilling unless you own the furniture.
Are cord covers safe near heat-producing devices?
Most modern raceways are made from flame-retardant ABS plastic and are safe for typical office setups. However, never enclose cords that generate significant heat (like high-wattage transformers) in sealed channels. Allow airflow to prevent overheating.
Final Thoughts: Elevate Your Workspace, One Cord at a Time
A clean desk is more than an aesthetic choice—it reflects discipline, clarity, and respect for your environment. By taking the time to hide cords behind your desk, you’re not just tidying up; you’re investing in a workspace that supports focus, efficiency, and confidence. The methods outlined here are scalable, affordable, and adaptable to nearly any setting, whether you’re in a studio apartment or a corporate office.
Start small: pick one solution, implement it thoroughly, and build from there. Over time, consistent attention to detail transforms your setup into a model of professionalism. And when someone compliments your clean desk, you’ll know exactly what effort went into making it look effortless.


 浙公网安备
33010002000092号
浙公网安备
33010002000092号 浙B2-20120091-4
Comments
No comments yet. Why don't you start the discussion?