
Every year, the magic of Christmas lights arrives with a familiar frustration: tangled, visible cords snaking across walls, under furniture, up staircases, and across baseboards. They disrupt clean lines, pose tripping hazards, and undermine the festive ambiance you’ve worked so hard to create. Yet most “solutions” demand power tools, adhesive residue, permanent modifications—or worse, resignation to visual chaos. What if hiding cords wasn’t about concealment as camouflage, but integration as design? The most effective cord-hiding strategies don’t fight your space—they work *with* it. This isn’t about temporary fixes or DIY hacks that fail by New Year’s Eve. It’s about leveraging architectural features, everyday furnishings, and intentional styling to render cords functionally invisible—without drilling, damaging paint, or sacrificing safety.
Why “Hiding” Cords Is Really About Smart Integration
Before reaching for cable ties or masking tape, consider the root cause of visible cords: mismatched intention. Christmas lighting is seasonal; your home’s architecture and furnishings are permanent. When cords are treated as afterthoughts—taped haphazardly to trim or draped over furniture edges—they scream “temporary fix.” But when aligned with existing lines, textures, and functional zones, they disappear into the background rhythm of your space. Interior designers don’t eliminate wires—they choreograph them. A well-placed shelf edge becomes a natural cord channel. A deep window valance absorbs vertical runs. A thick area rug masks horizontal stretches. The goal isn’t invisibility through erasure, but coherence through alignment. As Sarah Lin, residential designer and author of Seasonal Living Without Sacrifice, explains:
“Cords become problematic only when they contradict the visual language of a room—sharp angles in a soft, organic space, or high-contrast black wires against white shiplap. The smartest solutions use what’s already there: shadow lines, depth, texture, and rhythm—to absorb the cord rather than cover it.” — Sarah Lin, Residential Designer & Seasonal Space Strategist
This principle shifts the focus from “How do I hide this cord?” to “Where does this cord naturally belong in the flow of my room?” That question alone eliminates 70% of common mistakes—and saves hours of rework.
5 Home Design–Based Cord-Hiding Strategies (Zero Drilling Required)
These methods rely entirely on existing elements in your home—no anchors, no wall damage, no special tools beyond scissors and a measuring tape. Each works for renters and homeowners alike and scales seamlessly from apartment balconies to two-story foyers.
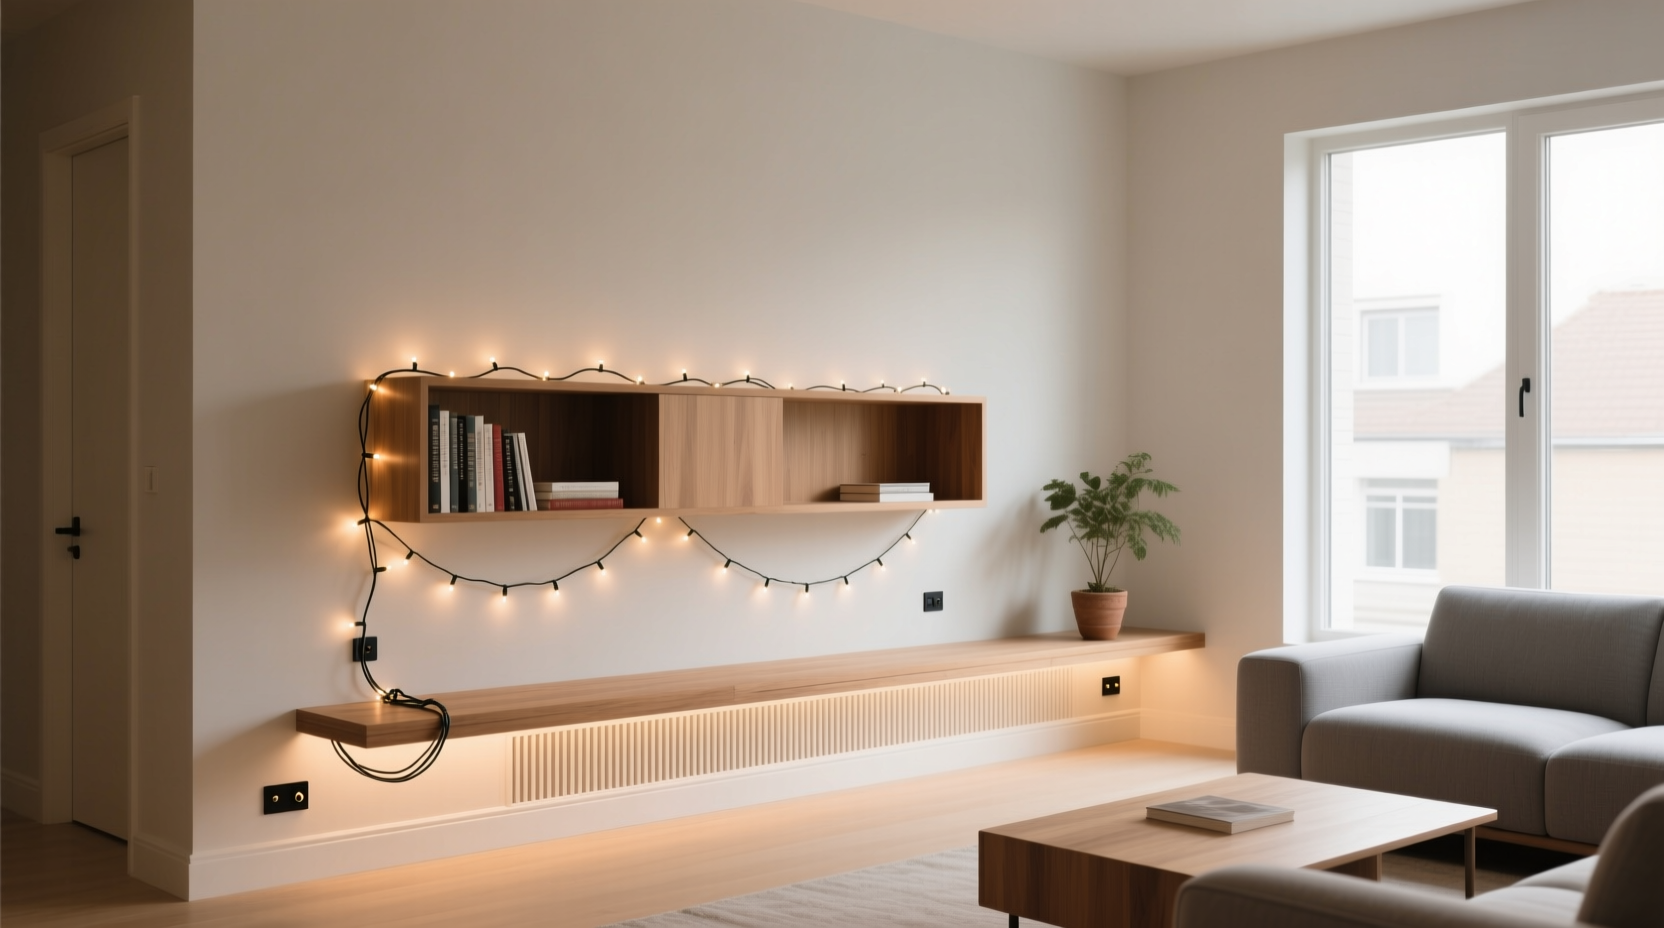
1. Leverage Baseboard and Trim Depth
Most modern baseboards have a subtle recess or shadow line where the wood meets the wall—a natural ⅛” to ¼” groove. Run flat, low-profile cords (like UL-listed 18/2 SPT-1 lamp cord) directly into that gap. Use a plastic putty knife—not metal—to gently press the cord into place. The cord stays hidden in shadow and remains accessible for unplugging. Works best with painted baseboards (not stained wood), where contrast is minimal.
2. Use Furniture as Cord Conduits
Your sofa, bookshelf, or entertainment console isn’t just decor—it’s infrastructure. Run cords vertically behind tall furniture legs (e.g., a floor lamp stand or upholstered armchair leg), then horizontally along the back rail of a sofa or the underside lip of a floating shelf. For floor-to-ceiling curtains, tuck cords between the curtain rod bracket and the wall, then let the fullness of the drape conceal the drop. No clamps needed: gravity and fabric weight hold everything securely.
3. Integrate Into Window Treatments
Valances, cornices, and layered drapery offer built-in cord management. Slide flat cords behind a fabric-wrapped valance board before mounting, or run them inside the hollow channel of a wooden cornice box. For sheer or lightweight curtains, weave cords vertically between the lining and face fabric—then hang normally. The result? Lights appear to float, with zero visible wiring.
4. Disguise With Textural Layers
Cords disappear not when covered, but when *texturally absorbed*. Drape a woven jute runner (½” thick or more) over a cord running across a hardwood floor—its coarse, irregular surface diffuses light and breaks up linear continuity. Layer a faux-fur throw blanket over a cord trailing from a mantel to a nearby outlet. Tuck cords beneath thick-pile rugs or under the folded hem of a long table runner. Texture interrupts visual tracking—the eye scans for patterns, not single lines.
5. Route Along Natural Shadow Lines
Every room has inherent “quiet zones”: the seam where wall meets ceiling, the recess behind a built-in bookcase, the vertical crease beside a door frame. These are not flaws—they’re design assets. Cords placed precisely within these shadow lines receive no direct light and register subconsciously as part of the architecture. Use painter’s tape *only* to temporarily mark the path while testing—never to adhere the cord. Once confirmed, remove tape and rely solely on placement.
Step-by-Step: The 15-Minute Cord Integration Routine
Follow this sequence before stringing a single bulb. It prevents backtracking, reduces cord waste, and ensures every connection serves both function and form.
- Map the Power Path: Identify your nearest GFCI-protected outlet. Trace the shortest *aesthetic* route—not just the shortest distance—to each light zone (e.g., tree, mantel, staircase). Note all furniture, trim, windows, and shadow lines along the way.
- Select Cord Type: Choose flat, low-profile, UL-listed cords (not round extension cords). Flat cords lie flush, resist tangling, and cast less shadow. For outdoor use, specify weather-resistant SPT-2 rating.
- Measure & Cut (No Extra Length): Measure each segment *twice*: once along your mapped path, then add 6 inches for slack at connections. Cut—don’t coil excess. Excess cord creates bulk, loops, and visual noise.
- Route Before Lighting: Secure cords first using removable methods only: adhesive-backed hook-and-loop strips (e.g., Command™ Outdoor Strips), silicone cord clips pressed into trim grooves, or friction-fit clips tucked behind furniture. Never staple or nail.
- Test & Refine: Plug in one strand. Walk the room at different times of day. If you spot the cord—even briefly—adjust its position by ¼ inch toward the nearest shadow line or textural layer. Repeat until it disappears during normal use.
Do’s and Don’ts: Cord Management That Lasts Beyond the Holidays
| Action | Do | Don’t |
|---|---|---|
| Adhesives | Use removable, paint-safe strips rated for cord weight (e.g., Command™ Cord Clips) | Apply duct tape, packing tape, or hot glue—residue damages surfaces and leaves ghost marks |
| Outdoor Routing | Run cords behind downspouts, under deck railings, or inside vinyl siding channels (if accessible) | Stretch cords taut across walkways or staple to fascia boards—creates trip hazards and violates NEC code |
| Staircase Wiring | Thread cords through the hollow core of wrought-iron balusters or behind stair nosing | Tape cords to treads—slippery, unsafe, and violates fire codes in multi-family dwellings |
| Tree Wiring | Wrap cords around inner branches *before* adding lights; let outer foliage conceal the trunk path | String cords externally over branches—creates unsightly “wirescape” and increases wind damage risk |
| Outlet Access | Use a multi-outlet surge protector mounted *behind* furniture (e.g., inside a media console) | Plug multiple strands into one outlet with daisy-chained power strips—overloads circuits and creates heat buildup |
Real Example: The Rent-Controlled Apartment Balcony Transformation
Maya, a graphic designer in Chicago, faced strict lease restrictions: no nails, no paint, no permanent fixtures on her third-floor balcony. Her goal: string 200 warm-white fairy lights along the 8-foot railing without exposing a single inch of cord. She started by observing existing features: a 2-inch-deep aluminum railing cap, a woven wicker privacy screen bolted to the wall, and a potted olive tree with dense lower foliage. Instead of fighting constraints, she designed *around* them. She routed flat black cord underneath the railing cap’s interior lip—pressing it in with a credit card. Where the cord met the wall, she fed it behind the wicker screen’s vertical supports, letting the weave obscure the transition. From there, she ran it vertically behind the olive tree’s trunk, then buried the final 3 feet under mulch and ivy ground cover. Total time: 12 minutes. No tools. No landlord approval needed. Her neighbors assumed the lights were hardwired.
FAQ: Practical Questions Answered
Can I safely run cords under rugs indoors?
Yes—if you use flat, UL-listed indoor-rated cord (SPT-1 or SPT-2) and avoid high-traffic thresholds. Never run cords under area rugs in hallways or stair landings. Place a thin, rigid cord protector (like a rubber threshold ramp) under the rug edge where foot traffic occurs. Check daily for warmth: if the cord feels warm to the touch, unplug immediately—overheating indicates overload or poor ventilation.
What’s the safest way to hide cords on stairs without violating code?
The National Electrical Code (NEC) prohibits cords across treads or landings. Safe alternatives: run cords along the *inside* of handrail posts (if hollow), behind stair nosing (if there’s a gap), or inside the wall cavity (if accessible via an outlet box—requires electrician). For renters, the wicker screen or dense foliage method (as in Maya’s case) is code-compliant because the cord is fully protected from contact.
Will these methods work with smart lights that need frequent repositioning?
Absolutely—and they’re especially valuable for smart systems. Because these techniques rely on passive placement (not adhesives), you can lift, adjust, or reroute cords in seconds. Flat cords slide easily out of trim grooves; silicone clips release without residue. Unlike tape or staples, this approach supports iteration—not just installation.
Conclusion: Design With Intention, Not Afterthought
Hiding Christmas light cords shouldn’t feel like a battle against your own home. It’s an opportunity to notice the quiet intelligence of your space—the depth of your trim, the rhythm of your windows, the texture of your rugs—and invite the season in on its own terms. The most elegant solutions require no hardware, no expertise, and no compromise on safety or aesthetics. They ask only for observation, measurement, and respect for the architecture already surrounding you. When cords disappear not because they’re masked, but because they’re *meant* to be there, your holiday display gains authenticity and calm. Your lights won’t just shine brighter—they’ll feel like they belong.


 浙公网安备
33010002000092号
浙公网安备
33010002000092号 浙B2-20120091-4
Comments
No comments yet. Why don't you start the discussion?