
A cluttered tangle of power cables, USB cords, and monitor leads doesn’t just look unprofessional—it can make troubleshooting frustrating and reduce productivity. In a home office where appearance and efficiency matter, managing cords effectively is essential. A clean cable system enhances focus, reduces visual stress, and makes maintenance easier. Fortunately, hiding cords neatly isn’t about expensive gear or complex installations. It’s about strategy, consistency, and using the right tools in the right way. This guide walks through proven methods, real-world applications, and smart organization techniques to help you achieve a seamless, wire-free aesthetic behind your desk.
Why Cable Management Matters
Beyond aesthetics, poor cable management poses real risks. Tangled cords can overheat, get damaged from constant bending, or accidentally disconnect during use. In high-traffic workspaces, loose wires increase tripping hazards and create distractions. More subtly, visual clutter contributes to mental fatigue. Studies in environmental psychology suggest that disorganized spaces trigger low-grade stress responses, reducing concentration and decision-making capacity.
Effective cord concealment improves airflow around devices, simplifies upgrades, and supports long-term equipment health. Whether you're using a standing desk, wall-mounted monitor, or compact workstation, organizing cables is not optional—it's foundational to a functional workspace.
“Cable clutter is one of the most overlooked aspects of ergonomic design. A clean back-end setup directly impacts user comfort and workflow efficiency.” — David Lin, Workspace Ergonomics Consultant
Step-by-Step Guide to Hiding Cords Neatly
Follow this structured approach to transform a chaotic mess into a streamlined, hidden wiring system.
- Unplug and assess all devices. Start by turning off and unplugging every device connected to your desk—computer, monitor, speakers, lamp, charger hubs, etc. Lay them out on the floor so you can see exactly what needs connecting.
- Label each cord. Use small adhesive labels or masking tape to mark which cord belongs to which device. This prevents confusion when reconnecting and helps identify unused cables.
- Eliminate unnecessary cords. Remove any outdated chargers, broken adapters, or redundant extension cords. If a device hasn’t been used in 30 days, consider storing it elsewhere or donating it.
- Group cords by function. Bundle cords based on their purpose: power (AC adapters, surge protectors), data (HDMI, Ethernet, USB), and peripherals (keyboard, mouse, webcam). This grouping makes routing more logical.
- Route cables along designated paths. Plan a path from each device to its power source or hub. Use the rear or side channels of your desk if available. Avoid sharp bends or pinching points.
- Secure with ties and clips. Use Velcro straps instead of zip ties for flexibility. Attach adhesive-backed cable clips to the back of the desk to keep bundles aligned and prevent sagging.
- Conceal with raceways or sleeves. Install a cable management raceway along the desk leg or wall, or run cords through a braided sleeve for a polished finish.
- Test and adjust. Plug everything back in and test functionality. Make sure no cable is stretched too tight or blocking adjustable mechanisms like height controls.
Best Tools for Cord Concealment
The right accessories make a dramatic difference in both effectiveness and ease of installation. Here are the top-rated tools professionals use to maintain tidy setups.
| Tool | Best For | Pros | Cons |
|---|---|---|---|
| Velcro Cable Ties | Temporary bundling, frequent changes | Reusable, non-damaging, easy to adjust | Less rigid than zip ties |
| Braided Cable Sleeve | Grouping multiple cords into one strand | Flexible, attractive, durable | Harder to add/remove individual cables later |
| Adhesive Cable Clips | Guiding cords along desk edges or walls | Inexpensive, easy to install, low profile | May lose adhesion over time on some surfaces |
| Wall-Mounted Cable Raceway | Permanent concealment along baseboards or desk legs | Full coverage, paintable, professional look | Requires drilling or strong adhesive |
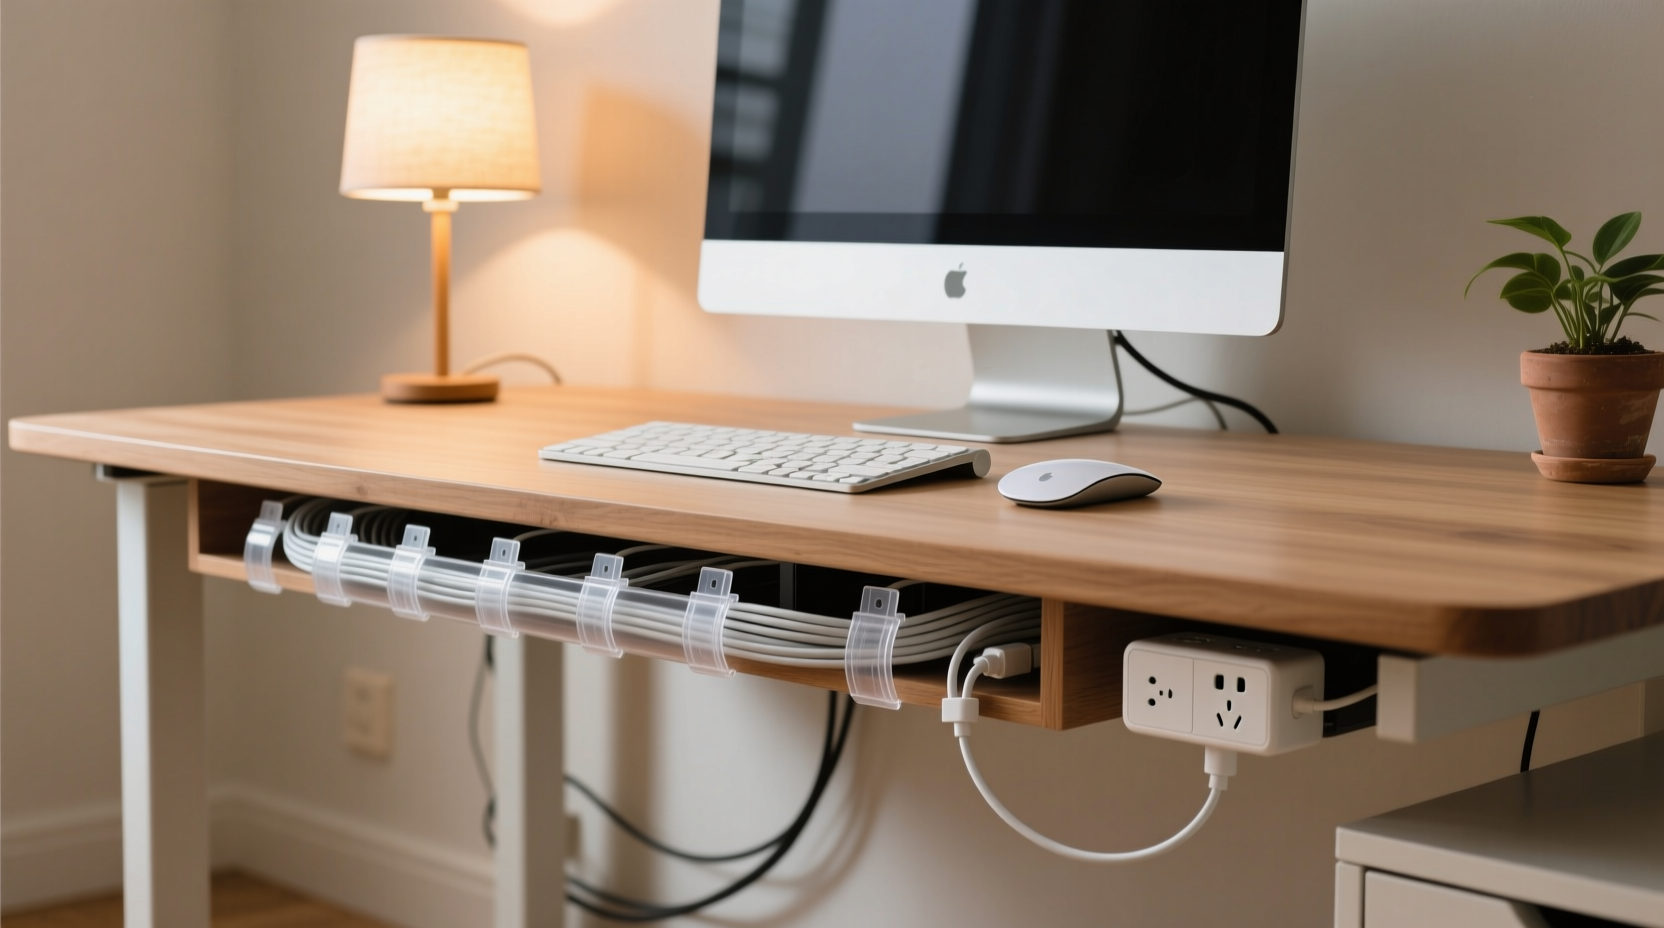
| Under-Desk Power Strip Mount | Hiding outlets beneath the desktop | Saves space, keeps power accessible but out of sight | Limited compatibility with thick surge protectors |
For desks near walls, combining adhesive clips with a surface-mounted raceway provides maximum concealment. For freestanding desks, under-desk trays and magnetic cable holders offer excellent alternatives.
Real Example: Transforming a Cluttered Workstation
Jessica, a freelance graphic designer, worked from a floating wall desk in her apartment. Her dual monitors, laptop dock, external hard drive, and ring light created a web of cables that spilled down the back of the desk and pooled on the floor. Clients noticed the mess during video calls, and she often knocked cords loose while moving around.
She applied a three-phase solution: First, she labeled and removed six unused cords. Next, she grouped active cables into three bundles—power, video/audio, and USB—and secured them with Velcro. She installed an adhesive-backed raceway along the wall behind her desk, routing all cables inside it from the desk edge to the outlet. Finally, she mounted her power strip underneath the desk using a metal bracket, freeing up floor space.
The result? A completely hidden wiring system that looked clean from every camera angle. Setup took less than 90 minutes, and she reported feeling more focused and confident during client meetings.
Checklist: Achieve a Wire-Free Desk in 10 Steps
- ✅ Unplug all devices from the desk
- ✅ Label every cord clearly
- ✅ Discard or store unused cables
- ✅ Identify primary cable routes (to outlet, hub, or wall)
- ✅ Group cords by type (power, data, audio/video)
- ✅ Use Velcro straps to bundle each group
- ✅ Attach adhesive clips along the desk frame to guide bundles
- ✅ Install a cable raceway or sleeve for full concealment
- ✅ Mount power strips under the desk if possible
- ✅ Reconnect and test all devices for stability
This checklist can be reused whenever you upgrade equipment or rearrange your office. Keeping it handy ensures you never revert to a tangled mess.
Common Mistakes to Avoid
Even well-intentioned efforts can backfire if basic errors aren’t avoided. Here are the most frequent missteps in cord management:
- Over-tightening zip ties: This can damage insulation and reduce cable lifespan. Opt for soft ties or Velcro.
- Ignoring heat buildup: Bundling too many power cables tightly restricts airflow and increases fire risk. Allow space between high-wattage cords.
- Blocking ventilation ports: Never route cords over cooling fans or vents on computers and power supplies.
- Using permanent solutions too soon: Wait until your desk layout is stable before installing fixed raceways or drilling holes.
- Forgetting future access: Ensure critical connections (like router resets or monitor inputs) remain reachable without dismantling the entire system.
“Think of cable management as a living system—not a one-time fix. Your setup will evolve, and your cord strategy should accommodate change.” — Lena Patel, Tech Organization Specialist
Frequently Asked Questions
Can I paint a plastic cable raceway to match my wall?
Yes, many wall-mounted raceways are designed to be painted. Clean the surface with rubbing alcohol, apply a primer made for plastics, then use standard latex paint. Test on a small area first to ensure adhesion.
How do I manage cords on a standing desk?
Moving desks require extra care. Use flexible spiral wrap tubing or expandable braided sleeves to allow vertical movement. Avoid rigid conduits. Route cables through the desk’s internal channel if available, and secure the bottom end loosely to avoid tension during height adjustments.
Are wireless options better for reducing cord clutter?
In many cases, yes. Wireless keyboards, mice, and charging pads eliminate multiple cords. However, they still require periodic charging, so plan for a single charging station with a short, managed cable rather than several long ones.
Final Thoughts: Build a System That Lasts
Hiding cords neatly behind your home office desk isn’t just about appearances—it’s about creating a workspace that supports clarity, safety, and sustainability. The process doesn’t require technical expertise, only attention to detail and a willingness to maintain order. By investing a few hours upfront and choosing the right tools, you establish a foundation that scales with your needs.
Start today. Clear your desk, sort your cables, and follow the steps outlined here. You’ll notice immediate improvements in both mood and efficiency. A clean back-end setup reflects a disciplined, intentional approach to work—one that clients, colleagues, and your future self will appreciate.


 浙公网安备
33010002000092号
浙公网安备
33010002000092号 浙B2-20120091-4
Comments
No comments yet. Why don't you start the discussion?