
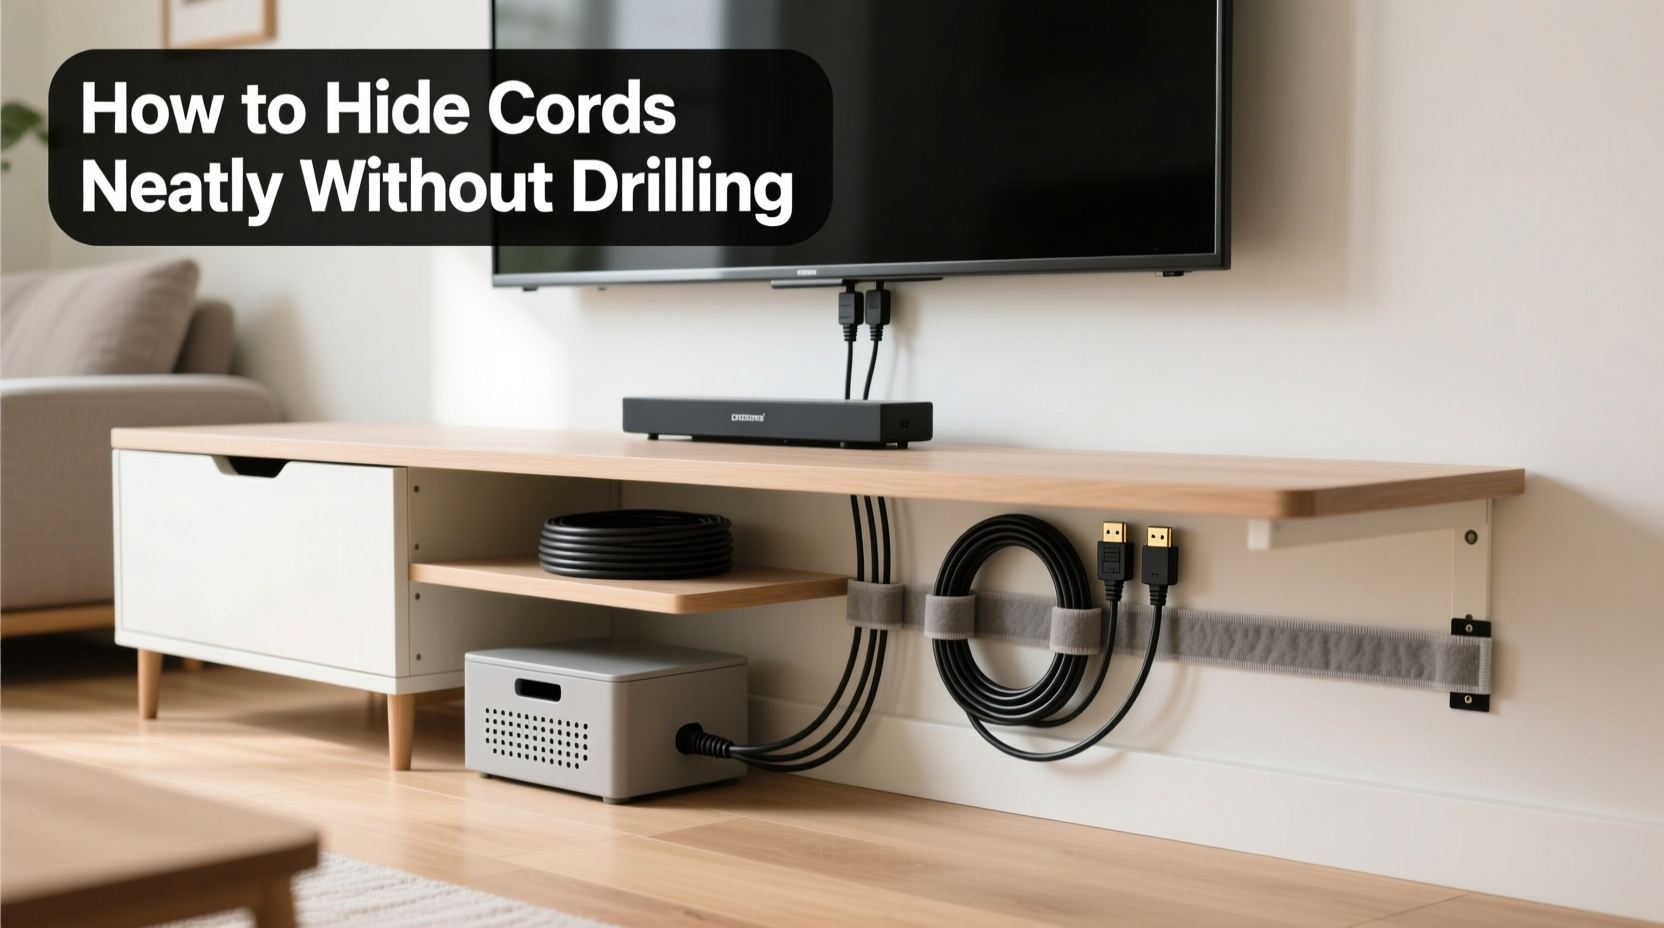
A clean, organized entertainment center or workspace starts with one crucial detail: hidden cords. Exposed power strips, tangled HDMI cables, and dangling USB lines not only look messy but can also pose tripping hazards and attract dust. While many solutions require drilling into walls—a permanent change that may not be allowed in rentals or preferred in owned homes—there are numerous effective, no-drill alternatives. With the right tools and techniques, you can achieve a sleek, professional setup that keeps every wire out of sight and exactly where it belongs.
Why Avoid Drilling? The Case for Non-Invasive Solutions
Drilling holes through drywall or furniture might seem like the most direct way to route cables, but it comes with significant drawbacks. Renters risk violating lease agreements or losing security deposits. Homeowners may face patching complications when rearranging setups later. Additionally, misaligned holes or incorrect routing can lead to wasted effort and visible damage.
Non-drilling methods offer flexibility, reversibility, and safety. They allow you to reconfigure your layout as technology evolves or furniture shifts. These solutions are especially valuable in modern living spaces where aesthetics matter just as much as functionality.
“Over 60% of consumers cite cord clutter as a top frustration in home electronics setups.” — Consumer Electronics Association, 2023 Report
Essential Tools and Materials for No-Drill Cord Management
Before organizing your cords, gather the right supplies. These items are widely available, affordable, and designed specifically for discreet cable routing without damaging surfaces.
- Cable raceways: Adhesive-backed channels that snap over wires along baseboards or furniture edges.
- Hook-and-loop straps (Velcro): Reusable ties that bundle cords without leaving residue.
- Fabric cord sleeves: Stretchable tubes that conceal multiple cables in a single, soft bundle.
- Adhesive clips and mounts: Small plastic or metal holders that stick to surfaces and guide cords vertically or horizontally.
- Under-desk trays: Magnetic or adhesive-mounted baskets that hold power strips and excess wiring beneath desks.
- Cable management boxes: Enclosures that hide power strips and adapters while allowing plug access.
- Double-sided tape and mounting putty: Low-adhesion adhesives ideal for temporary or delicate surfaces.
Step-by-Step Guide: Concealing Cords Behind Your TV Without Drilling
Television setups often involve multiple devices—streaming boxes, soundbars, gaming consoles—each adding more cords. Here’s how to streamline them safely and cleanly.
- Unplug and assess all connections. Identify which cables are necessary and which can be removed or replaced (e.g., switching from multiple remotes to a universal one).
- Group similar cords together. Use Velcro straps to bundle HDMI, power, and audio cables separately. Label each group for easy identification later.
- Attach an adhesive cable raceway. Choose a low-profile, paintable raceway and apply it vertically from behind the TV down to the baseboard. Follow manufacturer instructions for surface preparation—clean thoroughly with rubbing alcohol for best adhesion.
- Route bundled cables into the raceway. Start at the top near the TV and gently feed each bundle down the channel. Leave slack at both ends to prevent tension. <5> Use adhesive clips along the baseboard. Extend the path from the bottom of the raceway to your outlet or surge protector using small clips spaced every 12–18 inches.
- Hide the power strip in a management box. Place your surge protector inside a ventilated cable box and position it nearby—on the floor or tucked behind furniture.
- Add a fabric sleeve for exposed sections. If any short segments remain visible (e.g., between console and wall), wrap them in a matching fabric sleeve for visual continuity.
Real Example: Sarah’s Living Room Makeover
Sarah rented a downtown apartment with strict rules against wall modifications. Her living room TV stand was cluttered with six cords snaking across the floor to an outlet behind a sofa. Using a combination of adhesive raceways, under-furniture clips, and a decorative cable box, she transformed the space in under two hours. She used white raceways that blended with her trim and secured everything with removable mounting putty. “It looks like something out of a design magazine,” she said. “And I didn’t break any lease terms.”
Managing Desk Cables Without Drilling Into Furniture
Home offices and workstations accumulate chargers, monitors, laptops, lamps, and docking stations—all contributing to cable chaos. Unlike TVs, desks often have limited backspace and sit away from walls, making routing trickier.
| Problem Area | No-Drill Solution | Product Example |
|---|---|---|
| Cords dangling from monitor to desk | Adhesive cable clips | 3M Command Monitor Clips |
| Power strip on floor under desk | Under-desk adhesive tray | UPLIFT Under-Desk Power Strip Mount |
| Tangled laptop and phone chargers | Fabric cord sleeve | SlipCover Cable Sleeve – 4ft |
| Multiple devices plugged into wall behind desk | Baseboard raceway + corner bend connector | Brotherhood Cable Raceway Kit |
| Cable slack pooling on desktop | Velcro straps + magnetic cable holder | Twelve South HiRise 2 with magnetic wrap |
DIY Corner-to-Corner Routing Technique
When your desk is centered on a wall and outlets are in corners, run cables discreetly using this method:
- Start by attaching adhesive raceway pieces along the edge of the desk from the monitor to the rear corner.
- Use a flexible corner connector piece to turn the raceway downward toward the floor.
- Continue the raceway vertically down the leg or side panel of the desk (if wood or laminate, test adhesion first).
- On the floor, transition to flat baseboard clips leading to the outlet.
- Enclose the final stretch in a paint-matched raceway or hide it behind a rug edge using low-profile cord covers.
Do’s and Don’ts of No-Drill Cord Hiding
To ensure long-term success and protect your walls and furniture, follow these guidelines.
| Do’s | Don’ts |
|---|---|
| Use high-quality adhesive products rated for weight and duration. | Don’t overload adhesive mounts beyond their listed capacity. |
| Clean surfaces with isopropyl alcohol before applying tapes or clips. | Don’t use duct tape or masking tape—these leave residue and fail quickly. |
| Leave slight slack in cables to prevent strain on connectors. | Don’t stretch cords tightly; heat and movement can cause wear. |
| Label cords with tags or colored rings for future troubleshooting. | Don’t wrap cords too tightly with zip ties—even plastic ones can compress insulation over time. |
| Reposition adhesive mounts every 6–12 months to maintain bond strength. | Don’t install heavy power strips directly on drywall with weak adhesives. |
“Proper cable management isn’t just about appearance—it reduces fire risks and extends device lifespan by preventing fraying and overheating.” — James Lin, Electrical Safety Consultant, NFPA Contributor
Checklist: Achieve a Wire-Free Look in One Afternoon
Follow this actionable checklist to complete your cord-hiding project efficiently:
- ☐ Unplug all devices and lay out cables on a clean surface.
- ☐ Discard damaged or unnecessary cords (old chargers, broken HDMI cables).
- ☐ Label each cable with a tag or permanent marker.
- ☐ Bundle cords using Velcro straps or fabric sleeves.
- ☐ Clean wall and furniture surfaces with alcohol wipes.
- ☐ Install adhesive raceway from TV or monitor down to baseboard.
- ☐ Attach clips along baseboards to guide cables to outlets.
- ☐ Mount under-desk tray or use putty to secure power strip.
- ☐ Tuck all bundles into raceways and close covers.
- ☐ Plug devices back in and test functionality.
- ☐ Adjust positioning and recheck adhesion after 24 hours.
Frequently Asked Questions
Will adhesive cable organizers damage my walls?
High-quality adhesive systems like 3M Command strips are designed to come off cleanly when removed properly. They use a unique debonding mechanism: pull the release tab slowly downward at a 180-degree angle. Most leave no marks on standard paint finishes when used as directed.
Can I hide thick power cables in slim raceways?
Measure your thickest cable (usually a power brick or extension cord) before buying. Standard raceways accommodate up to 0.75 inches in diameter. For bulkier setups, choose modular raceways with expandable sections or use external sleeves instead.
How do I manage cords if my TV is mounted on a brick or concrete wall?
For masonry surfaces, use heavy-duty adhesive hooks rated for outdoor use (such as E6000-based mounts) or rent a cord concealer track system with standoff brackets that don’t require deep anchoring. Alternatively, run cables behind furniture or along adjacent drywall sections.
Final Thoughts: A Cleaner Space Is Within Reach
Hiding cords behind your TV and desk doesn’t require construction skills or irreversible changes. With thoughtful planning and the right no-drill tools, you can transform a chaotic setup into a minimalist, functional space. The benefits go beyond aesthetics—reduced dust accumulation, easier cleaning, improved safety, and even enhanced focus in work areas.
Start small: pick one area today, gather your materials, and dedicate an hour to decluttering. You’ll be surprised how much difference a few adhesive clips and a cable sleeve can make. Once you experience the calm of a tidy tech zone, you might just want to tackle the next room.


 浙公网安备
33010002000092号
浙公网安备
33010002000092号 浙B2-20120091-4
Comments
No comments yet. Why don't you start the discussion?