
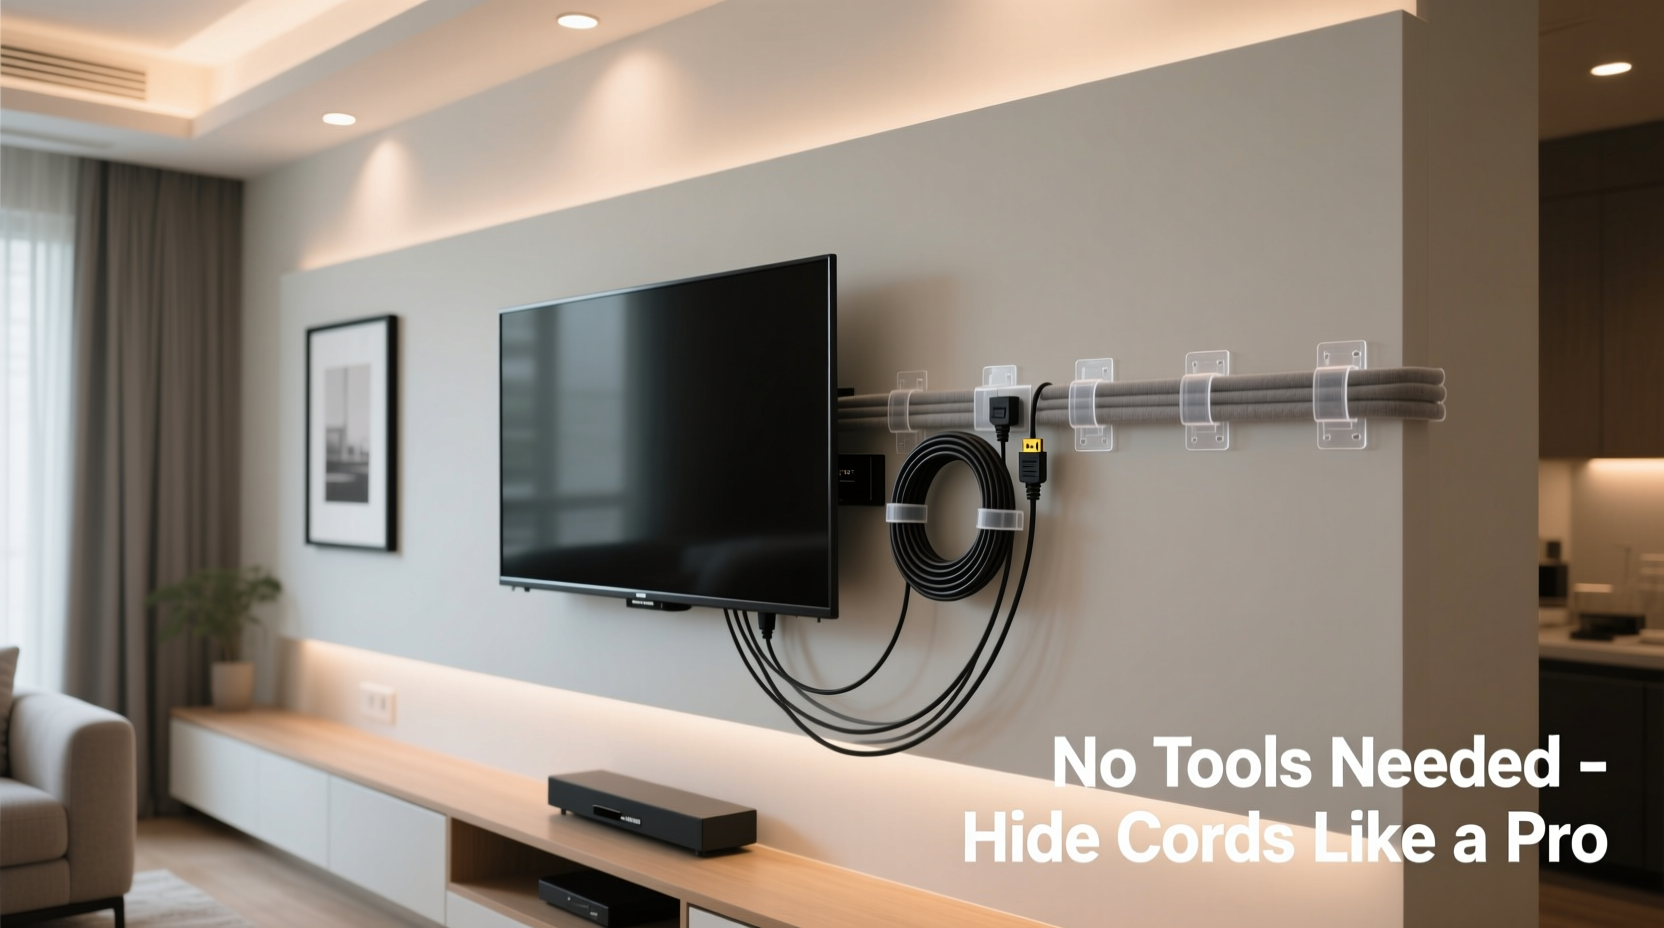
A sleek, minimalist entertainment center is a hallmark of modern living spaces. Yet, one common eyesore undermines that polished look: tangled cords snaking from your TV to power outlets and devices. While many solutions require drilling, adhesive tapes, or cable management kits, not everyone wants to modify their walls or invest in tools. The good news? You can achieve a tidy setup using only everyday household items and clever techniques—no screwdrivers, drills, or zip ties required.
This guide walks through practical, accessible strategies to conceal cords behind your TV using zero tools. Whether you’re renting, avoiding wall damage, or simply want a quick fix, these methods deliver clean results with minimal effort.
Why Cord Management Matters
Visible cords do more than clutter your space—they can pose safety hazards, attract dust, and make cleaning difficult. A well-managed cord system improves aesthetics, reduces tripping risks, and makes device access easier when rearranging or troubleshooting. According to interior designer Marcus Lin, “A clean back panel elevates the entire room’s visual harmony. It signals intentionality.”
“Cord chaos is one of the most overlooked design flaws in home entertainment setups. Taming it instantly upgrades the space.” — Marcus Lin, Interior Designer & Home Organization Consultant
Beyond appearance, organized cords prevent accidental unplugging and reduce wear from constant bending or pulling. With no tools needed, you can implement these fixes today and enjoy immediate benefits.
Step-by-Step Guide: Tool-Free Cord Hiding Techniques
The following sequence outlines a complete process—from preparation to final touch—using only hands and common household objects. Follow each step carefully for optimal results.
- Unplug and assess all cables. Safely disconnect your TV, soundbar, streaming box, gaming console, and any other connected devices. Lay them out on the floor to identify which cords are necessary and which can be removed or replaced (e.g., old chargers).
- Group cords by destination. Bundle cables going to the same outlet together. For example, group power cords separately from HDMI or audio cables. This simplifies routing later.
- Use twist ties or hair elastics to bundle. If you have spare twist ties from produce bags or hair elastics, loop them around grouped cords every 6–8 inches to keep them aligned. These create secure, adjustable fasteners without damaging wires.
- Route along existing furniture edges. Most entertainment centers have vertical back panels or grooves between shelves. Slide bundled cords into these natural channels, letting gravity guide them downward toward the outlet.
- Create a cord drop zone behind the stand. Place a small woven basket, fabric bin, or even a shoebox on the floor behind your TV stand. Feed all excess cord length into this container to prevent slack from spilling out.
- Hide the final stretch with a cord concealer made from cardboard. Cut a toilet paper roll or paper towel tube vertically so it opens flat. Wrap it around the cluster of cords near the baseboard and use friction to hold it in place against the wall. Paint or wrap it in matching tape if desired for camouflage.
- Secure with gentle pressure points. Use stacked books, decorative boxes, or the legs of nearby furniture to lightly press down on cords where they meet the floor. Avoid pinching or sharp bends.
Everyday Household Items That Work as Cord Organizers
You likely already own items capable of managing cords effectively. Repurposing what you have eliminates cost and waste while delivering professional-looking results.
| Household Item | How to Use | Best For |
|---|---|---|
| Hair bobby pins | Slide under baseboards or between shelf gaps to hook and hold cords in place | Securing short cable runs near wall edges |
| Clothespins | Clip onto the back edge of a TV stand to suspend cords vertically | Preventing cords from dangling loosely |
| Toilet paper rolls | Wrap around grouped cords; tuck behind furniture legs or wall gaps | Concealing thick bundles near floor level |
| Ribbon or shoelaces | Tie into loose knots around cable groups for soft bundling | Flexible, reusable binding without residue |
| Cardboard strips | Fold into L-shapes and wedge behind furniture to block visible cord paths | Creating physical barriers at corners |
These items work because they rely on tension, friction, or structural placement rather than adhesives or hardware. They’re especially ideal for renters or temporary setups.
Do’s and Don’ts of Tool-Free Cord Management
To maintain both safety and effectiveness, follow this checklist of recommended practices and common pitfalls.
| Do’s | Don’ts |
|---|---|
| Leave 6–12 inches of slack at each connection point to avoid strain | Over-tighten cords with rigid bindings that can cut insulation |
| Check for heat buildup weekly—overlapped power cords can overheat | Bundle power and data cables tightly together (can cause interference) |
| Use soft fabric ties that allow airflow between wires | Run cords under heavy furniture without protection (risk of crushing) |
| Test device accessibility after organizing—ensure remotes still work | Block ventilation slots on devices with piled-up cables |
Real Example: How Sarah Cleared Her Living Room Clutter in 20 Minutes
Sarah, a remote worker in Austin, Texas, struggled with a chaotic media console. Her TV, Roku, soundbar, and laptop charger created a web of wires that embarrassed her during video calls. With a lease restricting wall modifications, she avoided permanent solutions.
One Saturday morning, she used supplies from her junk drawer: two hair elastics, a clothespin, and an empty tissue box. She grouped the power cords together and secured them with the elastics every few inches. Using the clothespin, she clipped the bundle to the underside of her wooden TV stand, guiding it straight down. The excess length disappeared into the upright tissue box placed behind the stand.
The result? A completely hidden cord path that looked intentional and stayed secure. “I didn’t spend a dime, and my living room finally feels like a real lounge,” she said. “Even my mom asked if I hired someone.”
Alternative Methods Using No-Adhesive Products
If you prefer commercial-grade solutions but still want to avoid tools and sticky residues, consider these non-permanent products:
- Fabric cord sleeves: Slip-on textile tubes that expand to fit multiple cords. Simply thread cables through and position along baseboards. Remove anytime without residue.
- Magnetic cable clips (tool-free version): Some models attach via strong magnets to metal TV stands or brackets. Ideal if your furniture has steel components.
- Modular cord boxes: Stackable plastic containers designed to house power strips and excess wire. Place behind or beside your TV stand and feed cords through side slits.
- Baseboard huggers: Flexible raceways that snap closed around cords and rest flush against walls using weighted bases or rubber grips—no nails or glue.
These options offer durability and reusability while remaining removable. Look for ones labeled “renter-friendly” or “no-mount” when shopping online.
FAQ
Can I hide cords without damaging drywall or paint?
Absolutely. The methods described—using friction, gravity, repurposed materials, and non-adhesive organizers—require no drilling or sticking. Everything relies on placement and pressure, preserving wall surfaces completely.
What if my cords are too short to reach the floor?
In cases where cable length limits downward routing, focus on lateral organization. Run cords horizontally behind the TV stand using cardboard guides or ribbon ties. Keep them flat against the back panel and out of sight from seated viewing angles.
Are fabric sleeves safe for power cords?
Yes, provided they’re made from breathable, fire-resistant materials and not used to enclose overheating devices. Always leave space between high-power cords (like TV adapters) and ensure adequate airflow. Check manufacturer guidelines before enclosing any electrical component.
Checklist: Quick Setup in Under 30 Minutes
Follow this actionable list to complete your cord cleanup efficiently:
- Unplug all devices safely
- Sort cords by function (power, HDMI, USB, etc.)
- Gather household bundling tools (elastics, ribbons, clips)
- Group and bind similar cords every 6–8 inches
- Route bundles along furniture edges or rear channels
- Direct excess length into a hidden storage container
- Use low-pressure anchors (books, boxes, wedges) to secure paths
- Plug everything back in and test functionality
- Label connections for future ease
- Inspect monthly for wear or heat buildup
Final Thoughts
Managing cords behind your TV doesn’t require expertise, expensive gear, or invasive installations. With thoughtful grouping, smart use of everyday objects, and attention to safety, you can transform a messy setup into a streamlined focal point. The key is consistency and creativity—leveraging what you already own to solve a universal problem.
Take a few minutes today to reassess your entertainment area. Apply one or more of these tool-free techniques and experience the instant upgrade in both appearance and peace of mind. A clutter-free back panel isn’t just about looks—it reflects care, intention, and respect for your living environment.


 浙公网安备
33010002000092号
浙公网安备
33010002000092号 浙B2-20120091-4
Comments
No comments yet. Why don't you start the discussion?