
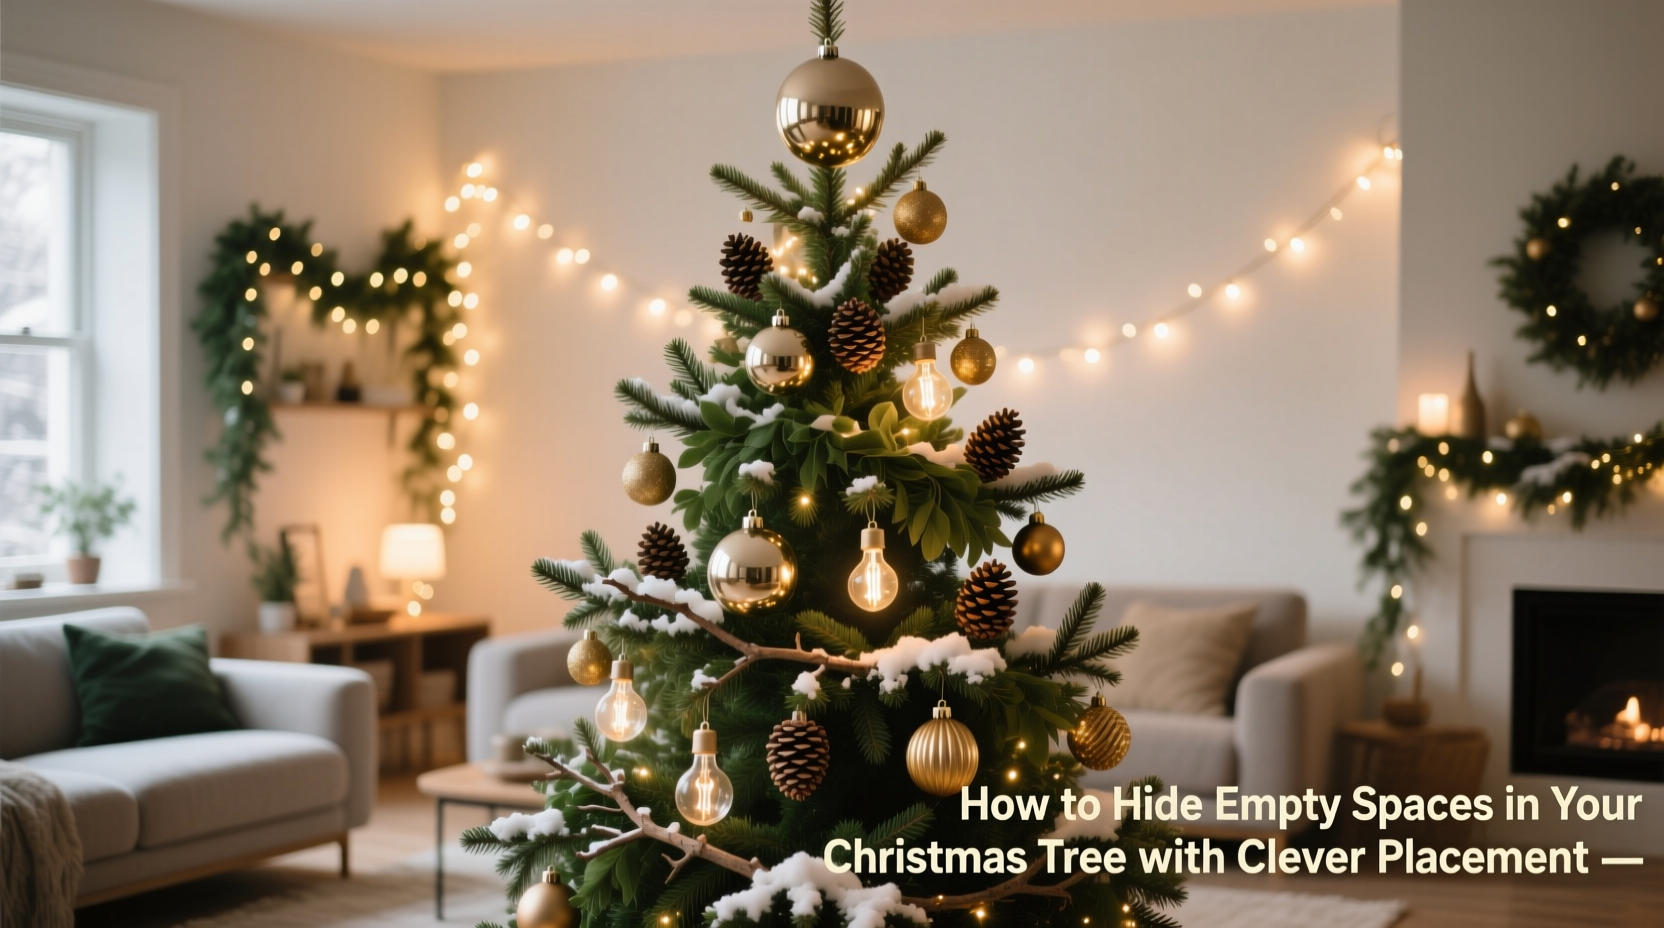
A beautifully decorated Christmas tree is the centerpiece of holiday cheer—until you notice the gaps. Whether it’s a sparse branch, an awkward gap on one side, or a thinning top, empty spots can distract from the magic. But perfection isn’t about flawless foliage; it’s about smart styling. With thoughtful ornament selection, strategic layering, and a few insider tricks, you can disguise bare areas and create a lush, full appearance—even on less-than-ideal trees.
This guide reveals proven methods used by professional decorators to camouflage imperfections and elevate your tree’s visual impact. From choosing the right ornaments to mastering depth and dimension, these techniques work whether you have a real fir, an artificial spruce, or a slim-profile floor model.
Assess Your Tree’s Weak Spots
Before hanging a single ornament, step back and evaluate your tree from multiple angles. Walk around it slowly, noting where light passes through too easily or where branches seem sparse. Common problem zones include:
- The back half (often overlooked when decorating)
- The lower third (where pets or foot traffic may have caused damage)
- The top (which may appear thin or uneven)
- One dominant side (especially if the tree is against a wall)
Once you’ve identified these areas, mark them mentally—or use small clips of colored ribbon to flag each zone. This helps you stay focused during decoration, ensuring no gap goes unaddressed.
Use Depth and Dimension to Create Fullness
Flat decoration leads to flat results. A common mistake is placing all ornaments on the outermost tips of branches, which emphasizes emptiness behind them. Instead, build layers like a professional designer.
Begin by inserting some ornaments deep into the tree, pushing them toward the trunk. These act as a “base layer,” filling internal voids and catching light from within. Use larger, matte-finish balls or textured pieces here—they won’t be fully visible but will add body and shadow.
Next, place mid-sized ornaments at mid-branch points. Finally, reserve your smallest or most eye-catching decorations for the outer edges. This creates a sense of volume and draws the eye outward, making the tree appear denser than it actually is.
“Depth is more important than quantity. Three well-placed ornaments beat ten haphazard ones.” — Lydia Chen, Professional Holiday Stylist
Strategic Ornament Selection and Placement
Not all ornaments are equal when it comes to hiding gaps. Choose pieces that serve both aesthetic and structural purposes.
Bulky or wide-profile ornaments, such as oversized glass balls, fabric puffs, or wrapped gift boxes, cover more surface area and obscure thin branches. Cluster two or three together in problematic zones to simulate fullness.
Reflective surfaces like mirrored balls or metallic ribbons bounce light around, drawing attention away from dark patches. Position these near known gaps to create visual distraction.
Irregular shapes—think pinecones, stars, birds, or handmade clay figures—break up uniformity and mask inconsistencies in branch density. Their organic forms naturally suggest abundance, even when spaced apart.
For persistent bald spots, consider decorative fillers: garlands made of berries, popcorn strings, or faux ivy can be woven directly into weak areas, bridging gaps between branches.
| Ornament Type | Best For | Avoid If |
|---|---|---|
| Oversized Balls (4\"+) | Hiding large gaps, adding volume | Very small trees or tightly packed branches |
| Mirrored or Metallic | Reflecting light, distracting from flaws | Overuse causes glare and visual chaos |
| Natural Elements (pinecones, wood slices) | Adding texture, concealing unevenness | Allergy concerns or high pet traffic |
| String Garlands (popcorn, beads) | Spanning across sparse zones | Pets that may chew or unravel them |
Step-by-Step Guide: Camouflaging Problem Areas
Follow this sequence to systematically address empty spaces while maintaining balance and style.
- Rotate and position the tree so its fullest side faces primary viewing areas. Turn any weak zones toward corners or walls.
- Add lights first, weaving them deep into the core. More lights in bare areas increase perceived density.
- Insert base-layer ornaments into the interior, focusing on flagged zones. Use neutral tones here to avoid overwhelming the eye.
- Weave in garland or filler strands through thin sections, draping slightly to mimic natural growth.
- Place medium and large ornaments around gaps, overlapping slightly to form clusters. Avoid symmetry—natural randomness looks fuller.
- Highlight with statement pieces near trouble spots. A bold red bell or glittering snowflake pulls focus effectively.
- Step back and reassess every few minutes. Adjust as needed until the tree appears balanced from all key angles.
Real Example: Transforming a Sparse Artificial Tree
Sarah M., a homeowner in Portland, inherited a 7-foot pre-lit artificial tree from her parents. While functional, it had noticeable gaps on one side due to broken branch tips and inconsistent limb distribution.
Instead of replacing it, she applied strategic concealment techniques. She began by turning the flawed side toward a bookshelf corner, minimizing frontal exposure. Then, she selected 12 large (5-inch) matte gold balls and placed half of them deep inside the weak quadrant. She wove a cinnamon-scented garland through the same area, adding warmth and continuity.
To further distract, she hung three oversized starburst ornaments nearby—each catching light differently. Finally, she added a decorative tree topper with long trailing ribbons that cascaded down the imperfect side, guiding the eye vertically rather than horizontally.
The result? Guests assumed the tree was premium quality. Sarah saved over $100 and extended the life of a sentimental item—all through clever placement.
Create Visual Distractions with Focal Points
Human eyes are drawn to movement, contrast, and novelty. Use this to your advantage by installing intentional focal points near empty spaces.
A shimmering icicle curtain hung diagonally across a thin section mimics falling snow and captures attention. Similarly, motion-based ornaments—like spinning snowmen or flickering LED lanterns—generate dynamic interest that overrides static flaws.
Color contrast also plays a role. Placing a vibrant crimson ball amid greenery naturally attracts the gaze. Group two or three contrasting colors together to form a “decoration magnet” that pulls focus away from surrounding emptiness.
Even the tree topper can assist. Choose one with height, sparkle, or dangling elements. Tall spires, angel wings, or star rays extend visually upward, making the entire tree feel more substantial.
Checklist: Hide Empty Spaces Like a Pro
Use this checklist before finishing your tree decoration:
- ✅ Identified all major gaps from primary viewing angles
- ✅ Rotated tree to minimize exposure of weak sides
- ✅ Installed lights with extra coverage in sparse areas
- ✅ Added deep-layer ornaments to build internal volume
- ✅ Woven garland or filler through thin branches
- ✅ Placed large or reflective ornaments near gaps
- ✅ Created at least one strong focal point per level
- ✅ Stepped back multiple times to assess overall balance
- ✅ Ensured back and side views are acceptable from nearby rooms
Don’t Overlook the Lower Third
The bottom of the tree often suffers from pet interference, vacuum accidents, or natural thinning. Yet, it’s highly visible when guests approach or when presents are arranged beneath.
To enhance this zone, incorporate sturdy, larger ornaments that sit closer to the trunk. Fabric-covered balls, felt animals, or faux gift boxes double as decor and subtle supports. You can also tuck in battery-powered tea lights under branches to cast a warm glow that masks shadows.
If the base is extremely bare, consider a decorative tree skirt with height—such as a ruffled velvet design or one with built-up tiers. These add visual weight and help transition from sparse branches to floor level.
“The bottom of the tree sets the foundation. If it looks neglected, the whole display feels incomplete.” — Marcus Reed, Interior Stylist & Holiday Display Consultant
Frequently Asked Questions
Can I use fake branches to fill gaps?
Yes. Individual replacement branch tips are sold at craft stores and online. Match the color and needle style as closely as possible, then secure them to existing limbs using floral wire. Trim and shape them to blend naturally.
What if my tree is too skinny overall?
For narrow or pencil-style trees, focus on radial fullness. Use ornaments with 360-degree appeal and hang them all around—not just the front. Add spiral garlands or rotating strand lights to enhance dimension from every angle.
Are there specific colors that make a tree look fuller?
Darker, richer tones like burgundy, forest green, or navy create depth and shadow, enhancing perceived density. Metallics reflect light and expand visual space. Avoid using only small white ornaments on a white-trunked tree—they can accentuate emptiness.
Final Touches and Year-Round Benefits
Hiding empty spaces isn’t about deception—it’s about design intelligence. The skills you develop while dressing a less-than-perfect tree translate into sharper spatial awareness and better decorative judgment overall.
These techniques also promote sustainability. Rather than discarding a serviceable tree due to minor flaws, you extend its usable life, reducing waste and saving money. Plus, many of these strategies apply beyond Christmas—wreaths, garlands, and even houseplants benefit from thoughtful layering and focal-point planning.
As you refine your approach year after year, you’ll find that creativity often outshines perfection. A tree with character, dressed with intention, becomes more memorable than any showroom specimen.
Conclusion: Make Every Branch Count
Your Christmas tree doesn’t need to be flawless to be stunning. With careful assessment, layered decoration, and a few clever tricks, even the sparest branches can disappear into a scene of festive abundance. The goal isn’t uniformity—it’s harmony. By guiding the eye, building depth, and embracing asymmetry, you transform limitations into opportunities for creativity.


 浙公网安备
33010002000092号
浙公网安备
33010002000092号 浙B2-20120091-4
Comments
No comments yet. Why don't you start the discussion?