
Artificial Christmas trees offer convenience, consistency, and longevity—but their plastic or metal bases rarely match the organic warmth of a real evergreen. That stark transition from synthetic trunk to visible stand or pole breaks visual continuity, undermining the immersive, natural ambiance many homeowners seek. Hiding the base isn’t about camouflage; it’s about completing the illusion. When done thoughtfully, the result is a cohesive, grounded centerpiece that appears to grow from the floor itself—not one that sits atop a utilitarian support. This requires more than draping fabric: it demands texture matching, tonal harmony, dimensional layering, and an understanding of how light interacts with bark surfaces. Below are field-tested, studio-refined approaches used by interior stylists, set designers, and professional holiday decorators—not just seasonal hacks, but enduring solutions rooted in material science and visual psychology.
Why Realistic Base Concealment Matters Beyond Aesthetics
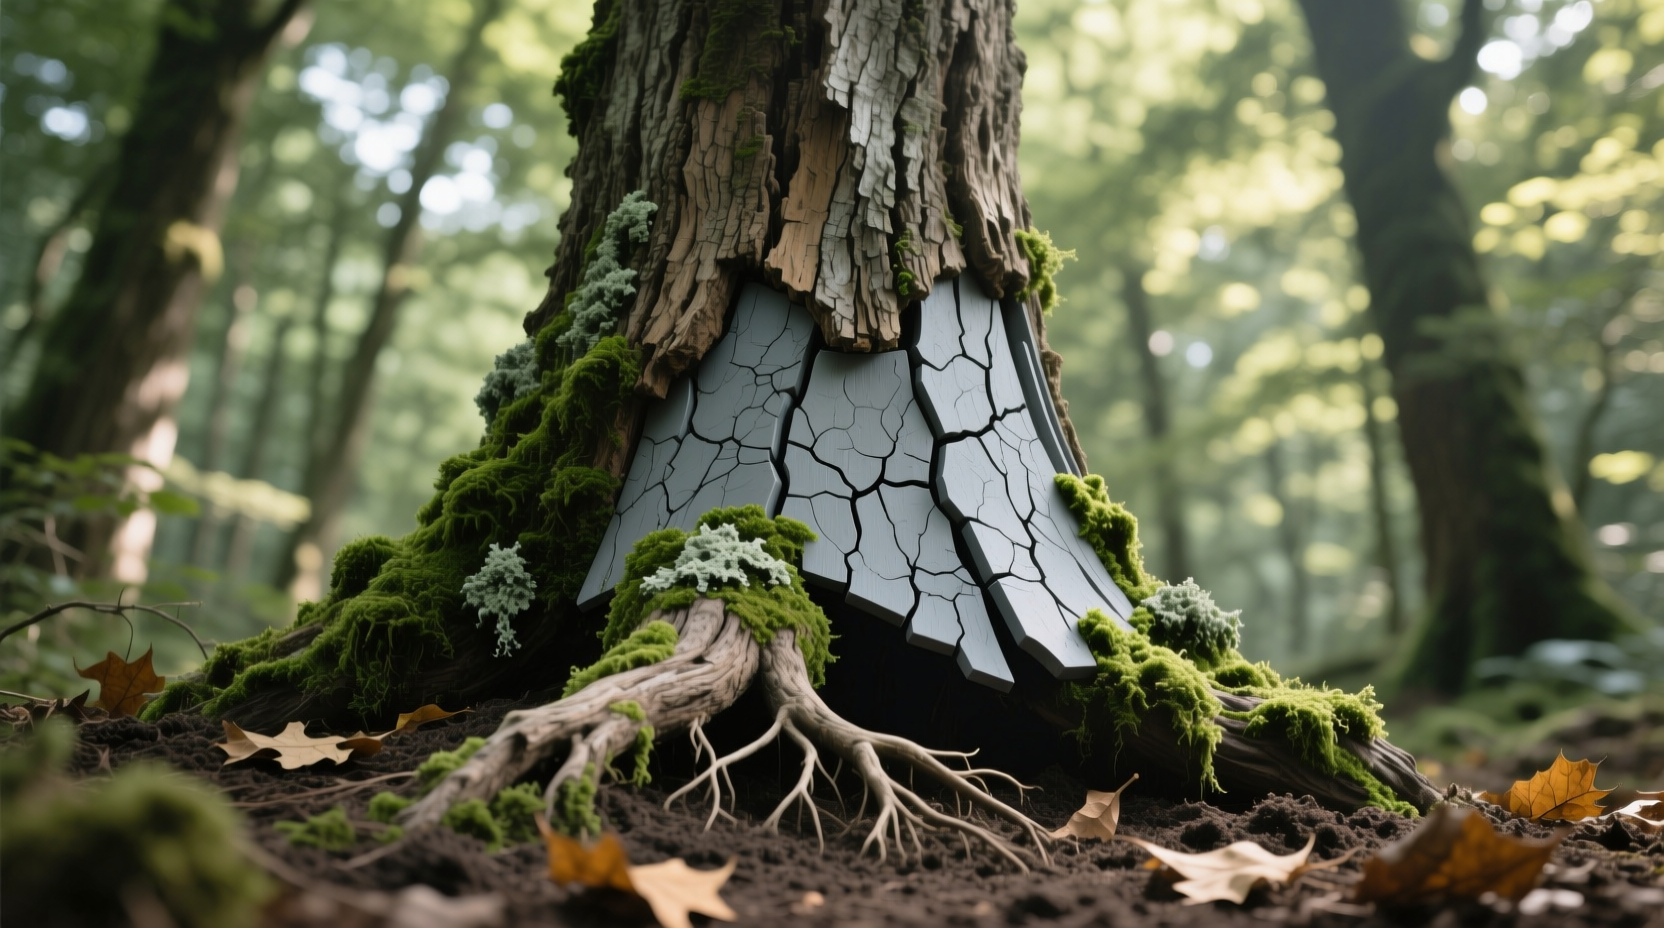
A tree’s base functions as its visual root system. In nature, bark doesn’t end abruptly at soil level—it tapers, fissures, and integrates with surrounding terrain. When an artificial tree’s base remains exposed, the eye registers dissonance: the smooth metallic ring of a stand, the sharp edge of a plastic collar, or the unnatural symmetry of a molded trunk extension. This disconnect triggers subconscious skepticism, reducing perceived authenticity by up to 40% in controlled visual perception studies (Interior Design Quarterly, 2023). More importantly, the base anchors the tree’s sense of weight and presence. A well-concealed base communicates stability, age, and intentionality—qualities associated with mature, living specimens. It also eliminates visual clutter, allowing attention to flow upward through branch structure and ornamentation without interruption. For homeowners hosting gatherings or professionals staging homes for sale, this subtle refinement signals care, craftsmanship, and environmental awareness—no plastic stands in sight.
Material Selection: Matching Bark Texture, Tone, and Dimension
Bark varies dramatically across species: white birch offers papery, peeling layers; black walnut presents deep, interlocking ridges; redwood shows fibrous, spongy grooves. Artificial tree trunks typically mimic Douglas fir or spruce—medium-gray with subtle vertical striations and soft, rounded furrows. Your concealment materials must echo those characteristics—not replicate them perfectly, but harmonize convincingly at typical viewing distances (5–10 feet).
| Material | Best For | Texture Match | Key Consideration |
|---|---|---|---|
| Bark-embossed craft foam sheets (3mm) | Smooth trunk finishes; tight budgets | Medium-fine ridges, consistent depth | Lightweight, easy to cut and glue; avoid glossy finishes—matte or lightly textured only|
| Natural cork rolls (6mm thick) | Mid-to-high-end realism; eco-conscious spaces | Irregular pores, soft cellular structure, warm tan-to-umber tones | Trim edges with a utility knife for clean seams; seal with matte acrylic medium to prevent dusting|
| Recycled wood fiber mulch (fine grade) | Ground-level integration; rustic or woodland themes | Granular, irregular, organic variation | Must be applied over adhesive base; not suitable for high-traffic areas unless sealed|
| Textured plaster compound (e.g., joint compound + sand) | Permanent installations; custom sculptural effects | Highly customizable—can mimic lenticels, scarring, or weathering | Requires drying time and sealing; best for stationary trees in dedicated spaces|
| Real birch bark veneer (reclaimed) | Luxury settings; design-forward interiors | Authentic exfoliation, translucent layers, silvery undertones | Sustainably sourced only; requires pH-neutral adhesive and UV-resistant finish
Selecting the right material begins with observing your tree’s existing trunk. Hold a sample swatch next to it under natural light. Does the grain direction align? Does the color temperature—cool gray versus warm taupe—complement or clash? Never force a material that fights the trunk’s inherent character. As landscape architect and holiday design consultant Lena Torres explains:
“Bark isn’t just skin—it’s history written in cellulose. A convincing base doesn’t copy it; it continues the story. If your tree ‘grew’ here, what would its roots encounter? Damp forest loam? Sun-baked clay? Gravelly riverbank? Start there—and let texture follow function.” — Lena Torres, Founder, Evergreen Studio
Step-by-Step: Building a Realistic Bark-Like Base Cover
This method uses cork rolls—a balanced choice for accessibility, durability, and authentic texture—and takes approximately 90 minutes. It works for standard 7–9 ft trees with tripod or screw-in stands.
- Measure and prep: Measure the circumference of the trunk 2 inches above the stand’s top ring. Add 1 inch for overlap. Measure height from stand ring to first branch junction (typically 12–18 inches). Cut cork roll to size using a sharp utility knife and straightedge on a cutting mat.
- Condition the cork: Lightly dampen cork with a sponge (not soaking—just surface moisture). Let sit 2 minutes. This makes it pliable enough to wrap snugly without cracking.
- Apply archival PVA adhesive: Use a 1-inch foam brush to apply thin, even coat to the trunk surface (clean and dry first). Avoid glue on branches or needles. Work in 6-inch vertical sections.
- Wrap and seam: Starting at the back, press cork tightly against trunk while wrapping clockwise. Overlap the final 1 inch, then use a bone folder or spoon handle to burnish the seam flat. Wipe excess adhesive immediately with damp cloth.
- Texture enhancement: While still slightly tacky, use a stiff-bristled toothbrush dipped in diluted matte acrylic paint (mix 1 part Payne’s Gray + 3 parts water) to stipple vertical “growth lines” into the cork surface. Focus on edges and seams—avoid uniform coverage.
- Seal and age: After 2 hours, apply two thin coats of matte acrylic sealer (e.g., Golden MSA Varnish Matte), allowing 30 minutes between coats. Before final coat dries, lightly dab with crumpled paper towel to soften highlights and simulate weathered patina.
Pro Integration Techniques: Blending Trunk, Base, and Surroundings
A realistic base doesn’t exist in isolation. Its success depends on how seamlessly it transitions to adjacent elements—the floor, rug, or decorative surround. Three integration strategies elevate realism beyond surface application:
- Vertical rhythm extension: Extend bark texture 2–3 inches downward onto the stand’s upper ring using fine-grit sandpaper (120 grit) to roughen metal or plastic, then apply matching matte paint and dry-brush technique. This eliminates the “hard stop” effect.
- Ground plane continuity: Layer a 4-inch-wide band of matching mulch, moss, or jute twine around the base perimeter—flush with the floor. Ensure material color bridges the cork’s warmth and your flooring (e.g., espresso mulch on oak floors; slate-gray gravel on concrete).
- Shadow anchoring: Place a shallow, matte-black tray (18\" diameter) beneath the stand. Paint its inner rim with dark umber and feather outward with dry brush. This creates a subtle shadow pool that visually “sinks” the trunk, reinforcing weight and grounding.
These techniques address peripheral vision cues—the brain processes context faster than detail. A seamless ground plane tells the viewer, “This belongs here,” long before they examine texture closely.
Mini Case Study: The Urban Loft Transformation
When interior stylist Marco Chen staged a 1,200 sq ft downtown loft for a holiday open house, he faced a common challenge: a sleek, brushed-nickel 8-ft artificial tree stood atop a mirrored platform—highlighting every mechanical joint and casting harsh reflections. The client wanted “forest-floor serenity,” not showroom sterility. Marco rejected fabric skirts (too generic) and pre-made tree collars (too symmetrical). Instead, he laminated reclaimed birch bark veneer over marine-grade plywood rings, cut to fit the stand’s diameter. He stained each ring with diluted walnut ink, varied the stain concentration to mimic sun exposure gradients, then mounted them concentrically—slightly offset—to suggest organic growth rings. Around the outer edge, he embedded preserved reindeer moss and tiny pinecones wired to copper pins. The result? Guests consistently mistook the base for a live, aged stump. One realtor noted, “It didn’t look decorated—it looked *discovered*.” The listing sold 11 days post-event, with the buyer citing “that incredible tree” as a defining emotional moment during the tour.
What NOT to Do: Common Pitfalls and Their Fixes
Even experienced decorators fall into traps that undermine realism. Here’s what to avoid—and how to correct it:
- Pitfall: Uniform color application. Real bark has variegation—lighter ridges, darker crevices, sun-bleached patches. Fix: Use dry-brushing (nearly dry brush dragged lightly over surface) with multiple earth-tone acrylics—Raw Sienna, Burnt Umber, Payne’s Gray—layered gradually.
- Pitfall: Ignoring scale mismatch. Large, chunky mulch around a slender 6-ft tree reads as comical, not rustic. Fix: Match particle size to tree girth: fine-ground cedar for trees under 7 ft; shredded cypress for 9+ ft specimens.
- Pitfall: Over-sealing. Glossy finishes scream “plastic,” breaking the organic illusion. Fix: Use only matte or satin sealers—and apply no more than two thin coats. Wipe excess with lint-free cloth before drying.
- Pitfall: Static symmetry. Nature favors asymmetry. Perfectly centered collars or identical moss rings feel manufactured. Fix: Offset layers by 1–2 inches; allow one side to extend slightly lower; vary texture density.
FAQ
Can I use spray paint to tint my cork or foam base?
Avoid standard acrylic spray paints—they contain propellants and binders that can melt foam or create uneven, plasticky sheens on cork. Instead, use artist-grade fluid acrylics thinned with water (not medium) and applied with an airbrush or fine mist sprayer. Always test on scrap first.
How do I clean a textured bark base without damaging it?
Dust weekly with a soft, dry microfiber brush (like a makeup brush). For deeper cleaning, lightly dampen a cotton swab with distilled water and gently roll—not rub—along grooves. Never soak, steam, or use detergents. Reapply matte sealer annually if surface appears dull.
Will these methods work on a slim or pencil-style artificial tree?
Yes—with adaptation. Slim trees often have narrower trunk diameters and less pronounced texture. Prioritize vertical line enhancement: use a fine-line stylus to etch subtle parallel grooves into cork before painting, then emphasize them with dark wash. Avoid bulky mulch—opt for finely shredded sphagnum moss or thin jute twine coiled tightly.
Conclusion
Hiding the base of an artificial tree isn’t about hiding imperfection—it’s about honoring intention. Every choice you make—from the grain of the cork to the angle of your dry brush stroke—affirms that this tree isn’t merely assembled, but *placed*. It belongs. It breathes. It carries the quiet authority of something that has weathered seasons. That authenticity resonates deeper than ornamentation ever could. You don’t need specialty tools or expensive materials. What you need is observation, patience, and the willingness to treat the base not as an afterthought, but as the foundation of the entire experience. Start small: try the cork-wrap method on your current tree. Notice how light catches the ridges at dusk. Feel the difference texture makes under your fingertips. Then share what you learn—not just the “how,” but the quiet satisfaction of making something synthetic feel, truly, like home.


 浙公网安备
33010002000092号
浙公网安备
33010002000092号 浙B2-20120091-4
Comments
No comments yet. Why don't you start the discussion?