
Candle tunneling—when only the center wax melts while a thick ring of unmelted wax clings to the sides—is one of the most common frustrations for candle lovers. Not only does it waste valuable wax, but it also shortens the candle’s lifespan and diminishes its fragrance output. The root cause? Poor initial burns and improper wick management. Fortunately, tunneling isn’t inevitable. With the right wick techniques and a bit of attention during the first few uses, you can enjoy clean, even burns every time.
The key lies in understanding how wax pools form and how the wick influences heat distribution. A properly managed wick ensures consistent melting across the entire surface, preventing wasted wax and maximizing your candle's potential. This guide dives into practical, science-backed wick tricks that prevent tunneling and elevate your candle experience.
Why Tunneling Happens (And Why Wick Matters)
Tunneling occurs when a candle is extinguished before the melted wax reaches the container’s edges. Over time, this creates a “memory” in the wax, causing subsequent burns to melt only within that same narrow zone. The result? A deepening hole, wasted wax, and eventually a flame too weak to generate enough heat to melt the surrounding walls.
The wick plays a central role in this process. It’s not just a string that burns—it’s the engine of your candle’s combustion system. The size, material, and condition of the wick determine how much heat is generated and how evenly it spreads through the wax pool. A wick that’s too small won’t produce enough heat to reach the edges. One that’s too large may flare excessively, creating soot or overheating the container.
“Candles don’t have memory—they follow physics. But the first burn sets the thermal pattern.” — Dr. Lena Torres, Materials Scientist & Candle Formulation Consultant
When a candle is lit for the first time, the way the wax melts establishes a ‘burn profile.’ If the initial melt pool doesn’t extend fully to the edges, future burns will replicate that behavior. That’s why the first burn—and the state of the wick at that moment—are so critical.
The First Burn Rule: Set It Right
The foundation of tunnel-free burning begins with the very first use. This is when the candle forms its burn memory. To prevent tunneling, allow the candle to burn long enough for the entire top layer of wax to liquefy and reach the edges of the container.
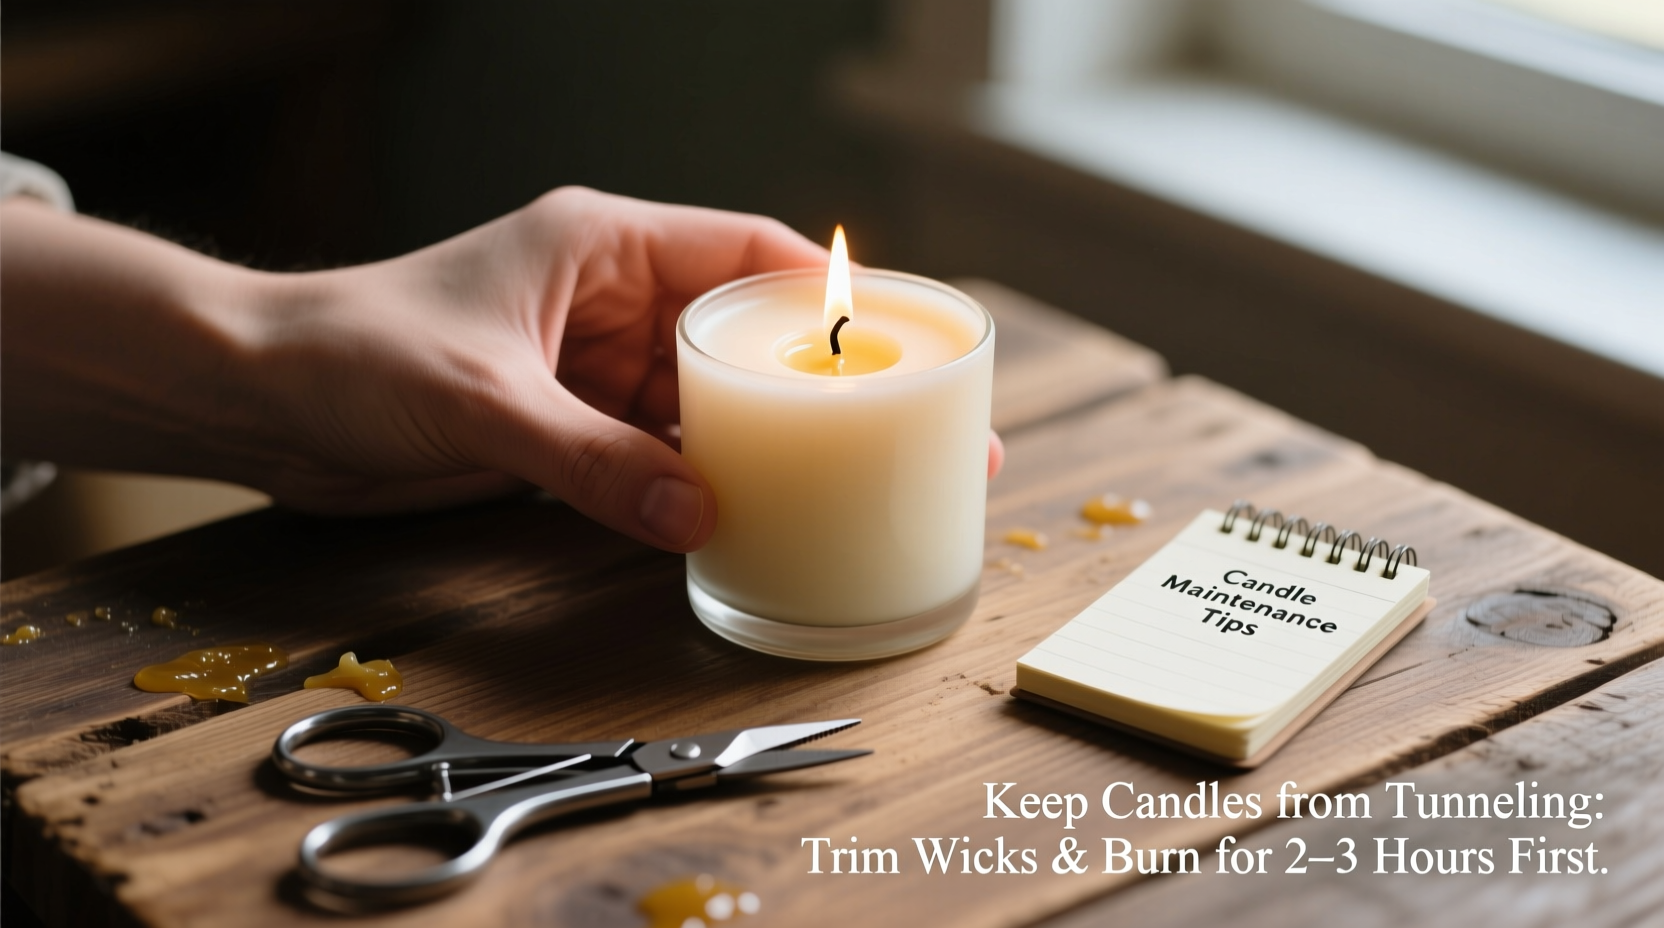
A general rule is to burn the candle for **one hour per inch of diameter**. For example, a 3-inch wide candle should burn for about three hours during its first lighting. This gives the heat sufficient time to spread outward and melt the wax uniformly.
However, timing alone isn’t enough. The wick must be prepared correctly before lighting. Trim it to ¼ inch. An untrimmed wick can create a larger-than-intended flame, leading to uneven heat distribution or excessive flickering that disrupts even melting.
Step-by-Step: Perfecting the First Burn
- Inspect the wick: Ensure it’s centered and straight.
- Trim the wick to ¼ inch using clean scissors or a wick trimmer.
- Place the candle on a level, draft-free surface.
- Light the candle and let it burn uninterrupted until the melt pool reaches the container’s edges.
- Extinguish safely using a snuffer or by gently blowing out—avoid plunging into cold water, which can crack glass.
This process may take several hours, but skipping it invites tunneling. Patience pays off in longevity and performance.
Wick Maintenance Between Burns
Just as important as the first burn is ongoing wick care. Each time you relight a candle, the condition of the wick affects how evenly the wax melts. Neglect leads to carbon buildup, mushrooming (a blackened bulb at the tip), and erratic flames—all of which contribute to poor heat distribution.
Regular trimming is non-negotiable. Before each use, check the wick length. If it exceeds ¼ inch, trim it down. This keeps the flame stable and prevents excess smoke and soot.
| Wick Condition | Effect on Burn | Solution |
|---|---|---|
| Too long (>¼ inch) | Large, flickering flame; soot; uneven melt | Trim to ¼ inch before lighting |
| Mushroomed (carbon buildup) | Smoky flame; reduced oxygen flow | Trim and remove debris |
| Off-center | Asymmetric melt pool; one side burns faster | Gently reposition while wax is soft |
| Drowned (submerged in liquid wax) | Flame won’t stay lit | Dip wick in absorbent paper; relight carefully |
Centering the wick is often overlooked. If the flame drifts toward one side during burning, the wick can shift over time. When the wax is still semi-liquid after extinguishing, gently nudge the wick back to the center using a metal tool or toothpick. This helps maintain balanced heat dispersion in future burns.
Advanced Wick Tricks for Stubborn Candles
Even with proper care, some candles resist even melting due to formulation, container shape, or previous tunneling. In these cases, targeted wick strategies can rescue them.
Rotating the Wick
If a candle has already started tunneling, rotating the wick during burning can redirect heat. Light the candle and, once the wax begins to melt around the wick, use a skewer or needle to slightly shift the wick toward the thicker wall of unmelted wax. This encourages the flame to focus heat where it’s needed most.
Do this sparingly and only when the wax is warm. Forcing movement in hardened wax can damage the wick or container.
Double-Wicking for Large Diameters
Candles wider than 3 inches often struggle to achieve full melt pools with a single wick. Consider switching to a double-wick design—or, if possible, purchase multi-wick candles. Two flames generate more distributed heat, increasing the likelihood of edge-to-edge melting.
If you’re making your own candles, select wicks based on diameter and wax type. Soy wax typically requires a larger wick than paraffin due to lower melt point and viscosity.
Rescuing a Tunneler: The Foil Method
For candles already deeply tunneled, try the foil wrap technique:
- Carefully pour out any loose liquid wax.
- Wrap aluminum foil around the top of the container, leaving a small opening over the wick.
- Poke a hole in the foil directly above the wick and light the candle.
- The foil traps heat, helping the outer wax walls melt faster.
- Burn until the entire surface becomes liquid, then remove the foil.
This method concentrates heat inward and upward, accelerating the correction process. Use caution—never leave unattended, and ensure the foil doesn’t touch the flame.
Common Mistakes That Cause Tunneling
Even experienced candle users fall into habits that sabotage even burning. Awareness is the first step to correction.
- Burning too briefly: Short burns prevent full melt pools and set tunneling patterns.
- Ignoring wick length: Long wicks create oversized flames that consume wax unevenly.
- Placing near drafts: Airflow causes flickering, which disrupts consistent heat output.
- Using low-quality wicks: Cotton-core or zinc-core wicks may not sustain steady burns in certain waxes.
- Not rotating containers: For pillar or freestanding candles, rotating ensures even exposure to air and heat.
“The best candle care routine is preventive. Ten seconds of wick trimming saves hours of wasted wax.” — Marcus Reed, Artisan Candlemaker, 15+ years experience
Avoiding these pitfalls preserves both aesthetic appeal and functional efficiency. A well-maintained candle can last 30–50% longer than one subjected to inconsistent burning.
FAQ: Your Tunneling Questions Answered
Can I fix a candle that’s already tunneled?
Yes. Use the foil method to trap heat and encourage outer wax to melt. Once the surface is level, resume proper burning practices with trimmed wicks and full melt pools.
Does wick type affect tunneling?
Absolutely. Cotton wicks are standard but may drown in softer waxes. Wooden wicks offer broader flames ideal for soy wax but require careful trimming. Flat braided cotton-core wicks provide stability and even burn profiles for container candles.
How do I know if my wick is the right size?
A properly sized wick produces a flame ½ to 1 inch tall, creates a steady melt pool reaching the jar’s edge within 2–4 hours (depending on diameter), and doesn’t flicker excessively or produce black smoke.
Checklist: Prevent Tunneling Like a Pro
- ✅ Trim wick to ¼ inch before every burn
- ✅ Burn for 1 hour per inch of diameter on first use
- ✅ Ensure full melt pool reaches container edges
- ✅ Keep wick centered; adjust when wax is soft
- ✅ Avoid drafts and vibrations
- ✅ Use foil wrap to correct existing tunneling
- ✅ Choose multi-wick candles for diameters over 3 inches
- ✅ Store candles upright in cool, dry place
Real Example: Reviving a Forgotten Candle
Sarah had a luxury soy candle she loved for its lavender scent—but after a few short burns during work-from-home days, it began tunneling. Frustrated, she nearly discarded it. Then she tried the foil method: she poured out pooled oil, wrapped the jar in foil with a vented hole, and burned it for four hours under supervision. The trapped heat gradually melted the thick wax walls. After two corrective burns, the candle resumed even melting. By maintaining wick trim and full sessions, Sarah extended its life by over 20 hours—proving that with the right wick tricks, tunneling isn’t a death sentence.
Conclusion: Master the Wick, Master the Burn
Preventing candle tunneling isn’t about luck—it’s about control. The wick is your primary tool for managing heat, melt depth, and burn consistency. From the crucial first burn to daily maintenance, every decision around the wick impacts performance. Simple actions like trimming, centering, and strategic heat retention transform an ordinary candle session into a long-lasting, aromatic experience.


 浙公网安备
33010002000092号
浙公网安备
33010002000092号 浙B2-20120091-4
Comments
No comments yet. Why don't you start the discussion?