
Every holiday season, untangling strands of Christmas lights and trying to remember which set goes where becomes a frustrating ritual for many homeowners. By the time the last ornament is hung, exhaustion sets in—and the thought of doing it all again next year feels overwhelming. But there's a simple solution that pays dividends every December: labeling your Christmas light sets by room and function before boxing them up.
This small act of organization transforms chaos into clarity. Whether you're decorating a sprawling home with multiple outdoor zones or simply streamlining a modest indoor display, a systematic labeling approach saves time, reduces stress, and ensures consistency year after year. More than just attaching a tag, effective labeling combines smart categorization, durable materials, and thoughtful documentation to create a repeatable holiday decorating process.
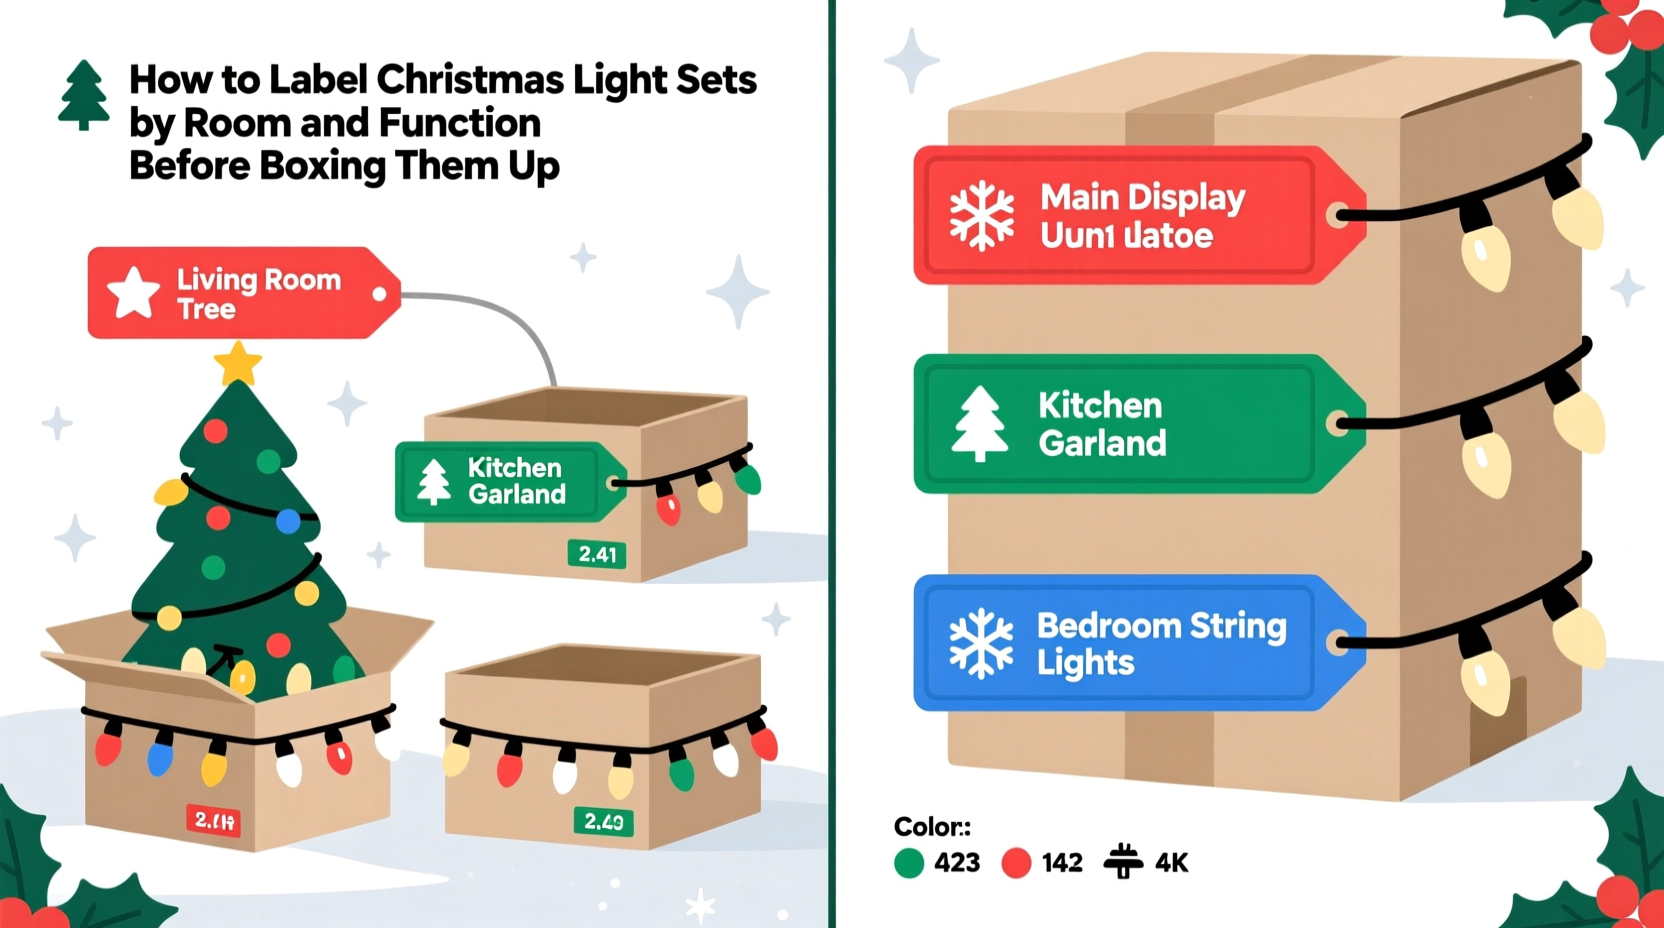
Categorize by Room and Function First
Before any labels are applied, begin with a clear classification system. Lights serve different purposes across your home—some illuminate trees, others outline windows, and some define architectural features outdoors. Sorting them now prevents confusion later.
Divide your lights into two primary categories: location (room or exterior zone) and function (purpose or style). For example:
- Indoor locations: Living room, dining room, bedroom, staircase, entryway
- Outdoor zones: Front porch, roofline, driveway, garage, backyard
- Functions: Tree lighting, accent lighting, pathway markers, curtain-style (e.g., icicle lights), spotlighting
Once sorted, group each combination. A strand used on the living room tree serves a different role than one framing the front windows—even if they look similar. Treating them as distinct units reinforces intentional decoration.
Create a Labeling System That Lasts
Labels must endure months in storage and remain legible despite handling, dust, and temperature changes. Avoid sticky notes or paper tags—they degrade quickly. Instead, invest in durable, weather-resistant solutions.
Choose from the following options based on your setup:
- Plastic cable tags: Attach directly to the light plug or end connector using the built-in hole. Write with a permanent marker.
- Heat-shrink labels: Slide over wires near the plug; apply heat to seal. Ideal for outdoor sets exposed to moisture.
- Label makers: Print waterproof, adhesive-backed labels. Laminate strips can be taped to coils.
- Tag-and-string method: Tie a plastic luggage tag around the coiled wire. Reusable and easy to update.
Regardless of method, ensure the label includes both room and function. For instance: “Front Porch – Icicle Lights” or “Dining Room – Warm White Curtain.” Clarity is key—avoid vague terms like “outside” or “tree.”
“Families who label their lights by location and use cut setup time by nearly half the following year.” — Laura Simmons, Home Organization Consultant
Step-by-Step Guide to Labeling and Storing Lights
Follow this sequence to ensure every strand is properly identified and protected:
- Unplug and inspect: Test each strand before storage. Replace burnt-out bulbs or faulty fuses. Discard damaged sets to avoid clutter.
- Coil carefully: Wrap lights around a piece of cardboard, spool, or your hand to prevent tangles. Secure with twist ties or velcro straps—not rubber bands, which degrade.
- Attach label at the plug end: This ensures visibility when plugging in next season. Always label the male plug side.
- Place in compartmentalized containers: Use clear plastic bins with dividers. Assign one bin per room or zone.
- Update a master list: Record each labeled set in a notebook or digital spreadsheet (see table below).
- Store vertically if possible: Stack bins on shelves with labels facing outward. Include a printed copy of the master list inside each container.
Track Your Setup with a Master Inventory Table
A written record complements physical labels and helps plan future purchases or replacements. Use the table below as a template to document your lights.
| Label ID | Location | Function | Color/Tone | Length | Notes |
|---|---|---|---|---|---|
| OUT-01 | Front Roofline | Outline | Cool White | 50 ft | Connects to OUT-02; check clips annually |
| LIV-03 | Living Room | Tree Lights | Warm White | 25 ft | Vintage bulb style; fragile sockets |
| PCH-01 | Porch Columns | Accent Wrap | Multicolor | 18 ft | Use with timer; store controller nearby |
This inventory allows you to assess coverage needs early, avoid duplicate purchases, and delegate tasks to family members with precise instructions.
Avoid Common Labeling Mistakes
Even well-intentioned efforts can fall short without attention to detail. These pitfalls undermine the effectiveness of your labeling system:
- Using non-permanent ink: Ballpoint pen or pencil fades over time. Always use oil-based permanent markers.
- Labeling only the box: If strands get mixed inside, identification fails. Label the wire itself.
- Overloading boxes: Packing too many sets together leads to tangling and damage. Limit to 3–5 compatible strands per container.
- Ignoring power requirements: Note voltage and outlet needs (e.g., GFCI-protected) on labels for outdoor sets.
- Forgetting spare parts: Store extra bulbs, fuses, and connectors in labeled baggies inside each bin.
“People assume they’ll remember where each set goes—but memory fades. Physical, durable labels are the only reliable system.” — Mark Tran, Holiday Lighting Installer with 15+ years of experience
Real Example: The Nelson Family’s Transformation
The Nelsons, a family of five in Denver, once spent two full weekends every December untangling lights and arguing over placement. They had 14 strands stored in two unmarked totes—one damp basement bin and one attic box exposed to temperature swings.
In January, they committed to reorganizing. They tested each strand, discarded three that flickered, and categorized the rest by room and function. Using a label maker, they tagged each plug with identifiers like “Garage – Red & Green Icicle” and “Kids’ Tree – Mini Multicolor.” They transferred everything into clear, lidded bins with internal compartments and added printed inventories.
The following November, setup took under four hours. Their eldest child followed the master list and assigned tasks using the labels. No confusion, no frustration. “It felt like we hired an assistant,” said Sarah Nelson. “The labels told us exactly what to do.”
Checklist: Pre-Storage Light Organization
Use this checklist to ensure no step is missed before boxing up your lights:
- ✅ Test every strand for functionality
- ✅ Replace dead bulbs and fuses
- ✅ Discard frayed or damaged wires
- ✅ Coil each strand neatly using a consistent method
- ✅ Attach durable label at the plug end
- ✅ Group by room and function in labeled containers
- ✅ Update master inventory with new IDs and notes
- ✅ Store in a dry, temperature-stable location
- ✅ Keep spare bulbs and tools in corresponding bins
- ✅ Take photos of labeled sets for digital backup
Frequently Asked Questions
What if I have multiple sets for the same area?
Assign numbered identifiers. For example: “Backyard – Path Lights (Set 1)” and “Backyard – Path Lights (Set 2).” This helps maintain consistency in placement and replacement.
Can I use QR codes instead of written labels?
Yes—print QR codes linked to a Google Sheet or note containing detailed info (length, color, photos, connection diagrams). Scan it next season for instant access. Just ensure the code is laminated and affixed securely.
Should I label extension cords too?
Absolutely. Outdoor setups rely on specific cord lengths and GFCI compatibility. Label cords with identifiers like “EXT-OUT-ROOF” and note maximum load capacity. Match them to corresponding light sets during storage.
Conclusion: Make Next Holiday Season Effortless
Labeling Christmas light sets by room and function isn’t just about tidiness—it’s about reclaiming your time and peace of mind. What takes an extra 30 minutes in January saves hours of confusion next December. It turns a chaotic tradition into a smooth, predictable routine that anyone in the household can follow.
Start today. Pull out your lights, sort them with intention, and apply clear, lasting labels. Build your inventory, store wisely, and close the season with confidence. When the holidays return, you won’t dread the lights—you’ll welcome them, knowing everything has its place.


 浙公网安备
33010002000092号
浙公网安备
33010002000092号 浙B2-20120091-4
Comments
No comments yet. Why don't you start the discussion?