
In a world overflowing with devices—smartphones, tablets, laptops, smartwatches, earbuds—it’s no surprise that our drawers, bags, and desks are cluttered with an ever-growing tangle of cords. While we celebrate the convenience of modern technology, few things are more frustrating than grabbing what you think is your phone charger only to realize it powers a Nintendo Switch or an old Kindle. The solution isn’t buying more organizers or throwing out duplicates; it’s labeling your cords effectively. With a few smart strategies, you can eliminate confusion, reduce frustration, and keep your digital life running smoothly.
Labeling cords might seem like a minor task, but its impact on daily efficiency is significant. Whether you're at home, in the office, or traveling, knowing exactly which cable belongs to which device saves time, prevents damage from using incompatible chargers, and reduces electronic waste caused by replacing mislaid cables. More importantly, it brings order to chaos—one small tag at a time.
Why Cord Confusion Happens (And Why It Matters)
Most charging cables look nearly identical: black or white rubber-coated wires ending in USB-A, USB-C, or Lightning connectors. Without close inspection, distinguishing between them is nearly impossible. Over time, as more devices enter your ecosystem, the problem compounds. You might have:
- A 60W USB-C charger for your laptop
- A 30W USB-C charger for your tablet
- A standard 5W iPhone charger
- A fast-charging Android adapter
- Multiple third-party cables with varying power ratings
Using the wrong charger isn’t just inconvenient—it can slow down charging, overheat devices, or in rare cases, cause long-term battery degradation. According to the Consumer Technology Association, nearly 40% of people admit to damaging a device by using an incorrect power source at least once.
“Properly identifying your cables isn’t just about convenience—it’s a basic form of digital hygiene.” — David Lin, Electronics Safety Consultant
Beyond safety, disorganized cords reflect poorly on productivity. Searching through a knot of wires every morning wastes seconds that add up over weeks. Labeling transforms this chaotic process into a seamless one.
Step-by-Step Guide to Labeling Cords Effectively
Labeling cords doesn’t require expensive tools or technical skills. Follow this practical sequence to bring clarity to your cable collection.
- Gather all your cords: Pull every cable from drawers, bags, and charging stations. Lay them out on a table.
- Test each one: Plug each cord into its intended device to confirm functionality and match it correctly.
- Categorize by device type: Group cables for phones, tablets, laptops, headphones, gaming consoles, etc.
- Note key specs: Record amperage, wattage, and connector types where relevant (e.g., “USB-C 65W” or “Lightning – iPad Air”).
- Choose your labeling method: Select from tags, markers, clips, or printable labels based on durability and visibility needs.
- Apply labels near both ends: Place identifiers close to the plug and near the device end for maximum recognition.
- Store systematically: Use boxes, sleeves, or hooks to keep labeled cords separated and accessible.
This process takes less than an hour but pays dividends for months—or even years.
Best Labeling Methods Compared
Not all labeling techniques are created equal. Some fade, others slip off, and a few look unprofessional. Below is a comparison of the most popular methods used by professionals and organized households.
| Method | Pros | Cons | Best For |
|---|---|---|---|
| Color-coded heat shrink tubing | Durable, permanent, sleek finish | Requires heat tool, not repositionable | Frequent travelers, tech enthusiasts |
| Adhesive cable labels | Printable, customizable, affordable | May peel over time with friction | Home offices, multi-device households |
| Label wraps (plastic or fabric) | Reusable, writable, adjustable | Can slide if too loose | Shared workspaces, classrooms |
| Permanent marker on tape | Free, immediate, easy | Fades quickly, looks messy | Temporary use, quick fixes |
| 3D-printed or molded tags | Highly durable, professional look | Requires access to printer or purchase | Tech professionals, studios |
For most users, adhesive labels or reusable wraps offer the best balance of cost, ease, and longevity.
Smart Labeling Ideas You Haven’t Tried
Beyond basic stickers and markers, creative solutions can make cord identification intuitive—even fun.
- Use emoji stickers: A tiny lightning bolt for your phone, a laptop icon for your MacBook, or headphones for audio gear. Visual cues are faster than reading text.
- Assign colors by room: Blue for bedroom cables, red for office, green for travel kit. This adds a second layer of organization.
- Include voltage info: Write “5V/3A” or “PD 30W” directly on the label if power output matters for compatibility.
- Try braided sleeve with tags: Slide a labeled velcro tag onto a woven cable sleeve for a clean, industrial look.
- QR code labels: Print QR codes that link to a document listing the cable type, device, purchase date, and warranty info. Ideal for businesses or tech-heavy homes.
Mini Case Study: From Chaos to Clarity in One Weekend
Sarah, a freelance photographer based in Portland, had a problem. Her camera bag held nine different cables: two for her mirrorless camera, three phone chargers (personal, backup, client device), a drone charger, a portable SSD cable, and two generic USB cords. On assignment, she once spent 20 minutes untangling and testing cables before realizing she’d brought the wrong USB-C version for her laptop.
She decided to reorganize everything. Using a $12 pack of printable vinyl labels, she labeled each cable with the device name and a small icon. She then grouped them in a padded cable case with labeled compartments. Within a week, she reported saving at least 15 minutes per day during shoots. More importantly, she stopped worrying about damaging equipment with mismatched power sources.
“It sounds silly,” she said, “but labeling my cords was like unlocking a new level of professionalism. I feel more prepared, and my clients notice the difference.”
Essential Checklist: Label Your Cords in One Sitting
Follow this checklist to complete your cord-labeling project efficiently:
- ✅ Collect all cables from around the house or workspace
- ✅ Test each cable with its intended device
- ✅ Discard frayed, damaged, or non-functional cords
- ✅ Choose a labeling method (stickers, wraps, heat shrink, etc.)
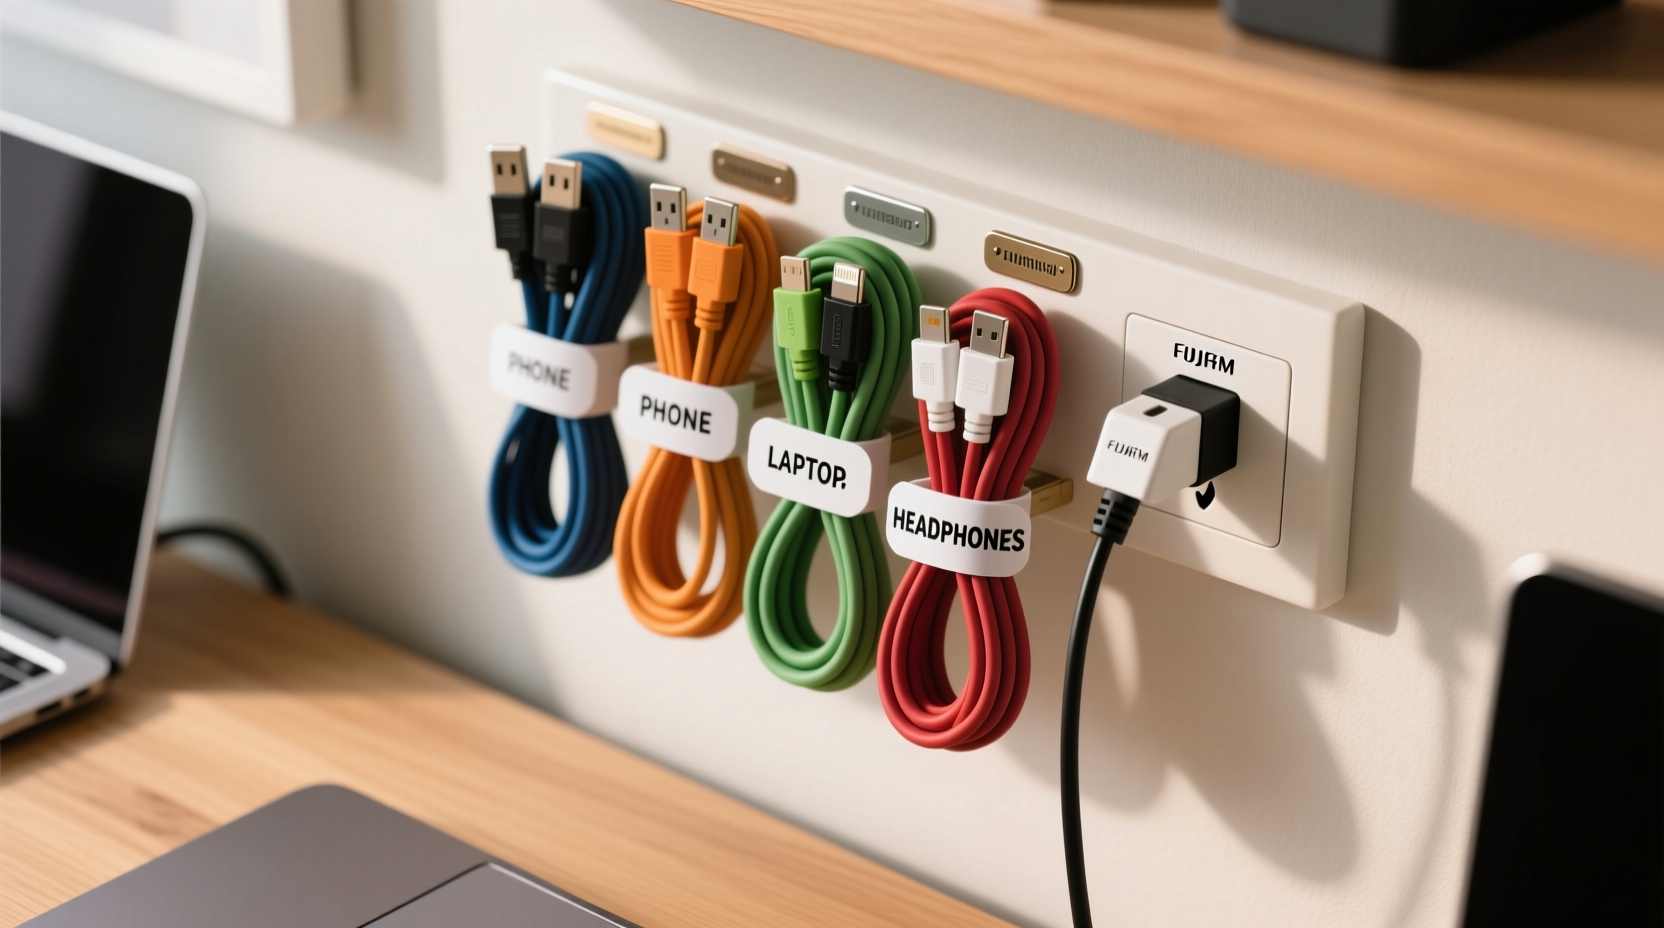
- ✅ Write clear, concise labels (e.g., “iPad Pro,” “Work Laptop,” “Headphones”)
- ✅ Apply labels near both ends of each cord
- ✅ Store cords in designated containers or wraps
- ✅ Take a photo of your setup for future reference
Repeat this process every six months to account for new devices or worn-out labels.
Frequently Asked Questions
Can I wash labeled cords?
Yes, but with caution. If you’ve used waterproof adhesive labels or heat shrink tubing, gentle wiping with a damp cloth is safe. Avoid submerging cables, especially near labeled areas, as moisture can loosen adhesives over time.
What if I run out of space to label?
If the cord is too short or crowded near the plug, place the label 2–3 inches further up the wire where there’s more surface area. Just ensure it’s still visible when coiled.
Are there eco-friendly labeling options?
Absolutely. Look for biodegradable paper labels with plant-based adhesives, or reusable silicone cable ties with engraved text. Cotton fabric wraps with embroidered labels are also sustainable and stylish.
Final Thoughts: Small Change, Big Impact
Labeling cords is one of those deceptively simple habits that quietly improves your daily routine. It’s not about perfection or owning the latest organizer—it’s about reducing friction in your interactions with technology. Every time you reach for the right charger without hesitation, you reclaim a tiny piece of mental clarity.
Start today. Pull out that drawer of tangled wires. Spend an hour sorting, testing, and tagging. The future version of you—rushing to leave the house with a low-battery phone—will be grateful.


 浙公网安备
33010002000092号
浙公网安备
33010002000092号 浙B2-20120091-4
Comments
No comments yet. Why don't you start the discussion?