
Garlands are more than just seasonal trim—they’re foundational elements in holiday design. When draped with intention, they transform banisters, mantels, and doorways into immersive experiences. But a flat, single-layer garland often fails to capture the magic of winter’s layered beauty. The key to achieving a rich, dynamic look lies not in quantity, but in thoughtful layering—especially when integrating lights. By combining different textures, light patterns, and greenery types, you can create garlands that feel alive, deep, and inviting. This guide reveals the techniques used by professional decorators to build dimension through strategic lighting and layering.
Why Visual Depth Matters in Holiday Decor
Visual depth adds realism and emotional resonance to holiday displays. A garland that appears flat or one-dimensional lacks the organic complexity found in nature—where pine boughs overlap, snow settles unevenly, and light filters through branches at varying intensities. Layering mimics this natural variation, tricking the eye into perceiving volume and movement.
Light plays a crucial role in shaping perception. Strategically placed illumination can highlight texture, cast subtle shadows, and draw attention to specific areas of a garland. When combined with multiple layers of greenery, lights don’t just illuminate—they sculpt. The result is a display that changes as viewers move around it, catching glimmers from different angles and revealing hidden details.
“Depth isn’t added—it’s revealed. The best garlands don’t shout; they invite you to look closer.” — Clara Mendez, Interior Stylist & Seasonal Design Consultant
Choosing the Right Garland Layers
Start with structure. A visually rich garland typically combines three types of greenery: base, mid, and accent layers. Each serves a distinct purpose and interacts differently with light.
- Base Layer: Use full, dense garlands made from premium artificial pine, fir, or mixed evergreen. These form the foundation and should be thick enough to hide support wires or hangers.
- Mid Layer: Introduce variety with garlands featuring berries, pinecones, or textured foliage like eucalyptus or cedar. These break up uniformity and catch light differently due to reflective surfaces.
- Accent Layer: Add slender, wispy strands—such as ivy, seeded eucalyptus, or birch twigs—that drape slightly beyond the main body. These create soft edges and allow light to pass through in delicate patterns.
Integrating Lights: A Step-by-Step Approach
The way lights are incorporated determines whether a garland feels flat or dimensional. Follow this sequence for optimal results.
- Plan Your Light Density: Use 100 bulbs per foot for dramatic impact, or 50 per foot for subtle glow. For large installations, mix densities—brighter on lower sections, softer above.
- Select Bulb Type Wisely: Warm white LEDs mimic candlelight and blend naturally with greenery. Multi-color or cool white can work in modern themes but risk washing out textures.
- Wire Lights onto the Base Garland First: Begin at one end, weaving lights through the interior stems rather than wrapping externally. This embeds illumination within the foliage, reducing glare and creating a “glowing from within” effect.
- Vary the Weave Pattern: Instead of even spacing, cluster bulbs every 4–6 inches in some areas and space them wider (8–10 inches) in others. Clusters mimic natural light pooling, while gaps suggest shadowed recesses.
- Add Secondary String Lights to Accent Layers: Use smaller, battery-operated fairy lights (warm amber) on wispy outer strands. These flicker subtly and emphasize movement at the edges.
- Test Before Final Placement: Hang the lit base garland temporarily and observe it at dusk and dawn. Adjust bulb clusters where shadows feel too heavy or light too sparse.
| Light Feature | Recommended Use | Avoid |
|---|---|---|
| String Lights (100-count) | Base layer integration | Surface wrapping only |
| Fairy Lights (battery) | Accent layer draping | Direct sun exposure |
| Spotlights (mini LED) | Focused highlights on focal points | Overuse—limit to 1–2 per 6 feet |
| Twinkle/Candle Flicker | Mantel ends or doorway peaks | Long straight runs—can look chaotic |
Layering Techniques for Different Spaces
Each location demands a tailored approach. The goal is balance—ensuring depth enhances the architecture without overwhelming it.
Stair Rail Garlands
Staircases benefit from vertical layering. Start with a wide base garland secured along the inner rail. Overlap a second, narrower garland offset outward, allowing its lit sections to peek through gaps in the first. Drape accent vines down every third or fourth spindle, each carrying a few embedded fairy lights. This creates cascading depth, guiding the eye upward.
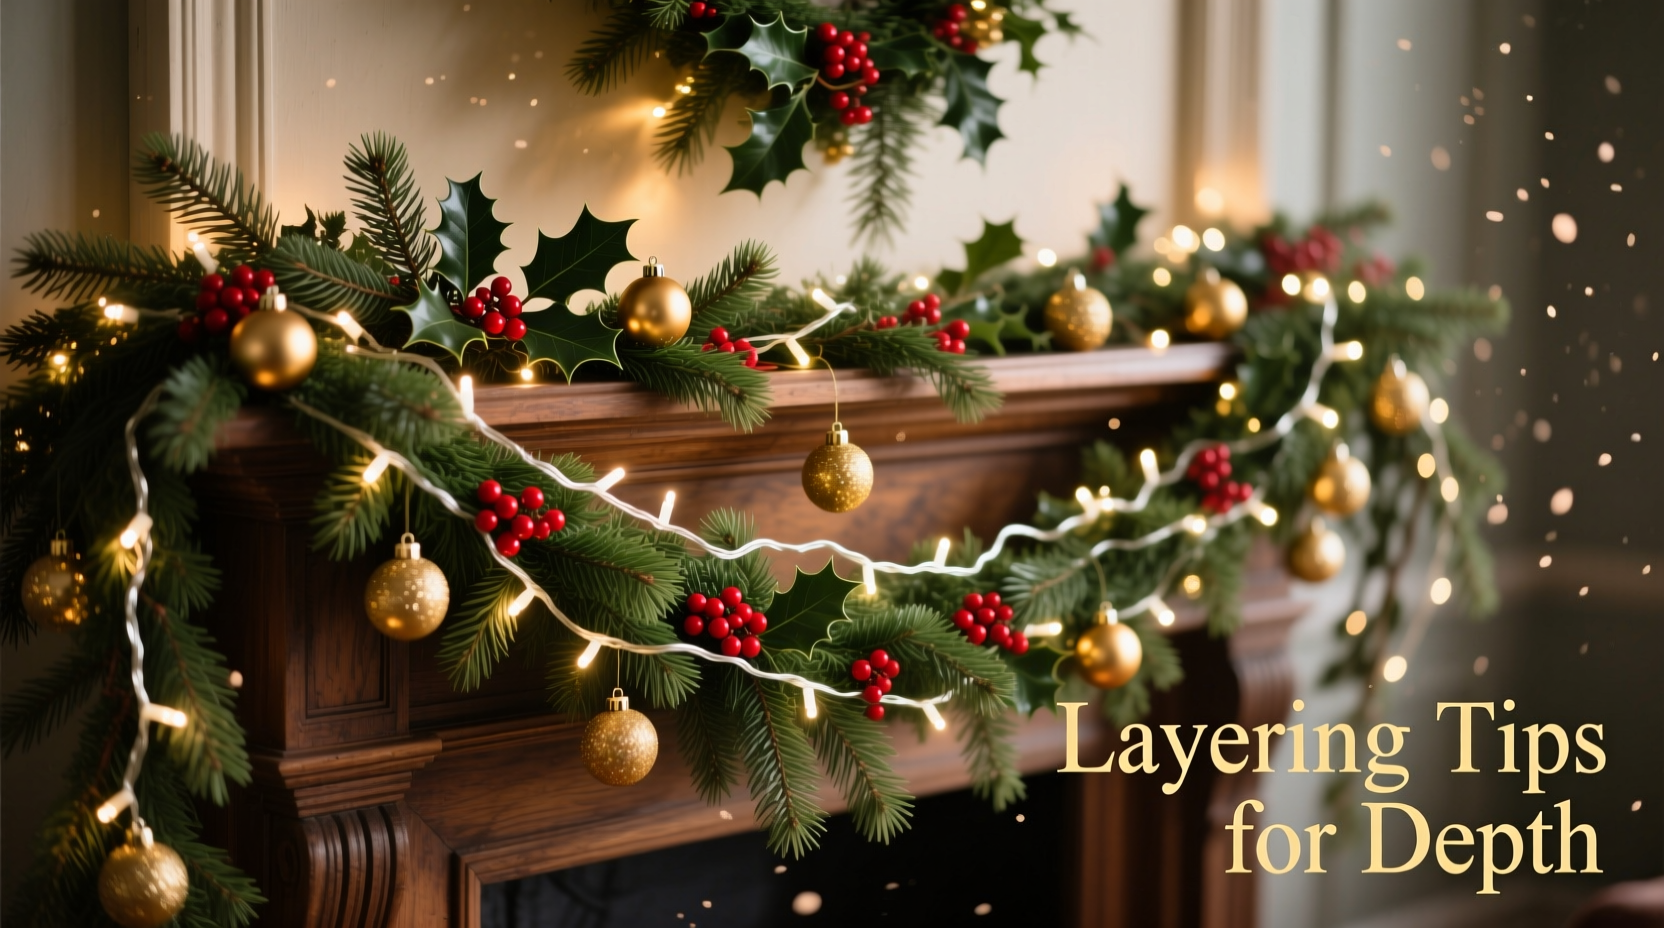
Mantel Displays
For mantels, use horizontal layering. Anchor the primary garland across the back edge. In front of it, place shorter, staggered segments of berry-laden or textured garlands, each pre-wired with their own light strings. Position small spotlights at either end, angled slightly inward to cast gentle halos. The overlapping layers create foreground, midground, and background planes—much like a landscape painting.
Door Frames and Entryways
Doors call for symmetrical yet dynamic arrangements. Use a double-loop technique: install one fully lit garland in a U-shape around the frame, then layer a second, less dense garland inside it, slightly recessed. Wrap the top curve with a thin string of micro-lights that blink intermittently, adding motion. This contrast between steady and flickering light increases perceived depth.
Real-World Example: Elevating a Front Porch Display
Jessica R., a homeowner in Portland, Oregon, struggled with her porch columns looking flat despite using two identical garlands and standard string lights. After consulting a local decorator, she restructured her approach. She kept her original base garland but rewired it with warm white LEDs woven internally. She then added a secondary garland made of preserved magnolia leaves and red osier dogwood, placing it slightly behind and below the first. Battery-powered fairy lights were tucked into the magnolia layer, especially near the glossy leaves, which reflected the glow. Finally, she draped long strands of faux ivy with embedded amber dots down the sides.
The transformation was immediate. Neighbors commented on how the columns now “seemed to glow from within,” and photos taken at night showed clear depth, with highlights dancing across different planes. Jessica noted that the project took only two extra hours but elevated her entire streetscape presence.
Pro Checklist: Building a Layered, Light-Enhanced Garland
Follow this checklist to ensure no detail is missed:
- ☐ Choose a primary garland with dense, lifelike foliage
- ☐ Select 1–2 complementary secondary garlands with contrasting textures
- ☐ Pick light strings that match your color scheme and mood (warm vs. cool)
- ☐ Pre-weave lights into the base garland before hanging
- ☐ Use varied bulb spacing to create light and shadow zones
- ☐ Add battery-powered fairy lights to outer or accent layers
- ☐ Test the full assembly in low-light conditions
- ☐ Secure all connections and conceal wires with vine wraps or zip ties
- ☐ Adjust layer positions to maximize shadow play and highlight key features
- ☐ Install optional mini spotlights for dramatic emphasis on focal points
“The secret isn’t more lights—it’s smarter placement. One well-placed cluster can do more than a hundred evenly spaced bulbs.” — Marcus Tran, Lighting Designer for Holiday Experiences Co.
Frequently Asked Questions
Can I mix real and artificial garlands?
Yes, but with caution. Fresh greenery dehydrates over time, so integrate it as an accent layer rather than a structural base. Wire lights into the artificial portion first, then tuck fresh sprigs around them. Avoid placing live plants directly over hot incandescent bulbs. LED lights run cooler and are safer for organic materials.
How do I prevent garlands from looking tangled or messy?
Prevent tangling by assembling layers incrementally. Build and test each layer individually before combining. Use twist ties or floral wire to secure junctions cleanly. Maintain a consistent direction for drape—e.g., all secondary vines flowing left to right—to create rhythm. Step back frequently during installation to assess overall balance.
Are smart lights suitable for layered garlands?
Smart lights can enhance layered designs when used selectively. Program subtle color fades or gentle pulse effects on accent layers to add movement. However, avoid flashing or rainbow cycles on primary greenery—they distract from texture and reduce perceived depth. Stick to warm white modes for base layers to maintain a cohesive, natural ambiance.
Final Thoughts: Crafting an Experience, Not Just a Decoration
A truly memorable holiday display doesn’t rely on size or sparkle alone. It invites pause. It rewards attention. A layered garland with thoughtfully integrated lighting achieves this by engaging the viewer’s sense of space and light. It turns static decor into something that breathes with the environment—responding to twilight, reflecting off snow, shifting with perspective.
The techniques outlined here are accessible to any homeowner or decorator. You don’t need rare materials or expensive tools. What matters is intention: the willingness to see garlands not as accessories, but as compositions. With careful layering and intelligent lighting, even a simple mantel can become a focal point of warmth and wonder.


 浙公网安备
33010002000092号
浙公网安备
33010002000092号 浙B2-20120091-4
Comments
No comments yet. Why don't you start the discussion?