
Christmas lighting transforms homes into festive sanctuaries, but achieving that magical glow without turning your yard into a concert stage requires strategy. The secret lies not in quantity, but in thoughtful layering. When done right, layered lighting adds dimension, draws the eye through space, and creates warmth—without overwhelming glare or energy waste. This guide walks through proven methods used by professional decorators to craft balanced, visually rich displays that feel intimate rather than industrial.
Understanding Light Layering: More Than Just Strings
Layering lights isn’t about covering every surface—it’s about creating visual depth through intentional placement and variation. Think of it like interior lighting: a room with only overhead lights feels flat, while one with ambient, task, and accent lighting feels dynamic. The same principle applies outdoors and indoors during the holidays.
Effective light layering uses multiple types of illumination to define spaces, highlight features, and guide attention. It balances brightness across zones so no single area dominates. The goal is harmony: a cohesive experience where shadows and light work together to evoke wonder—not discomfort.
Types of Lighting Layers and Their Roles
To build depth, incorporate three core layers: ambient, accent, and silhouette. Each plays a distinct role in shaping perception and mood.
- Ambient lighting provides overall illumination. On exteriors, this often means outlining rooflines or wrapping columns. Indoors, it might include string lights along mantels or ceilings.
- Accent lighting highlights specific features—wreaths, trees, architectural details. These are focal points designed to draw attention.
- Silhouette lighting places lights behind objects (like shrubs or railings) to create dramatic backlit shapes against walls or skies.
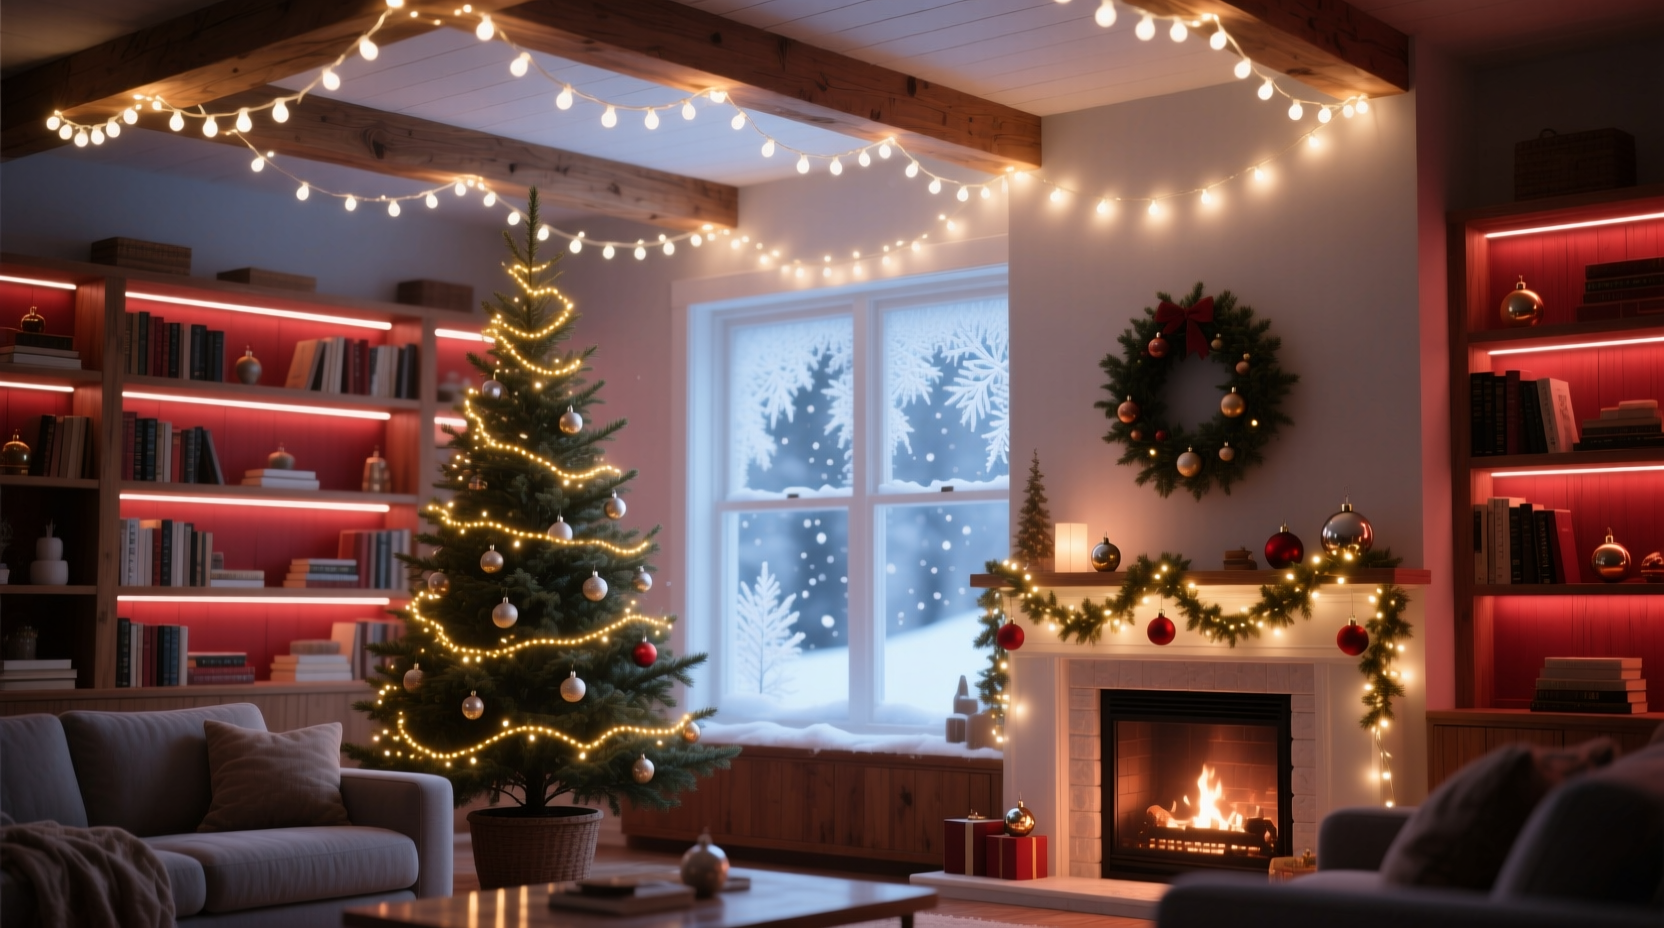
When combined thoughtfully, these layers produce a sense of movement and space. For example, ambient lights on eaves set the scene, accent lights on a front door wreath invite focus, and silhouetted evergreens add mystery in the background.
“Great holiday lighting doesn’t shout—it whispers. Depth comes from contrast, not intensity.” — Daniel Reeves, Professional Holiday Lighting Designer
Step-by-Step Guide to Layered Lighting Installation
Follow this timeline-based approach to install a layered lighting display over several days, ensuring precision and avoiding burnout.
- Day 1: Plan and Audit
Analyze your property. Identify natural focal points (entryways, trees, porches). Note power outlet locations and consider extension cord paths. Decide which areas will host each lighting layer. - Day 2: Install Ambient Layer
Begin with subtle, widespread lighting. Use warm white mini-lights (not cool white) to outline roof edges, wrap pillars, or drape along fences. Keep spacing even—about 3–4 inches between bulbs for consistency. - Day 3: Add Accent Lighting
Highlight key elements. Wrap garlands with smaller LED twinkle lights. Place net lights behind wreaths. Use spotlights with colored gels (soft blue, amber) to bathe statues or planters in seasonal hues. - Day 4: Create Silhouettes
Position ground-level lights behind dense shrubs or tall plants. Angle them upward to cast shadowy forms onto siding or the lawn. Use stake-mounted LEDs or waterproof tape lights for durability. - Day 5: Test and Adjust
Turn everything on at dusk. Walk around the property. Look for hotspots—areas that feel too bright or clustered. Diminish or reposition those sections. Consider adding sheer fabric diffusers to soften harsh beams.
Choosing the Right Lights: Color Temperature and Bulb Type
Brightness isn’t just about wattage—it’s also about color temperature and diffusion. Two strings can have the same lumen output but feel drastically different based on hue and spread.
Warm white (2700K–3000K) is ideal for residential settings. It mimics candlelight and blends naturally with wood tones and brick. Avoid daylight white (5000K+) outdoors—it creates a clinical, unwelcoming effect.
Bulb type influences perception too:
| Type | Best For | Brightness Perception | Recommended Use |
|---|---|---|---|
| Mini LED (steady) | Rooftop outlines, railings | Low to medium – even glow | Primary ambient layer |
| Twinkle LED | Tree canopies, window frames | Medium – dynamic sparkle | Accent zones only |
| Net lights | Bushes, hedges | Diffused – soft coverage | Foreground texture |
| C7/C9 bulbs | Statement pieces (large trees, signs) | High – bold impact | Limited use; avoid clustering |
| Fairy lights (battery) | Indoor windowsills, stair rails | Very low – delicate shimmer | Subtle indoor accents |
Using warmer tones and varied bulb styles prevents monotony. A mix of steady and twinkling lights, for instance, keeps the eye engaged without fatigue.
Real Example: The Balanced Porch Makeover
The Thompson family in Portland, Oregon, loved Christmas lights—but their previous displays earned nicknames like “The Lighthouse” from neighbors due to excessive brightness. Last season, they redesigned using layering principles.
They began by removing all C9 bulbs from their porch columns. In their place, they wrapped the columns with warm white mini-LEDs spaced evenly. Above, they installed a single strand of twinkle lights along the roofline beam—just enough to catch the eye without dominating.
On either side of the door, two potted evergreens were lit from within using battery-powered fairy lights, creating a soft inner glow. Behind them, small stake lights aimed upward created silhouettes on the stucco wall. Finally, a wreath on the door received its own accent: 20 tiny LED dots hidden in the pine boughs, powered by a discreet magnetic battery pack.
The result? A display that felt rich and dimensional, yet calm. Neighbors commented it was “the coziest house on the block.” Energy use dropped by 60%, and setup time decreased because fewer total strings were needed.
Common Mistakes That Kill Depth
Even well-intentioned decorators fall into traps that flatten their displays. Watch for these pitfalls:
- Overlining roof edges: Doubling up on strings makes lines look thick and cartoonish. One clean run is usually sufficient.
- Uniform spacing everywhere: Vary density. Use tighter clusters near entrances, sparser distribution in corners.
- Mixing color temperatures: Combining warm and cool whites creates visual discord. Stick to one dominant tone.
- Ignoring off-season storage: Tangled, damaged lights lead to rushed, uneven installations next year.
Checklist: Building a Layered Lighting Display
Use this checklist to ensure every layer is accounted for before flipping the switch:
- ❏ Conduct a site walk-through at dusk to identify natural focal points
- ❏ Sketch a simple layout showing ambient, accent, and silhouette zones
- ❏ Choose all lights in warm white (2700K–3000K); avoid mixing temperatures
- ❏ Install ambient lighting first—rooflines, railings, pathways
- ❏ Add accent lighting to standout features (trees, doors, sculptures)
- ❏ Position silhouette lights behind foliage or structures
- ❏ Test entire display at night; adjust any overly bright areas
- ❏ Use timers or smart controls to manage daily operation
- ❏ Label and store components properly after the season ends
FAQ: Frequently Asked Questions
Can I layer lights if I live in an HOA-restricted neighborhood?
Yes. Many homeowners associations limit brightness, number of strands, or display duration. Focus on quality over quantity: use warm-toned LEDs, emphasize accent and silhouette layers, and keep ambient lighting minimal. Solar-powered options often meet stricter codes and reduce visibility issues.
How do I prevent my layered display from looking messy?
Consistency is key. Use matching bulb colors and sizes within each layer. Conceal cords with clips or paintable conduit. Step back frequently during installation to assess balance. Less is often more—remove one string if unsure.
Are smart lights worth it for layering?
For advanced control, yes. Smart LEDs allow independent dimming of different zones, scheduling, and color tuning—all from an app. You can lower ambient brightness while boosting accent lights for special nights, enhancing perceived depth dynamically.
Final Thoughts: Creating Warmth, Not Washout
Mastering layered Christmas lighting isn’t about technical skill alone—it’s about intention. The most memorable displays aren’t the brightest, but the ones that make people pause, smile, and feel invited in. By distributing light across ambient, accent, and silhouette planes, varying bulb types, and respecting color temperature, you craft an experience rather than just illumination.
Remember, restraint enhances beauty. A few well-placed strings can outshine dozens of haphazard ones. As neighborhoods grow louder with competing displays, your thoughtful, layered approach will stand out not for its volume, but for its quiet charm.


 浙公网安备
33010002000092号
浙公网安备
33010002000092号 浙B2-20120091-4
Comments
No comments yet. Why don't you start the discussion?