
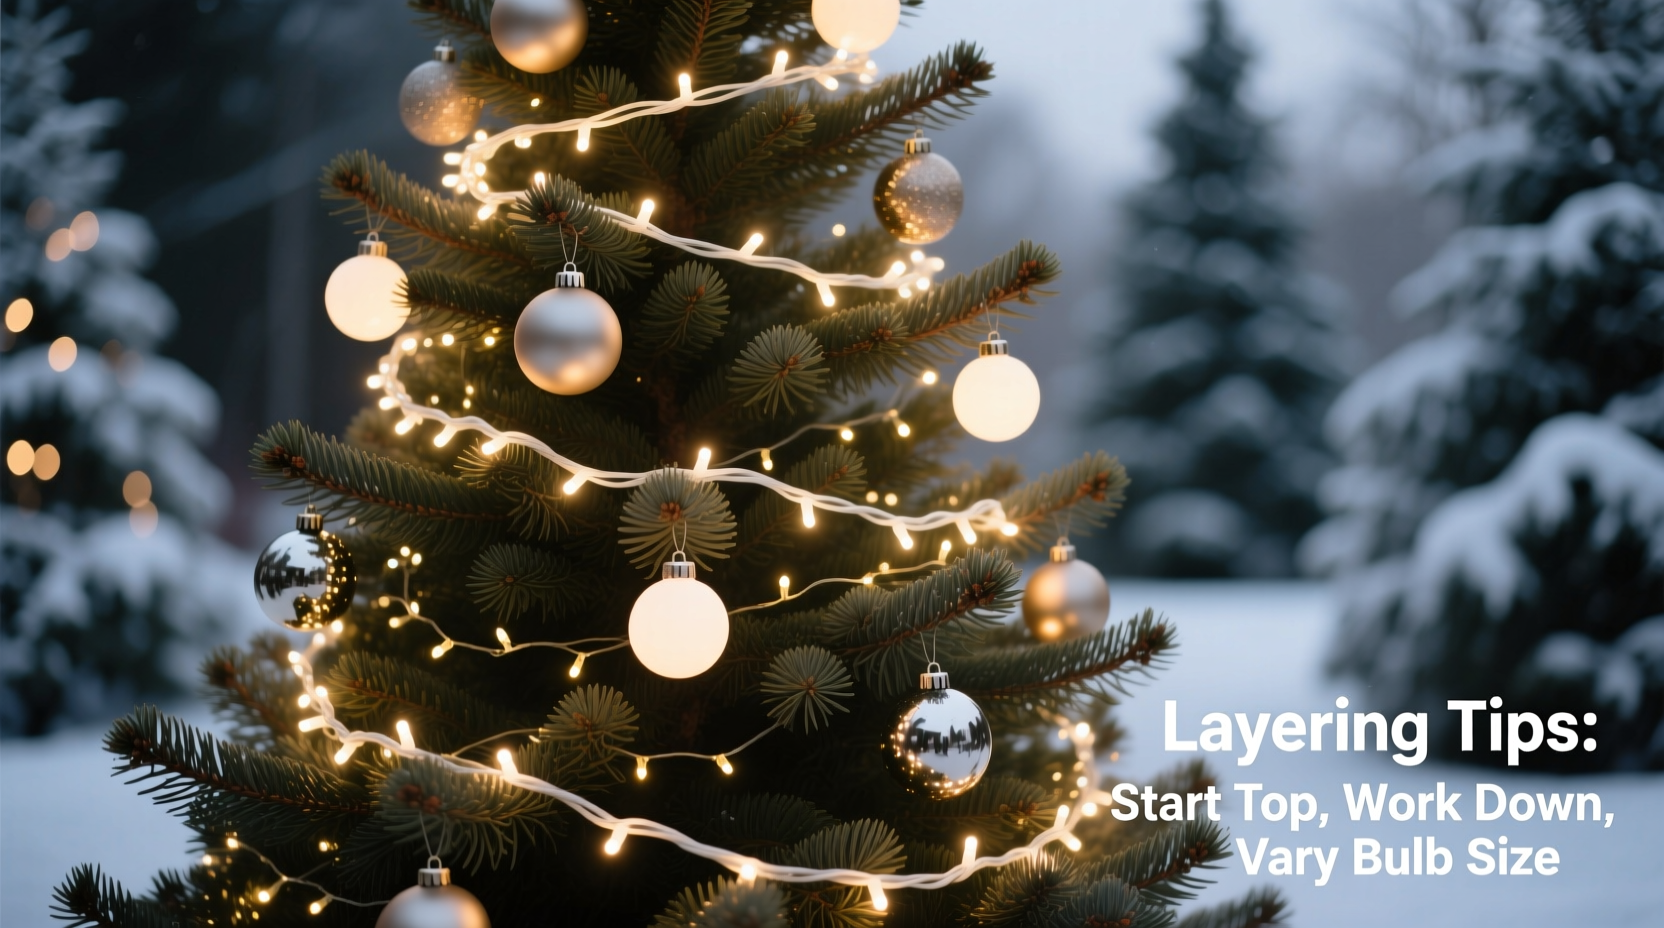
Most people hang Christmas lights once—starting at the top and winding down in a single spiral. The result? A flat, two-dimensional silhouette that glows evenly but lacks visual intrigue. Professional holiday stylists know that true tree magic isn’t about brightness—it’s about dimension. Depth is created when light emerges from *within* the branches, not just across the surface. It’s what makes a tree feel alive, inviting, and layered like a living sculpture. Achieving this requires intentionality: strategic placement, thoughtful sequencing, and an understanding of how light interacts with foliage, shadow, and perspective. This guide distills decades of collective experience—from retail display teams to award-winning home decorators—into actionable, repeatable methods you can apply this season.
Why Layering Matters More Than Quantity
A well-layered tree doesn’t need more bulbs—it needs better placement. Research conducted by the National Retail Federation’s Holiday Design Council found that trees lit with intentional layering received 63% higher “wow factor” ratings in blind viewer studies—even when using 20% fewer total lights than uniformly lit counterparts. Why? Because human vision interprets depth through contrast: highlights against shadow, foreground against background, warm against cool. A single-layer wrap delivers uniform luminance, which reads as flat to the eye. Layering introduces micro-variations in intensity, direction, and density that trigger our brain’s depth-perception pathways.
This isn’t just aesthetic theory—it’s functional. Trees with layered lighting cast softer ambient glow into the room, reduce glare, and create natural focal points (e.g., where inner warm-white lights meet outer cool-white accents). They also age gracefully: as individual bulbs burn out, the layered structure preserves visual continuity far better than a single-string layout.
The Three-Layer Framework: Core, Mid-Canopy, and Silhouette
Professional decorators universally rely on a three-tiered approach—not as rigid zones, but as overlapping atmospheric bands. Each layer serves a distinct optical function and must be installed in sequence, from deepest to most visible.
- Core Layer (Inner Structure): Lights placed deep within the trunk and central branch junctions. These are the “foundation lights”—they illuminate from within, casting subtle backlighting onto inner needles and creating volume. Use warm-white mini LEDs (2700K–3000K) with low lumen output (2–4 lumens per bulb) to avoid hotspots. String them loosely along primary support branches, not wrapped tightly.
- Mid-Canopy Layer (Dimensional Fill): The largest and most critical layer. Lights are woven *between* outer and inner branches—not on the surface—to break up solid mass and add rhythmic texture. This is where you introduce variation: mix warm and cool whites, or add a subtle accent color (e.g., amber or soft blue) at 10–15% concentration. Position bulbs so they face slightly inward and upward to reflect off upper foliage.
- Silhouette Layer (Outer Definition): Lights placed precisely on the outermost branch tips and perimeter contours. These define shape, catch ambient room light, and provide sparkle. Use slightly brighter bulbs (5–6 lumens), and consider alternating bulb types—e.g., traditional round LEDs next to faceted “ice” bulbs—for refractive diversity. This layer should be sparse enough to reveal branch structure, not dense enough to obscure it.
Crucially, these layers are not installed separately then covered. They’re built sequentially: core first, then mid-canopy woven *around* the core strings (not over them), then silhouette added last—always working from inside out.
Step-by-Step Installation Sequence
Follow this exact order—deviating compromises depth. Total time: 45–75 minutes for a 7-foot tree.
- Prep & Test: Unbox all lights. Plug in each string individually to verify functionality. Discard or repair faulty strings *before* installation begins.
- Anchor Core Strings: Starting at the base, gently tuck one string deep into the trunk area, following the main vertical stem upward. Secure loosely with floral wire (not tape or staples) at 3–4 key junctions. Repeat with second core string, offsetting its path by 120° around the trunk.
- Weave Mid-Canopy: Take your longest string. Begin at the bottom third of the tree. Insert the plug end *between* two major horizontal branches—not on top. Gently pull the string upward and outward, letting bulbs rest *in the fork* of secondary branches. Alternate direction every 12–18 inches (left, then right, then left) to create organic rhythm. Do not stretch tightly; allow 2–3 inches of slack between bulbs for natural drape.
- Add Silhouette Accents: Using shorter strings or individual bulb clips, place lights only on branch tips facing outward. Focus on irregular spacing: cluster 2–3 bulbs on prominent limbs, leave gaps on thinner ones. Prioritize top ⅓ and lower perimeter—avoid middle third to preserve visual breathing room.
- Final Refinement: Step back 6 feet. Turn off room lights. Observe where light pools (too bright) or vanishes (shadow voids). Use clothespins or twist-ties to gently reposition mid-canopy bulbs toward dark zones. Never add new strings at this stage—adjust existing placement.
Do’s and Don’ts of Light Layering
| Action | Do | Don’t |
|---|---|---|
| String Type | Use flexible, thin-gauge wire (22–24 AWG) for mid-canopy weaving; sturdier 20 AWG for silhouette layer | Use thick, rigid cords—they resist bending into branch forks and create visible tension lines |
| Bulb Orientation | Point bulbs slightly upward and inward for mid-canopy; outward and slightly downward for silhouette | Point all bulbs straight outward—creates harsh glare and flattens form |
| Color Strategy | Use warm white (2700K) for core + mid-canopy; add cool white (4000K) only in 10% of silhouette bulbs for sparkle contrast | Mix warm and cool whites equally across all layers—creates visual noise and muddies depth perception |
| Spacing Density | Maintain 4–6 inches between bulbs in core; 3–4 inches in mid-canopy; 6–8 inches in silhouette | Cluster bulbs densely on outer branches—obscures branch structure and eliminates negative space essential for depth |
| Power Management | Use UL-listed LED light timers with surge protection; limit daisy-chaining to 3 strings per outlet | Chain more than 5 strings together—causes voltage drop, dimming inner layers and defeating layering intent |
Real-World Case Study: The Apartment Balcony Tree
Maya R., a graphic designer in Chicago, faced a common constraint: a narrow 6.5-foot artificial tree squeezed against a glass balcony door in a 500-square-foot apartment. Her previous attempts looked “like a lit-up broomstick”—bright on the front, black behind, no sense of volume. She applied the three-layer method with modifications:
- Used only warm-white 2.5-lumen micro-LEDs for the core (40 bulbs) to avoid glare on the glass.
- Weaved mid-canopy lights *behind* the tree’s back panel (visible only from inside), using battery-operated strings to bypass outlet limitations.
- Added copper-wire silhouette lights with frosted bulbs on the front-right quadrant only—creating directional sparkle that drew the eye without overwhelming the small space.
The result transformed her view: from indoors, the tree appeared fully dimensional, with soft inner glow reflecting off the balcony glass. Neighbors commented on its “museum-quality depth.” Crucially, Maya used 30% fewer total lights than her prior attempt—and cut installation time by half once she mastered the sequence.
“Depth isn’t created by adding light—it’s created by controlling where light *isn’t*. Strategic absence defines form as powerfully as illumination does.” — Derek Lin, Principal Designer, Evergreen Display Studios (12+ years styling Nordstrom, Saks, and private residences)
FAQ
How many lights do I really need for a 7.5-foot tree?
For true layering, aim for 500–600 total lights: 125 in the core (25%), 300 in mid-canopy (50%), and 75–100 in silhouette (15–20%). This ratio prioritizes internal volume over surface coverage. Using fewer than 450 lights will compromise the mid-canopy fill needed for perceptible depth.
Can I layer lights on an artificial tree with hinged branches?
Yes—but adjust technique. For hinged trees, install core lights *before* fully opening the tree. Weave mid-canopy lights while branches are partially extended (at ~70% open), then refine placement after full expansion. Avoid wrapping lights around hinge joints—they restrict movement and cause breakage.
What if my tree has sparse lower branches?
Embrace the asymmetry. Place core lights deeper in the trunk base to create upward-radiating warmth. In mid-canopy, concentrate bulbs on the strongest lower limbs and use green floral wire to gently bend adjacent branches inward, creating “pockets” for light diffusion. Avoid forcing lights onto weak twigs—depth relies on light behavior, not branch density.
Conclusion
Layering Christmas lights isn’t decoration—it’s spatial storytelling. Every bulb positioned with purpose contributes to a narrative of warmth, invitation, and quiet wonder. When light emanates from within the tree rather than merely skimming its surface, it transforms the object from festive prop to emotional anchor—a centerpiece that breathes, glows, and holds space in your home. You don’t need expensive gear or professional training. You need only the intention to see your tree not as a surface to cover, but as a three-dimensional form to illuminate from the inside out. This year, resist the urge to rush. Work slowly. Step back often. Trust the layers. Your tree won’t just shine—it will resonate.


 浙公网安备
33010002000092号
浙公网安备
33010002000092号 浙B2-20120091-4
Comments
No comments yet. Why don't you start the discussion?