
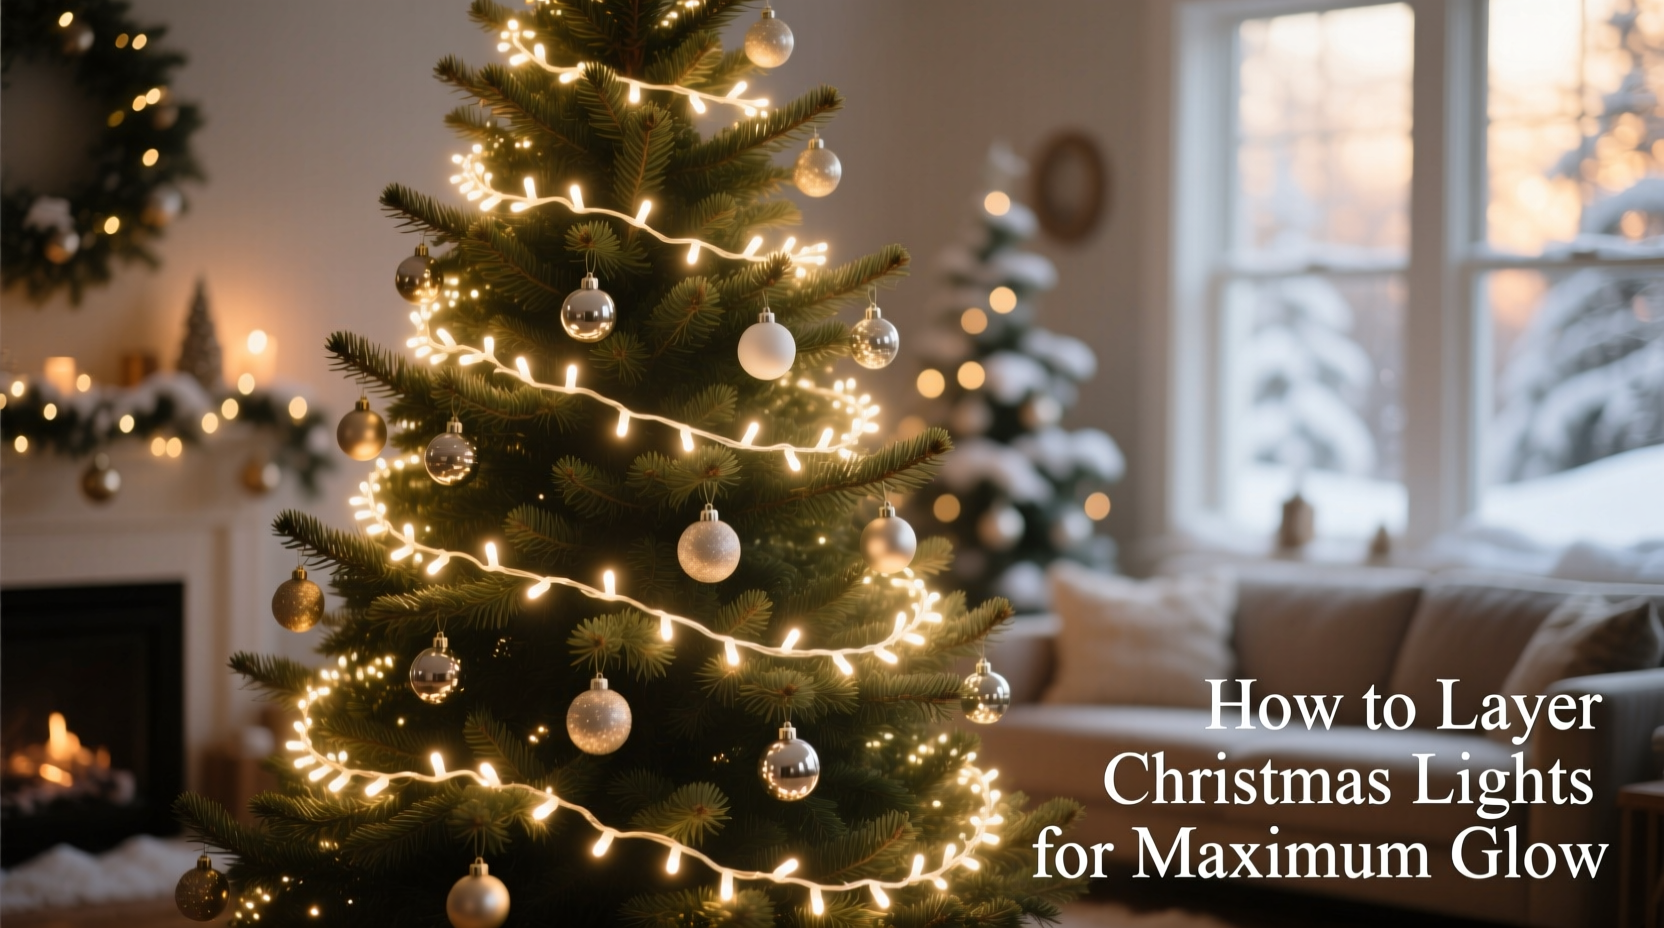
A beautifully lit Christmas tree is the centerpiece of holiday decor. Yet many people struggle with uneven lighting—bright at the front, dark at the back, or clumps of light followed by bare branches. The secret isn’t more bulbs; it’s smarter placement. Professional decorators and lighting designers know that the key to a luminous, three-dimensional glow lies in strategic layering. By treating your tree like a canvas and your lights like brushstrokes, you can create depth, warmth, and consistency from every angle.
This guide walks through the exact techniques used by interior stylists and event designers to layer Christmas lights effectively. Whether you have a real fir, an artificial spruce, or a slim urban tree, these principles apply universally. With the right approach, your tree won’t just sparkle—it will seem to radiate from within.
Why Layering Matters More Than Bulb Count
It’s tempting to believe that doubling up on strings of lights will solve dimness. In reality, overcrowding leads to visible wires, tangled clusters, and excessive heat—especially with incandescent bulbs. Worse, poorly distributed lights emphasize flaws instead of enhancing form.
Layering solves this by distributing light volume throughout the tree’s structure. Instead of draping strings haphazardly, you place them deliberately across different depths: inner core, mid-layer, and outer canopy. This mimics how natural light filters through foliage—soft, diffused, and multidirectional.
“Lighting a tree isn’t about coverage—it’s about dimension. A well-layered tree uses fewer bulbs but looks fuller because the light has depth.” — Marcus Reed, Lighting Designer & Holiday Display Consultant
The human eye perceives brightness relative to contrast. When all the light sits on the surface, shadows deepen behind it. But when light emerges from within, those shadows are minimized, creating a balanced, glowing effect. This principle is why high-end department store displays look so magical—they’re not using more lights, just better ones, placed with precision.
Step-by-Step: The 4-Layer Lighting Method
Follow this timeline-based approach before adding ornaments or garland. Work from inside out, bottom to top. Allow 45–75 minutes depending on tree size (6–8 feet).
- Prepare the Tree: Fluff branches thoroughly. For artificial trees, spend time shaping tips outward to open space for wiring. Real trees benefit from a straight trunk alignment and removal of obstructive lower limbs.
- Test All Light Strings: Plug each strand into a power source to confirm function. Replace any with dead bulbs or frayed wires. Use LED bulbs where possible—they run cooler, use less energy, and last longer.
- Begin with the Core Layer (Inner Trunk Zone): Take one string and start at the base of the trunk. Wrap it vertically around the central pole or thick support branches, moving upward in a spiral. Keep spacing between loops at 6–8 inches. Focus on filling dark cavities near the trunk where ambient light rarely reaches. This foundational glow prevents a hollow center.
- Add the Mid-Canopy Layer: Use a second string per section (e.g., lower third, middle, upper). Feed the wire deep into the branch structure, not along the surface. Insert the plug end near the trunk, then weave the cord through primary supports, letting bulbs emerge between limb clusters. Aim for one bulb per 3–4 inches of travel path. Rotate around the tree as you ascend, ensuring even azimuth distribution.
- Apply the Outer Spiral Layer: Now work superficially. Drape a new string loosely over outer tips in a continuous downward spiral—from top to bottom. Maintain consistent spacing (about 4–5 inches apart) and avoid tight coils. This creates the signature “twinkle” seen from across the room.
- Highlight the Silhouette Layer (Optional): For dramatic effect, add a thin string of warm-white micro-lights along the outermost edge of each major tier. These outline the tree’s shape and enhance definition, especially in low-light rooms.
- Connect and Conceal: Group all plugs near the base. Use zip ties or twist-ties to secure excess cord behind the tree. Run extension cords neatly along the floor under a rug edge or cord cover. Never overload outlets—use no more than 3–4 light strings per circuit.
Choosing the Right Lights for Depth and Warmth
Not all bulbs contribute equally to layered effects. Consider these factors when selecting strings:
- Color Temperature: Opt for warm white (2700K–3000K). It mimics candlelight and blends naturally with wood tones and traditional decor. Cool white appears harsh and flattens depth.
- Bulb Type: C9 and C7 bulbs are large and best for outlining, not layering. Mini lights (2–3 mm) allow tighter weaving into dense areas. Fairy or micro-LEDs (under 2 mm) excel in silhouette detailing.
- Spacing Between Bulbs: Standard sets have 4-inch spacing. For denser coverage, combine with shorter strands (6–10 bulbs) to fill gaps without bulk.
- String Length and Plug Configuration: Longer strings reduce connection points. Look for “end-to-end connectable” models that allow chaining up to 200 bulbs safely.
| Light Type | Best For | Layer Recommendation | Avoid If… |
|---|---|---|---|
| Warm White Mini LEDs | Mid-canopy & outer layers | Ideal for all except silhouette | You need bright accent lighting |
| Cool White Rope Lights | Background edging | Not recommended for trees | Seeking warm, inviting glow |
| Twinkling/Multifunction LEDs | Outer spiral only | Limited to 1 string max | Desiring uniform illumination |
| Vintage Edison-Style Bulbs | Statement trees (farmhouse style) | Core + outer only (sparse) | Tree has narrow branch spacing |
| Multicolor Mini Lights | Kids’ rooms or themed trees | Outer layer only | Going for elegant, cohesive look |
Real Example: Transforming a Flat-Looking Tree
Sarah L., a homeowner in Portland, OR, had struggled for years with her 7-foot pre-lit artificial tree. Despite having 700 built-in bulbs, it looked dull and two-dimensional. She added 300 more lights one year—but the result was worse: tangled wires, overheating near the base, and glaring hotspots.
She consulted a local decorator who applied the 4-layer method. First, they turned off the pre-lit strands to assess their layout. Most were concentrated on the outer edges. The decorator then added two 100-bulb warm white mini-LED strings:
- One was threaded through the inner core and mid-branches, focusing on the north and west sides (which faced seating areas).
- The second was spiraled down from the top in wide, loose loops to unify the silhouette.
The transformation was immediate. From across the living room, the tree appeared twice as bright—not because it emitted more lumens, but because light now emerged from multiple planes. Guests commented on its “warm presence,” and Sarah stopped receiving complaints about screen glare during evening movies.
The total added cost: $18 for lights and 50 minutes of labor. No additional outlets were needed, and energy use increased by less than 5 watts.
Common Mistakes That Kill the Glow
Even experienced decorators make errors that undermine their efforts. Avoid these pitfalls:
- Draping Horizontally Like Garlands: Wrapping lights in flat rings creates “light belts” that leave vertical gaps. Always spiral vertically—either upward from base or downward from peak.
- Overloading One Side: Focusing on the front-facing side leaves the back and sides dark. View your tree from all angles during installation.
- Hiding Plugs Behind the Tree: While neat, this makes troubleshooting difficult. Instead, route cords forward under the stand or skirt and group plugs accessibly.
- Using Mixed Color Temperatures: Combining warm and cool whites results in a jarring, clinical appearance. Stick to one type unless intentionally creating contrast (e.g., icy theme).
- Skipping the Test Phase: Installing dead strings wastes time. Test before and after installation.
“The biggest mistake? Thinking more is better. I’ve removed lights from clients’ trees and made them look brighter—just by repositioning.” — Lena Torres, Residential Stylist, Holiday Interiors Co.
Checklist: Perfect Tree Lighting in 10 Steps
Use this checklist before hanging ornaments:
- Fluff all branches to open interior space.
- Test every light string for continuity.
- Start with core layer: wrap lights around central trunk/spine.
- Weave mid-layer strings deep into branch junctions.
- Spiral outer layer from top to bottom with consistent spacing.
- Add silhouette lights if desired (optional).
- Ensure 360-degree visibility—no dark quadrants.
- Group and conceal plugs near the base.
- Turn off room lights to evaluate glow in darkness.
- Adjust any clumped or sparse areas before finalizing.
Frequently Asked Questions
How many lights do I need per foot of tree?
A general rule is 100 bulbs per foot of tree height. So a 6-foot tree needs about 600 bulbs. However, quality of placement matters more than quantity. A well-layered 400-bulb setup often outperforms a messy 1,000-bulb one.
Should I use pre-lit trees or add my own lights?
Pre-lit trees offer convenience but rarely provide optimal layering. Factory wiring is usually limited to outer branches. For maximum glow, choose a non-pre-lit tree or supplement pre-lit models with hand-wired inner layers.
Can I mix battery-powered and plug-in lights?
Yes, but sparingly. Battery-operated micro-lights work well for fine detailing or hard-to-reach zones. However, they require frequent replacement and aren’t ideal for primary illumination. Use them as accents, not foundations.
Conclusion: Illuminate with Intention
A truly radiant Christmas tree isn’t the product of chance or excess. It’s the result of thoughtful design—of understanding that light behaves like texture, requiring variation, balance, and structure. By adopting the layering technique, you shift from merely decorating to crafting an atmosphere.
Start simple: next time you set up your tree, dedicate the first hour solely to lighting. Apply one inner layer, one mid-layer, and one outer spiral. Step back, dim the room, and observe the difference. You’ll likely find that fewer adjustments are needed later—and that your ornaments catch the light more beautifully because they’re resting on a foundation of glow, not glare.
Great holiday lighting isn’t about spectacle. It’s about warmth. It’s the quiet hum of LEDs casting gentle patterns on the ceiling, the way the room feels cozier simply because the tree seems alive. That effect is within reach—with nothing more than a few spare strings and a deliberate hand.


 浙公网安备
33010002000092号
浙公网安备
33010002000092号 浙B2-20120091-4
Comments
No comments yet. Why don't you start the discussion?