
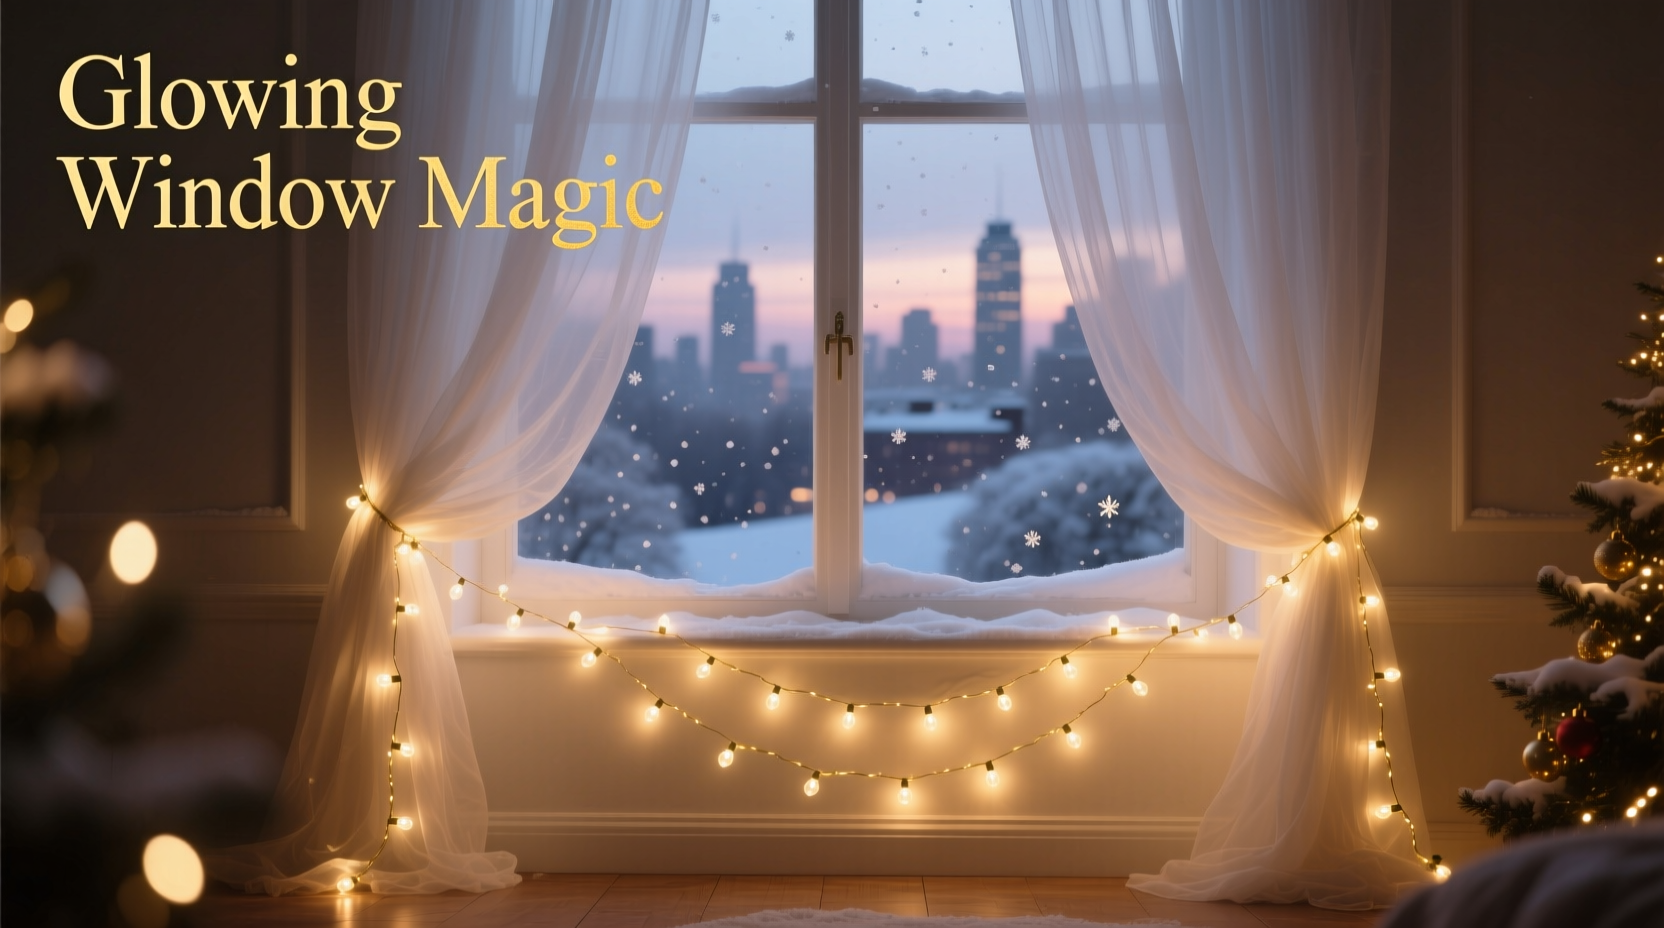
There’s a quiet magic in a softly lit window during the holiday season—not the sharp glare of bare bulbs or tangled strands, but a diffused, luminous halo that seems to emanate from within the fabric itself. This “glowing window effect” transforms ordinary windows into serene focal points: warm, inviting, and effortlessly elegant. Achieving it isn’t about more lights—it’s about thoughtful layering, material intelligence, and subtle craftsmanship. Unlike draping lights over rods or wrapping them around frames, layering *under* sheer curtains leverages translucency, texture, and light diffusion to create depth and dimension. Done well, it feels intentional, refined, and deeply atmospheric—like candlelight filtered through frosted glass. This guide distills field-tested techniques used by professional holiday stylists, interior lighting designers, and seasoned homeowners who’ve mastered the balance between brilliance and breathability.
Why Sheer Curtains Are the Ideal Canvas
Sheer fabrics—such as voile, organza, linen-cotton blends, and lightweight polyester—possess a unique optical property: they scatter light rather than block or reflect it. When illuminated from behind, they soften harsh point sources into gentle gradients, mute glare, and add subtle texture to the glow. Unlike heavier drapes (which absorb light) or blackout linings (which defeat the purpose), sheers allow 30–70% light transmission depending on weave density—enough to cast ambient radiance without revealing individual bulbs or wiring. Crucially, their drape creates natural folds and layers—vertical ripples that catch and redirect light, producing dynamic highlights and soft shadows as air moves or daylight shifts. Interior lighting consultant Maya Lin observes:
“The most compelling holiday windows I’ve styled aren’t the brightest—they’re the most layered. A sheer curtain acts like a living diffuser: it breathes with the space, responds to breeze and time of day, and makes artificial light feel organic.” — Maya Lin, Principal Lighting Designer, Lumina Interiors
Choosing the Right Lights: Bulb Type, Scale, and Safety
Not all Christmas lights work equally well beneath sheers. The goal is uniform, low-heat illumination without visible hotspots or distracting wires. Here’s what matters:
| Feature | Recommended | Avoid |
|---|---|---|
| Bulb Type | Warm-white LED micro-bulbs (2700K–3000K), 2–5mm diameter, constant-on (non-blinking) | Large C7/C9 bulbs, multicolor sets, blinking or chasing modes |
| Wire Gauge & Flexibility | Thin, flexible 22–24 AWG wire; memory-wire or bendable copper-core strands | Rigid PVC-coated wires, thick insulated cords that kink or resist shaping |
| Heat Output | UL-listed LED strings rated for indoor use only (≤1W per 10 bulbs) | Incandescent mini-lights or older LED sets lacking thermal cutoffs |
| Spacing | 2.5–4 inch spacing between bulbs (tighter for smaller windows, wider for tall panes) | 6+ inch spacing (creates uneven “dotted” effect) |
| Power Management | Strands with built-in timers or compatible smart plugs (e.g., Philips Hue, TP-Link Kasa) | Daisy-chained sets exceeding manufacturer wattage limits |
Micro-LEDs are non-negotiable. Their small profile disappears visually when backlit, while their consistent color temperature ensures cohesive warmth. Avoid cool-white (5000K+) bulbs—they create clinical, unseasonal contrast against woodwork and trim. Always verify UL/ETL certification for indoor use, and never exceed the maximum number of strands permitted per outlet (typically 3–5 standard 100-light sets, depending on wattage).
The Layering Technique: A Step-by-Step Installation Guide
This method prioritizes invisibility, adjustability, and long-term usability. It takes 45–75 minutes per average window (36\" x 60\") and requires no permanent alterations.
- Measure and Plan Layout: Measure curtain width and height. Sketch a simple grid: lights should run horizontally in rows spaced 6–8 inches apart vertically, starting 4 inches below the curtain header and ending 4 inches above the hem. For a 60-inch-tall curtain, that’s 6–7 rows. Mark row positions lightly with removable tape on the curtain rod or wall.
- Pre-String the Lights: Uncoil lights completely and inspect for damaged bulbs or frayed sections. Use binder clips or small clothespins to temporarily group strands into row-length segments (e.g., one 12-foot strand per row on a 36-inch-wide window). This prevents tangles during installation.
- Anchor the Top Row First: Starting at the left end of the top row, gently tuck the first 3–4 inches of the light strand *behind* the curtain header tape or rod pocket—just enough to hide the plug end and first few bulbs. Secure with a single, discreet fabric-safe clip (e.g., a clear plastic curtain clip or miniature binder clip) placed at the very edge, where the curtain meets the wall or frame. Do not staple, glue, or pin directly into fabric.
- Weave Horizontally, Not Vertically: With the top row anchored, carefully pull the strand taut *across* the back of the curtain, following your marked line. Use your fingers to gently separate sheer fibers and slide the wire *between* the warp and weft threads—not over the surface or under the lining. Pause every 12 inches to secure with another clip, pressing it flat against the wall or frame (not the curtain) so it grips both wire and fabric edge. Repeat for each row, working downward.
- Manage Excess and Conceal Connections: Route excess wire vertically down the side edges of the curtain, tucking it into the side hems or behind the rod brackets. Use double-sided tape (3M Command Clear Strips) to hold connection points and power adapters flush against the wall—never leave dangling plugs or junction boxes exposed. Coil surplus wire neatly behind the curtain rod bracket, securing with a twist tie.
- Final Adjustments: Once all rows are installed, step back and observe from inside and outside. Gently adjust any visible wire segments by re-weaving with fingertips. Fluff the curtain to restore natural drape—avoid ironing or steaming after installation, as heat can melt LED casings or warp thin wires.
Pro Tips for Depth, Dimension, and Longevity
Surface-level installation yields flat light. True dimension comes from strategic variation and maintenance awareness.
- Add subtle layering: Use two identical sheer panels—one mounted closer to the glass (as a backlight), the other 2–4 inches forward (as a diffuser). Install lights only on the rear panel. The air gap creates soft focus and reduces bulb visibility.
- Vary intensity by zone: Dim the top 1–2 rows slightly (using a smart dimmer or separate circuit) to mimic natural light falloff—brightest near the sill, softer near the top.
- Choose curtain hardware wisely: Use a recessed rod (mounted inside the window frame) or a ceiling-mounted track. Projection rods that extend far beyond the frame create gaps where light escapes unfiltered, breaking the glow effect.
- Maintain airflow: Sheers trap heat less than heavy fabrics, but LEDs still generate minor warmth. Ensure at least ½ inch of clearance between lights and window glass—especially on south-facing windows—to prevent thermal stress on double-glazed units.
- Seasonal storage protocol: After the holidays, unclip lights *gently*, coil by hand (never wrap around your elbow), and store in labeled, ventilated plastic bins—not vacuum-sealed bags (trapped moisture corrodes contacts).
Real-World Example: The Brooklyn Brownstone Window Transformation
When interior stylist Lena R. renovated her 1890s brownstone, the front parlor’s tall, narrow windows felt stark and institutional year-round. Her goal: holiday warmth without cluttering the historic moldings or obscuring stained-glass transoms. She rejected traditional garlands and oversized wreaths, opting instead for custom-layered voile panels (72\" wide × 96\" tall) hung on ceiling tracks 3 inches from the glass. Using 200 warm-micro-LEDs (3.5\" spacing) across eight horizontal rows, she installed lights only on the rear panel—anchoring each row with museum-grade clear clips that grip fabric without adhesive residue. To deepen the effect, she added a second, looser-hung linen-cotton blend panel 3 inches forward, left unlit. At dusk, the result was immediate: a luminous, almost liquid glow that seemed to emanate from the window itself—not the lights. Neighbors began calling it “the lantern window.” Crucially, the system remained invisible by day: no wires, no clips visible from the street, and zero damage to original woodwork. Lena notes, “It took longer to install than stringing lights on a tree—but it’s the only decoration people still comment on in March.”
Frequently Asked Questions
Can I use battery-operated lights for this technique?
Yes—but with caveats. Opt for high-capacity lithium CR123A or AA packs (not alkaline) and choose models with 6+ hour runtime on low mode. Battery packs must be concealed *outside* the curtain stack (e.g., taped to the wall behind the rod bracket) to avoid bulk and heat buildup. Avoid coin-cell lights—they lack consistent output and dim unpredictably.
What if my sheer curtains have a lining or interlining?
Do not attempt this technique on lined sheers. The backing blocks light transmission and creates harsh, uneven hotspots where bulbs press against opaque material. Instead, remove the lining temporarily or hang an unlined sheer panel *in front of* your existing lined curtains—using tension rods or separate hardware. The glow will still read beautifully from outside.
How do I clean or dust the lights once installed?
Never spray cleaners or wipe bulbs while powered. Turn off and unplug lights. Use a dry, ultra-soft microfiber cloth to *lightly* brush dust from bulbs and wires—no pressure. For stubborn grime, dampen the cloth *slightly* with distilled water only, then air-dry completely before re-powering. Never submerge or soak any component.
Conclusion: Light as Intentional Atmosphere
A glowing window isn’t decoration—it’s atmosphere made visible. It signals warmth in winter’s hush, offers quiet reassurance to passersby, and transforms architecture into emotion. Layering Christmas lights under sheer curtains achieves this not through spectacle, but through restraint: choosing the right tools, respecting material behavior, and honoring the physics of light and fabric. It asks for patience in installation, discernment in selection, and mindfulness in maintenance—and rewards that care with a presence that lingers long after the season ends. You don’t need dozens of strands or expensive gear. You need one thoughtful window, one quality sheer panel, and lights chosen not for brightness, but for grace. Start with a single pane. Observe how light pools in the folds at twilight. Notice how neighbors slow their pace as they walk past. That’s the moment you’ll understand: this isn’t about adding light to a window. It’s about revealing the light already waiting within the space—and giving it voice.


 浙公网安备
33010002000092号
浙公网安备
33010002000092号 浙B2-20120091-4
Comments
No comments yet. Why don't you start the discussion?