
Every holiday season, millions of electronic devices reach end-of-life: obsolete laptops, broken printers, surplus keyboards, and forgotten peripherals gather dust in drawers and landfills. Meanwhile, traditional Christmas trees—real or artificial—carry environmental trade-offs: deforestation, plastic waste, and carbon-intensive manufacturing. What if the solution wasn’t *either/or*, but *both/and*? A growing number of makers, educators, and sustainability advocates are transforming e-waste into festive centerpieces—not as gimmicks, but as deliberate acts of material reclamation, technical storytelling, and joyful resistance to disposability.
This isn’t about gluing random chips onto cardboard and calling it art. It’s about intentionality: selecting components for structural integrity, visual rhythm, thermal safety, and narrative resonance. It’s about honoring the labor embedded in every microchip while refusing to let that labor end in landfill burial. Below is a field-tested, scalable methodology—refined through workshops at MIT’s E-Waste Lab, community builds in Detroit’s TechTown incubator, and classroom projects across 12 EU schools—that turns obsolete tech into a luminous, conversation-starting tree rooted in ethics and ingenuity.
Why Tech Waste Makes Unexpectedly Brilliant Tree Material
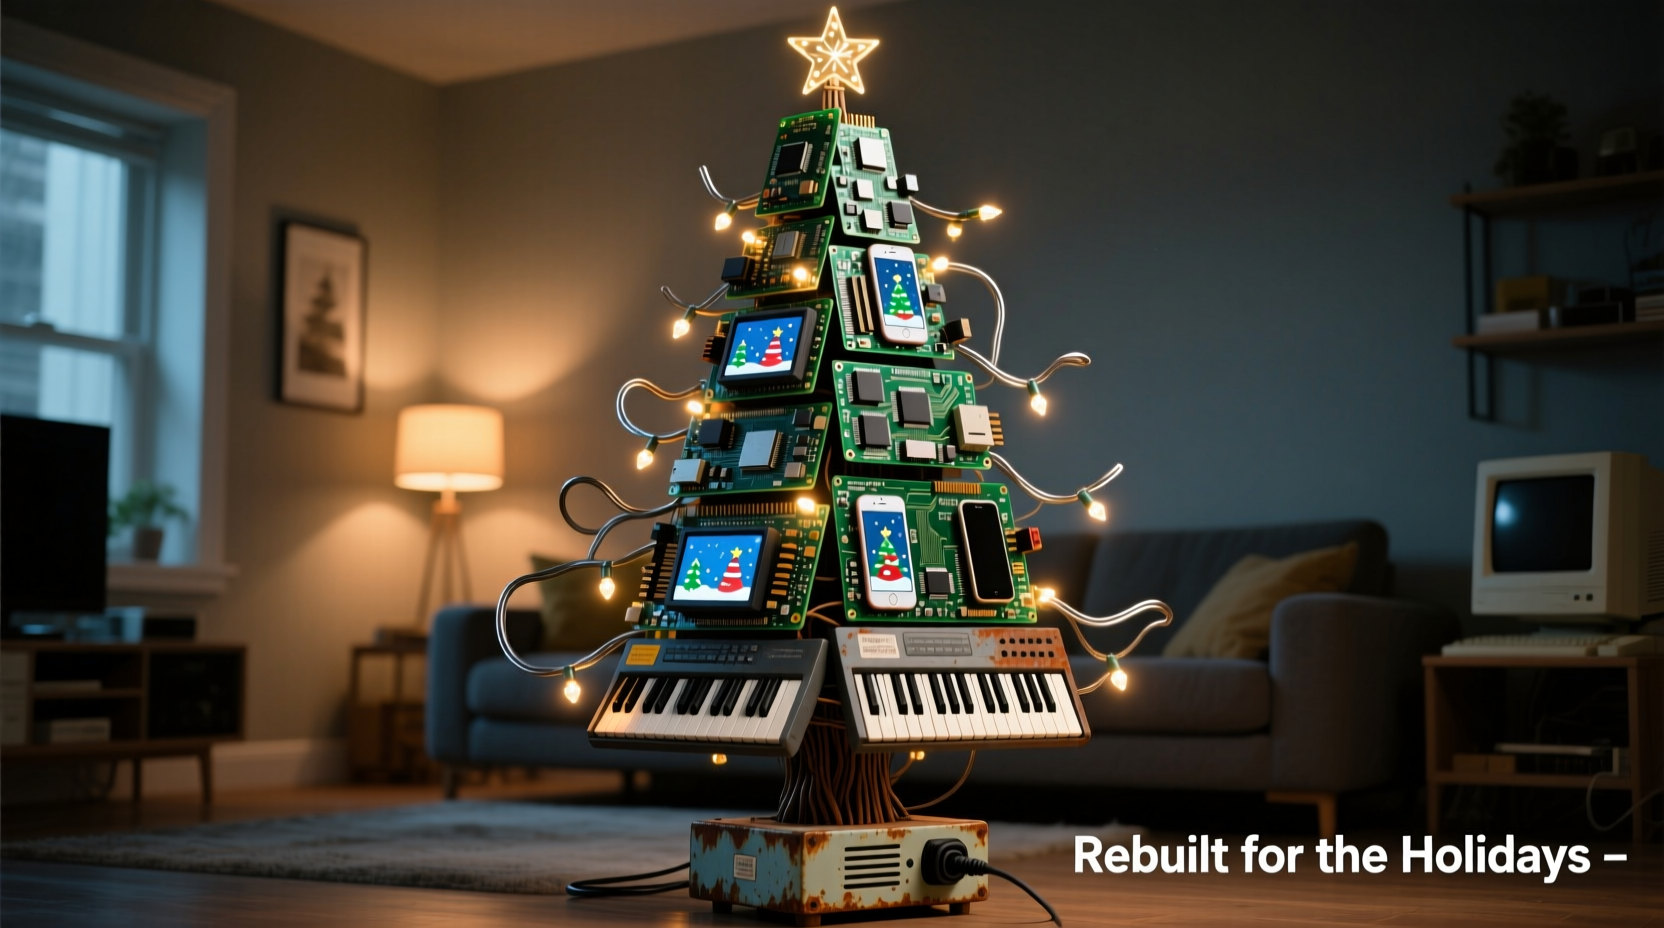
Electronics contain inherent architectural qualities ideal for three-dimensional sculpture. Circuit boards offer rigid, fractal-like planes with copper traces that catch light like miniature rivers. Keyboard keys provide uniform, tactile modules in varied colors and textures—some translucent, some matte, some with residual lettering that adds quiet poetry (“ENTER” glowing at the base, “ESC” near the star). Heat sinks form natural coniferous silhouettes; old floppy disk spindles become elegant tapered trunks; Ethernet cables coil into organic, vine-like garlands.
Crucially, repurposing tech parts sidesteps two major holiday pain points: cost and clutter. A typical artificial tree retails for $80–$250; sourcing components from e-waste streams (municipal collection drives, repair cafés, university surplus departments) costs nothing—or even generates modest revenue if you’re paid for safe disposal. And unlike seasonal decor stored in attics for 11 months, a tech tree invites year-round display: its circuitry tells a story about innovation, obsolescence, and renewal.
Essential Materials & Sourcing Ethics
Not all e-waste is equally suitable—or safe—for creative reuse. Prioritize non-hazardous, mechanically stable items. Avoid CRT monitors (leaded glass), lithium-ion batteries (fire risk), mercury-containing backlights, and anything with visible corrosion or chemical residue. When in doubt, consult your local e-waste recycler’s material acceptance guide.
| Component Type | Ideal For | Sourcing Tips | Caution Notes |
|---|---|---|---|
| Circuit boards (motherboards, RAM sticks, GPU cards) | Branch layers, geometric “foliage”, star base | Ask IT departments for decommissioned servers; check Freecycle groups labeled “computer parts” | Avoid boards with cracked solder joints or bulging capacitors—structural weakness increases breakage risk |
| Keyboard keys (mechanical or membrane) | Ornamental clusters, color-blocked tiers, “pinecone” accents | Salvage from broken office keyboards; request keycaps from mechanical keyboard enthusiasts (they often discard old sets) | Do not use keys glued with cyanoacrylate—heat from LEDs may weaken adhesion |
| Aluminum heat sinks | Trunk core, branch supports, minimalist “snow-dusted” tips | Extract from old CPUs or power supplies; verify aluminum grade (6061-T6 preferred for machinability) | Wear gloves—edges can be razor-sharp; sand burrs before handling |
| Coaxial/Ethernet cables | Twisted garlands, woven trunk wraps, hanging ornaments | Reuse cable bundles from network upgrades; avoid PVC-jacketed cables if displaying near heat sources | Strip outer jackets only in well-ventilated areas—some insulation emits fumes when cut |
| LED indicator lights (from routers, modems) | Integrated illumination, “starlight” effect | Harvest from non-functional networking gear; test continuity with a multimeter first | Never connect directly to mains voltage—use only 3V–12V DC power supplies with current-limiting resistors |
A Real-World Build: The “Copper Pine” at Portland State University
In December 2023, PSU’s Sustainability Office unveiled a 7-foot tech tree in the Student Union Plaza—built entirely by students using 127 pounds of campus e-waste. The project began with a month-long electronics drive, collecting 42 broken laptops, 19 printers, and 87 keyboards. Students disassembled units in supervised workshops, sorting components by material type and structural viability.
The trunk consisted of stacked, vertically aligned CPU heat sinks bolted to a hollow aluminum pole—each sink’s finned surface angled slightly outward to mimic pine bark texture. Five tiered “branches” were constructed from laser-cut acrylic rings (reclaimed from old signage), onto which students mounted circuit board fragments using brass standoffs. Each board was oriented so copper traces radiated outward like sunbursts. Keyboard keys—sorted by hue (blues for cool tones, reds for warm)—were hot-glued in concentric circles along the edges of each ring, creating a pixelated, mosaic-like foliage effect.
For lighting, students wired 142 salvaged green and white LEDs (harvested from dead routers and USB hubs) to a low-voltage Arduino controller programmed to pulse gently—a nod to data flow. The star? A polished, inverted GPU fan shroud crowned with a single amber LED. The tree stood for six weeks, drawing over 2,300 visitors. Crucially, after dismantling, 98% of materials were returned to PSU’s certified e-waste stream for responsible metal recovery—proving circularity isn’t theoretical.
“Students didn’t just build a tree—they mapped the lifecycle of technology. They saw where copper comes from, how energy flows through circuits, and why ‘disposal’ is a design failure. That awareness outlasts any holiday season.” — Dr. Lena Torres, Director of Sustainable Systems, Portland State University
Step-by-Step Construction Guide (No Soldering Required)
This method uses mechanical fastening and low-temp adhesives for accessibility, safety, and reversibility. Total build time: 12–18 hours across 3–4 sessions.
- Design & Scale Planning (2 hours): Sketch your tree in profile. Decide height (4–8 ft recommended), number of tiers (5–7 ideal), and trunk diameter (3–5 inches). Calculate branch angles: lower tiers at 75°, middle at 60°, top at 45° for natural taper. Use graph paper or free CAD tools like Tinkercad to model component placement.
- Component Prep (4 hours): Clean all parts with >90% isopropyl alcohol and lint-free cloths. Remove stubborn labels with citrus-based adhesive removers (not acetone). Sand sharp edges on heat sinks and PCBs. Label sorted piles: “Trunk Core,” “Tier 1 Foliage,” “Key Clusters,” etc.
- Build Trunk Assembly (3 hours): Mount heat sinks or stacked router casings onto a central aluminum pole using stainless steel machine screws and lock washers. Alternate orientations—horizontal fins on one layer, vertical on the next—to create dynamic texture. Seal joints with clear silicone caulk for weather resistance if displaying outdoors.
- Construct Tiered Branches (6 hours): Cut five ¼-inch plywood rings (diameters: 24\", 20\", 16\", 12\", 8\"). Drill evenly spaced 3mm holes around each ring’s perimeter (12 holes per ring). Insert brass standoffs into holes, then mount circuit board fragments—varying size and orientation—to create asymmetrical, organic coverage. Secure with epoxy putty for vibration resistance.
- Attach & Illuminate (3 hours): Bolt rings to the trunk at calculated angles using adjustable L-brackets. Wire pre-tested LEDs in parallel circuits (max 20 LEDs per 12V line) with 220-ohm resistors. Route wires through hollow trunk sections. Power via UL-listed 12V DC adapter. Finish with keyboard key clusters glued to ring edges using high-bond cyanoacrylate (tested for thermal stability).
Smart Lighting & Safety Protocol
Lighting transforms a static sculpture into an immersive experience—but safety is non-negotiable. Never use mains-powered bulbs inside enclosed tech assemblies. Instead, adopt this layered approach:
- Base Layer (Ambient Glow): Line the interior of the trunk with warm-white LED strip lights (IP65 rated) diffused through frosted acrylic tubing—creates soft, upward-radiating light without heating components.
- Mid Layer (Focused Accents): Mount individual 5mm LEDs behind translucent keyboard keys or within heat sink fins using thermal epoxy. These act as pinpoint “stars” scattered through the foliage.
- Top Layer (Dynamic Element): Program a microcontroller (Arduino Nano or Raspberry Pi Pico) to cycle through slow fade patterns. Connect via USB-C power bank for portability and zero wall-plug dependency.
Frequently Asked Questions
Can I use this tree outdoors?
Yes—with modifications. Seal all exposed circuit board edges and solder joints with conformal coating (acrylic-based, not silicone). Replace standard glue with marine-grade epoxy for key attachments. House controllers and power supplies in IP67-rated enclosures. Avoid displays in rain or snow unless fully sheltered.
How do I explain the tree’s meaning to guests without sounding preachy?
Keep it tangible: “This capacitor powered someone’s laptop during finals week in 2015. This key typed a job application. Now they’re part of something new—and they’ll go back to recycling after the holidays.” Let the materials speak first; context follows naturally.
What if I don’t have access to workshops or tools?
Start small. Build a tabletop version (24 inches tall) using a single motherboard as the base, a stack of CD-ROM drives as the trunk, and keys from one broken keyboard. Many libraries now lend soldering irons, multimeters, and rotary tools. Check Tool Libraries Alliance (tool-libraries.org) for locations near you.
Conclusion: Your Tree Is a Threshold, Not an Endpoint
A Christmas tree made from recycled tech parts does more than decorate a room—it reframes our relationship with progress. It acknowledges that every upgrade carries legacy, every deletion leaves residue, and every “end-of-life” device holds latent potential waiting for human imagination to reactivate it. This isn’t nostalgia for older tech; it’s insistence on deeper stewardship of the materials that define our era.
You don’t need engineering credentials to begin. You need curiosity, a pair of safety glasses, and willingness to see waste as uncut marble. Gather your first motherboard. Sort those keys by color. Feel the weight of a heat sink in your palm—not as scrap, but as structure. Build something that hums with quiet intelligence, glows with reclaimed light, and stands as proof that care and creativity can turn obsolescence into ornamentation.


 浙公网安备
33010002000092号
浙公网安备
33010002000092号 浙B2-20120091-4
Comments
No comments yet. Why don't you start the discussion?